Dates in Japanese curry
Published on the 27 of April 2025
Table of Contents
Ingredients
Basic ingredients for Japanese curry (if with japanese starter cube)
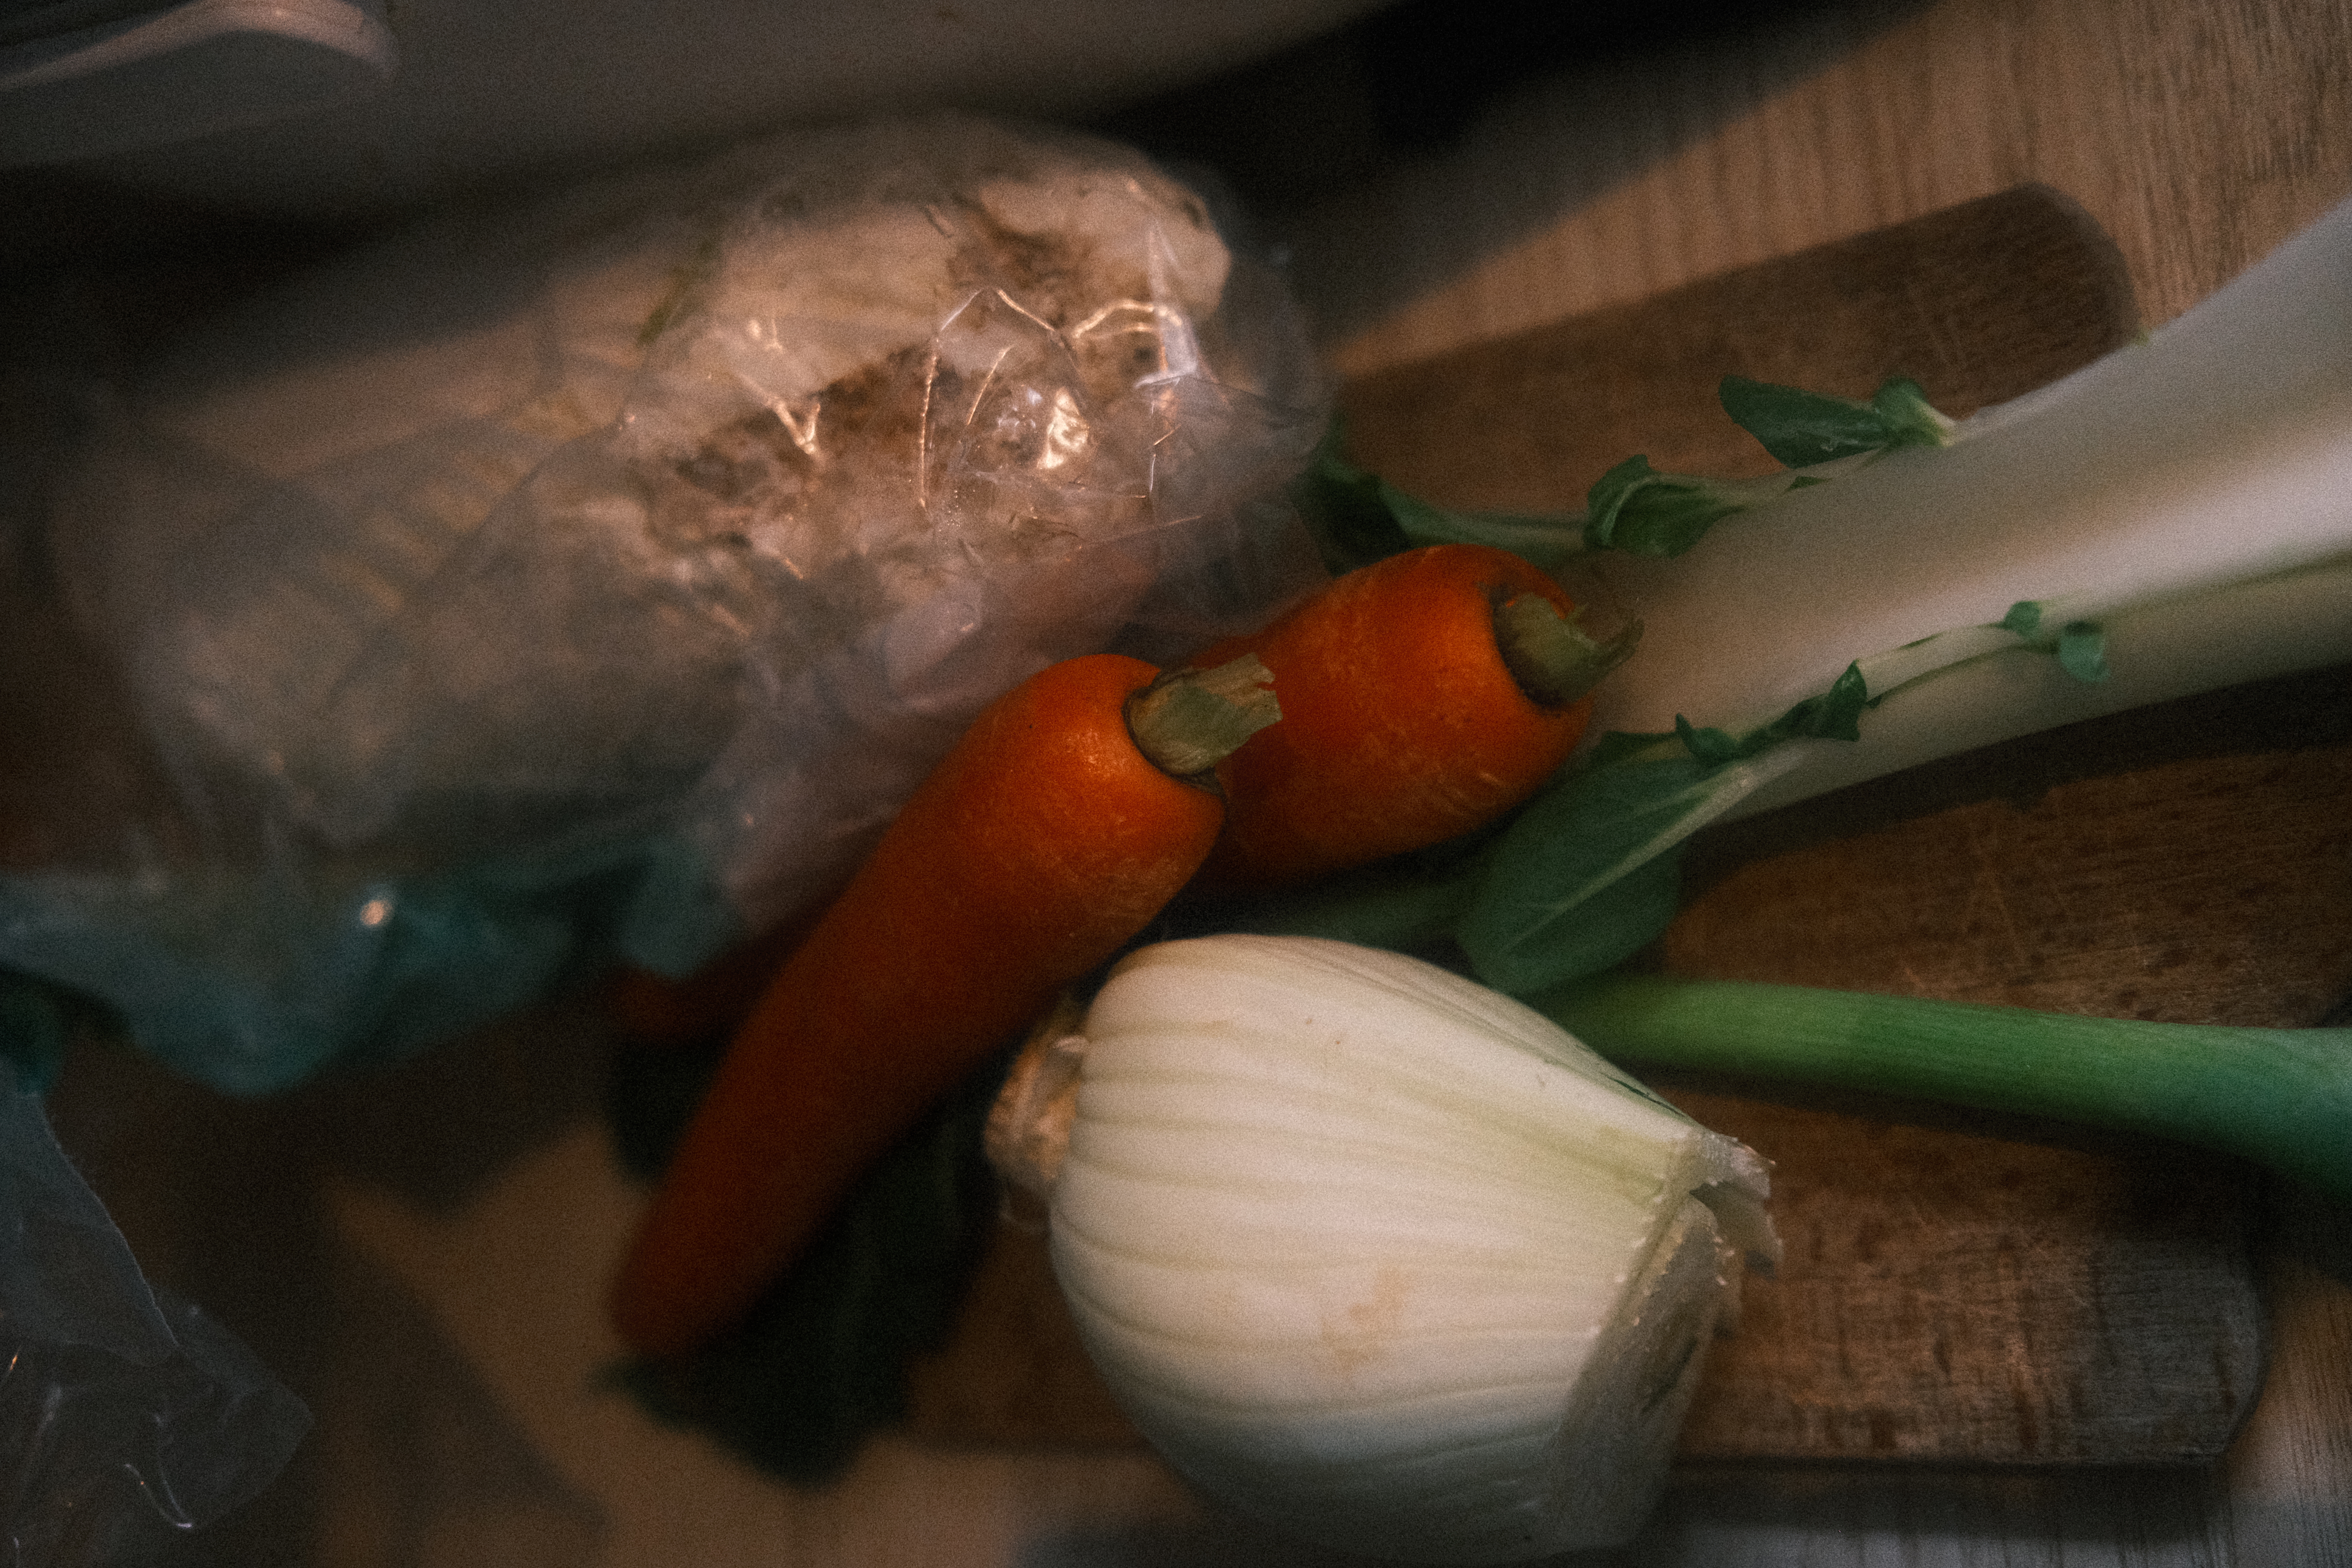
- apple
- onion and / or spring onion
- water
- pepper
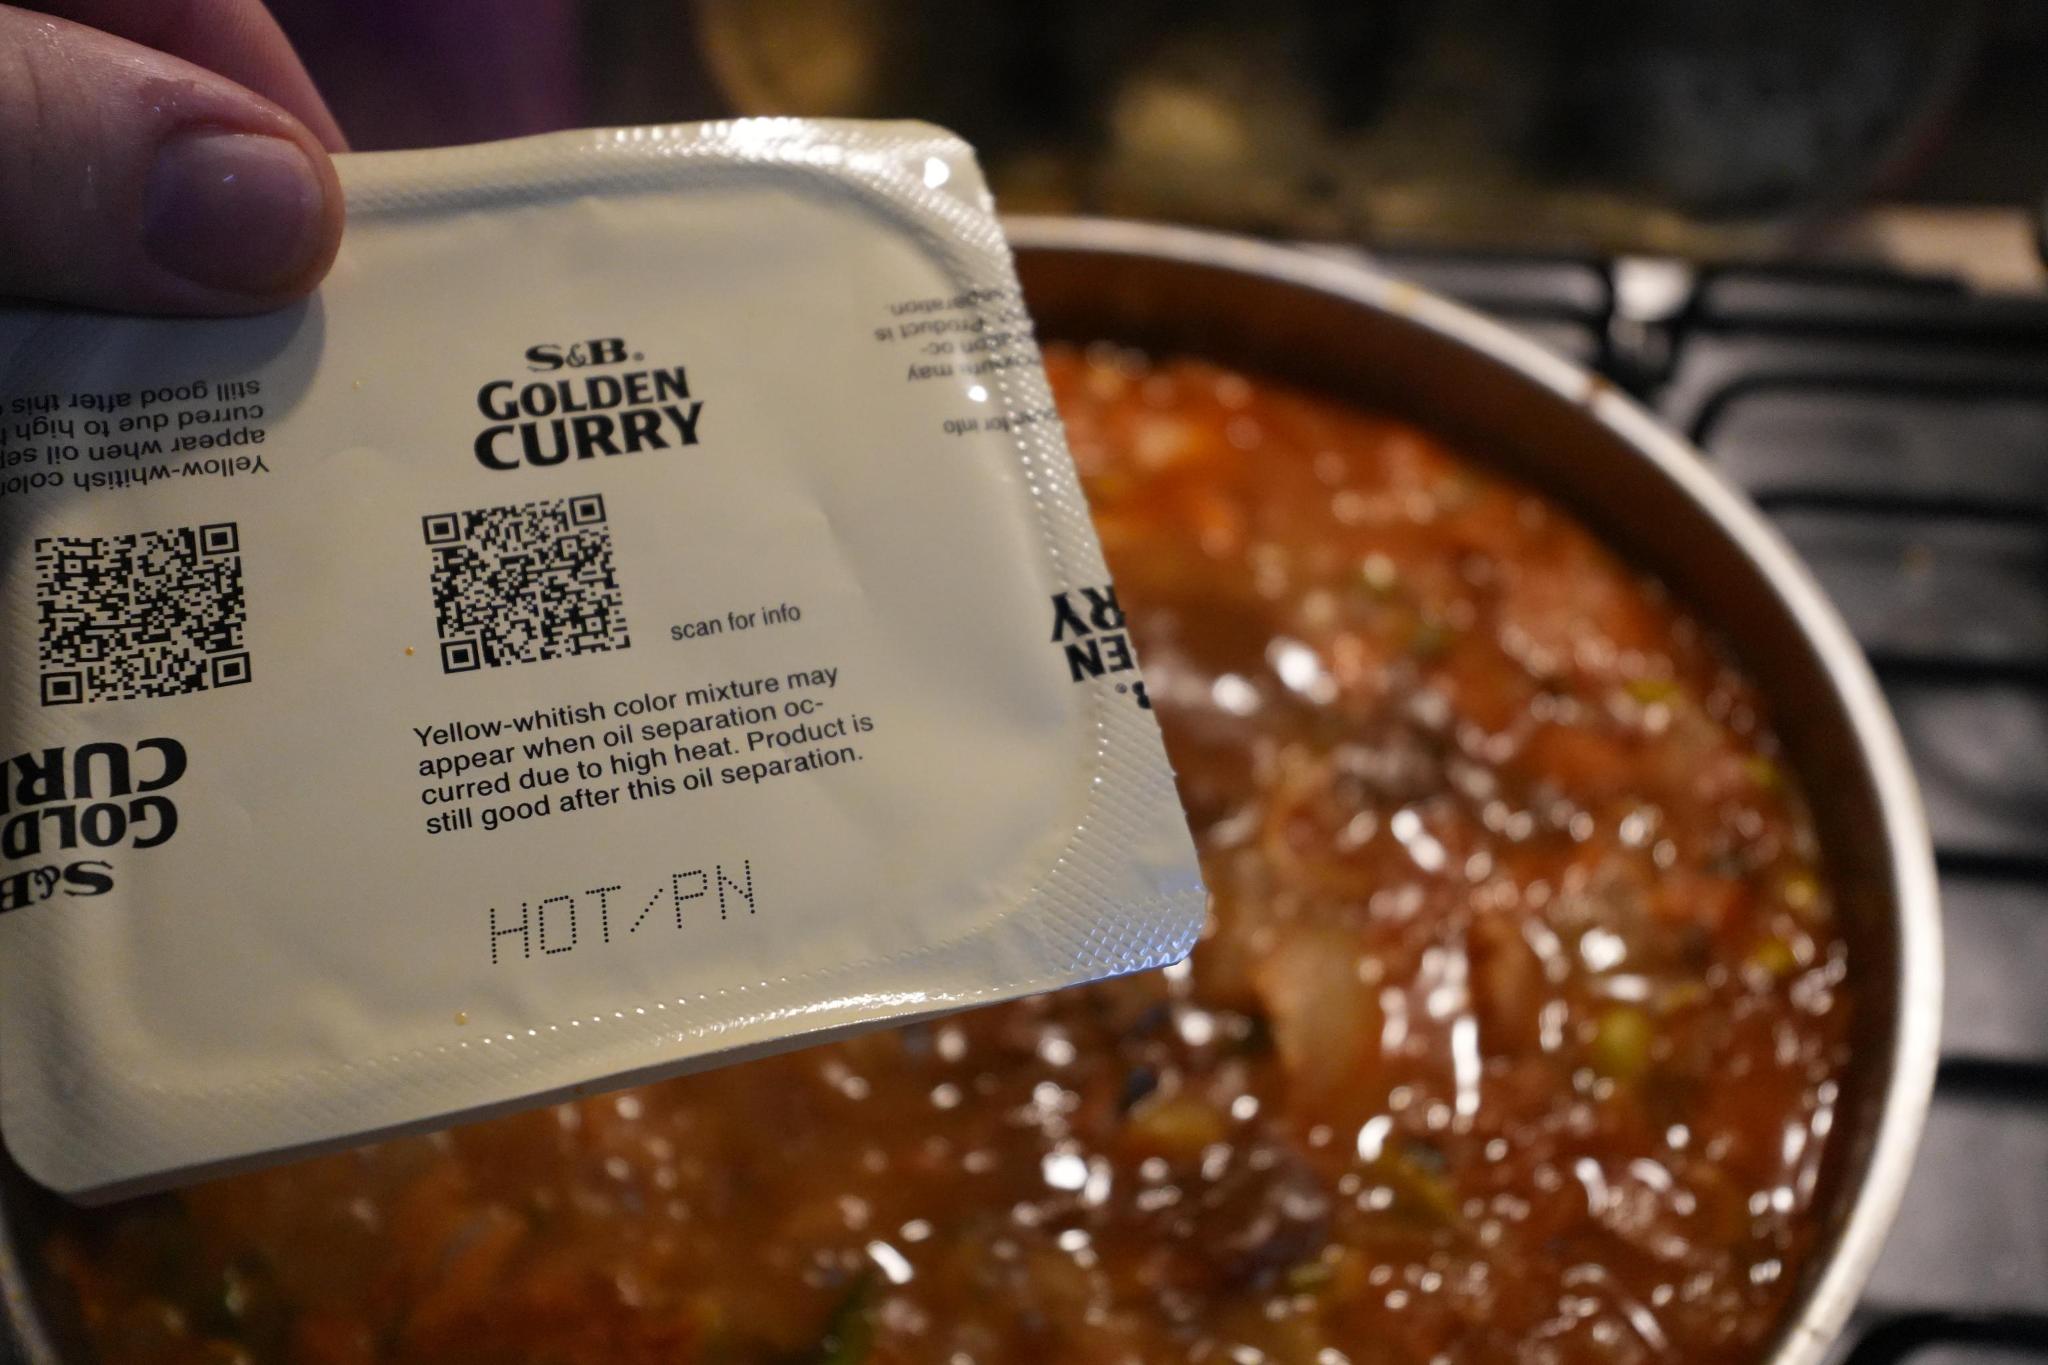
- cube Japanese curry bouillon
- rice
- spices
- water
- oil / butter / … something that ensures it fries and doesn’t burn

Glorifying elements:
- msg
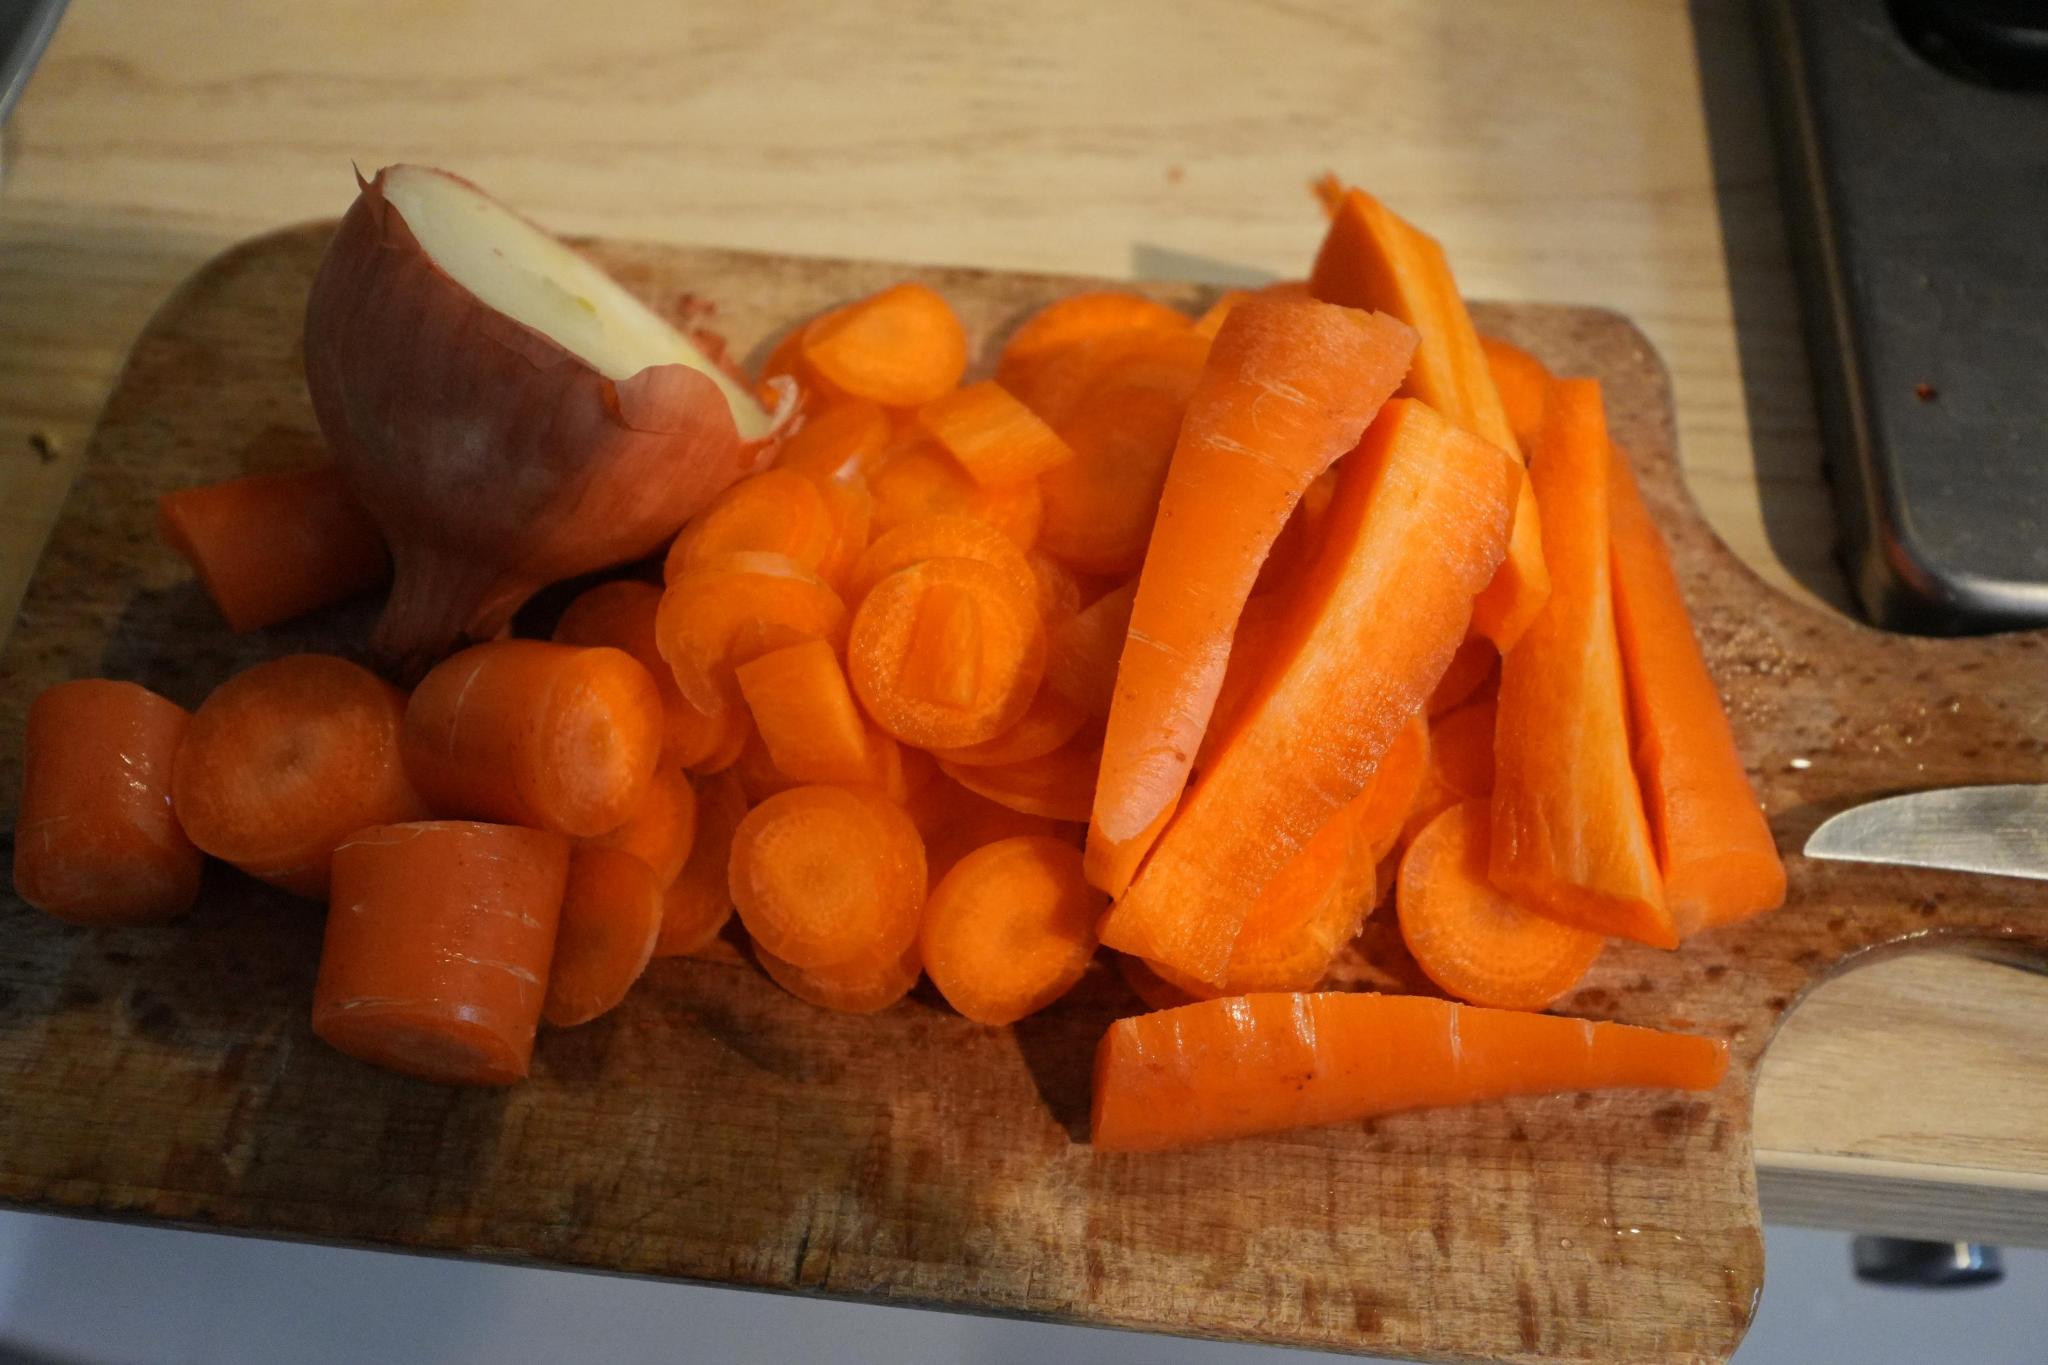
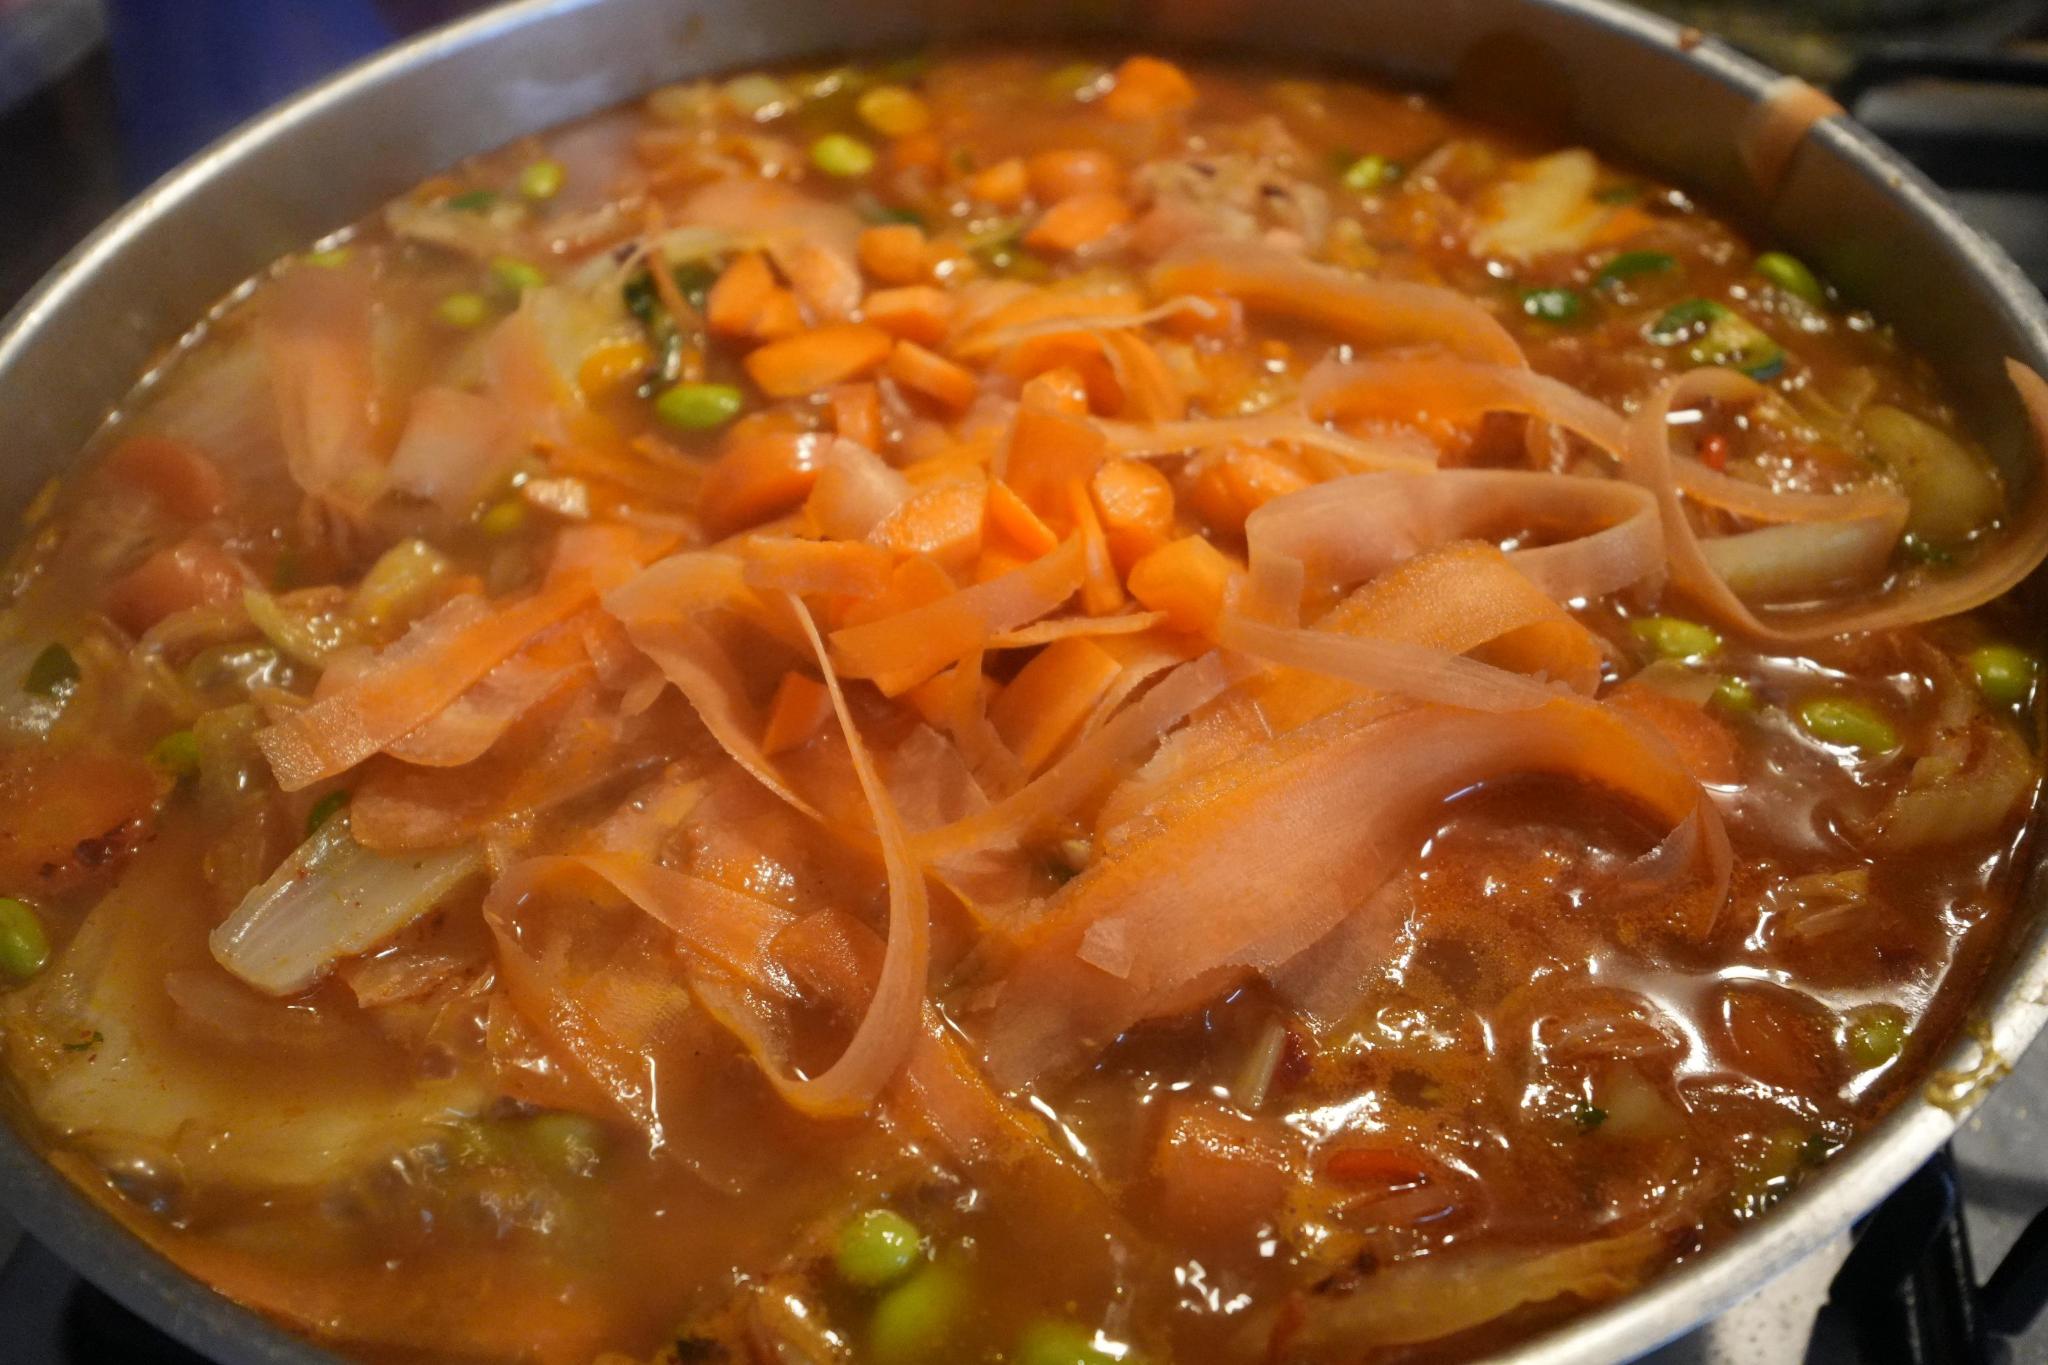
- carrot
- leafy greens (short or long)
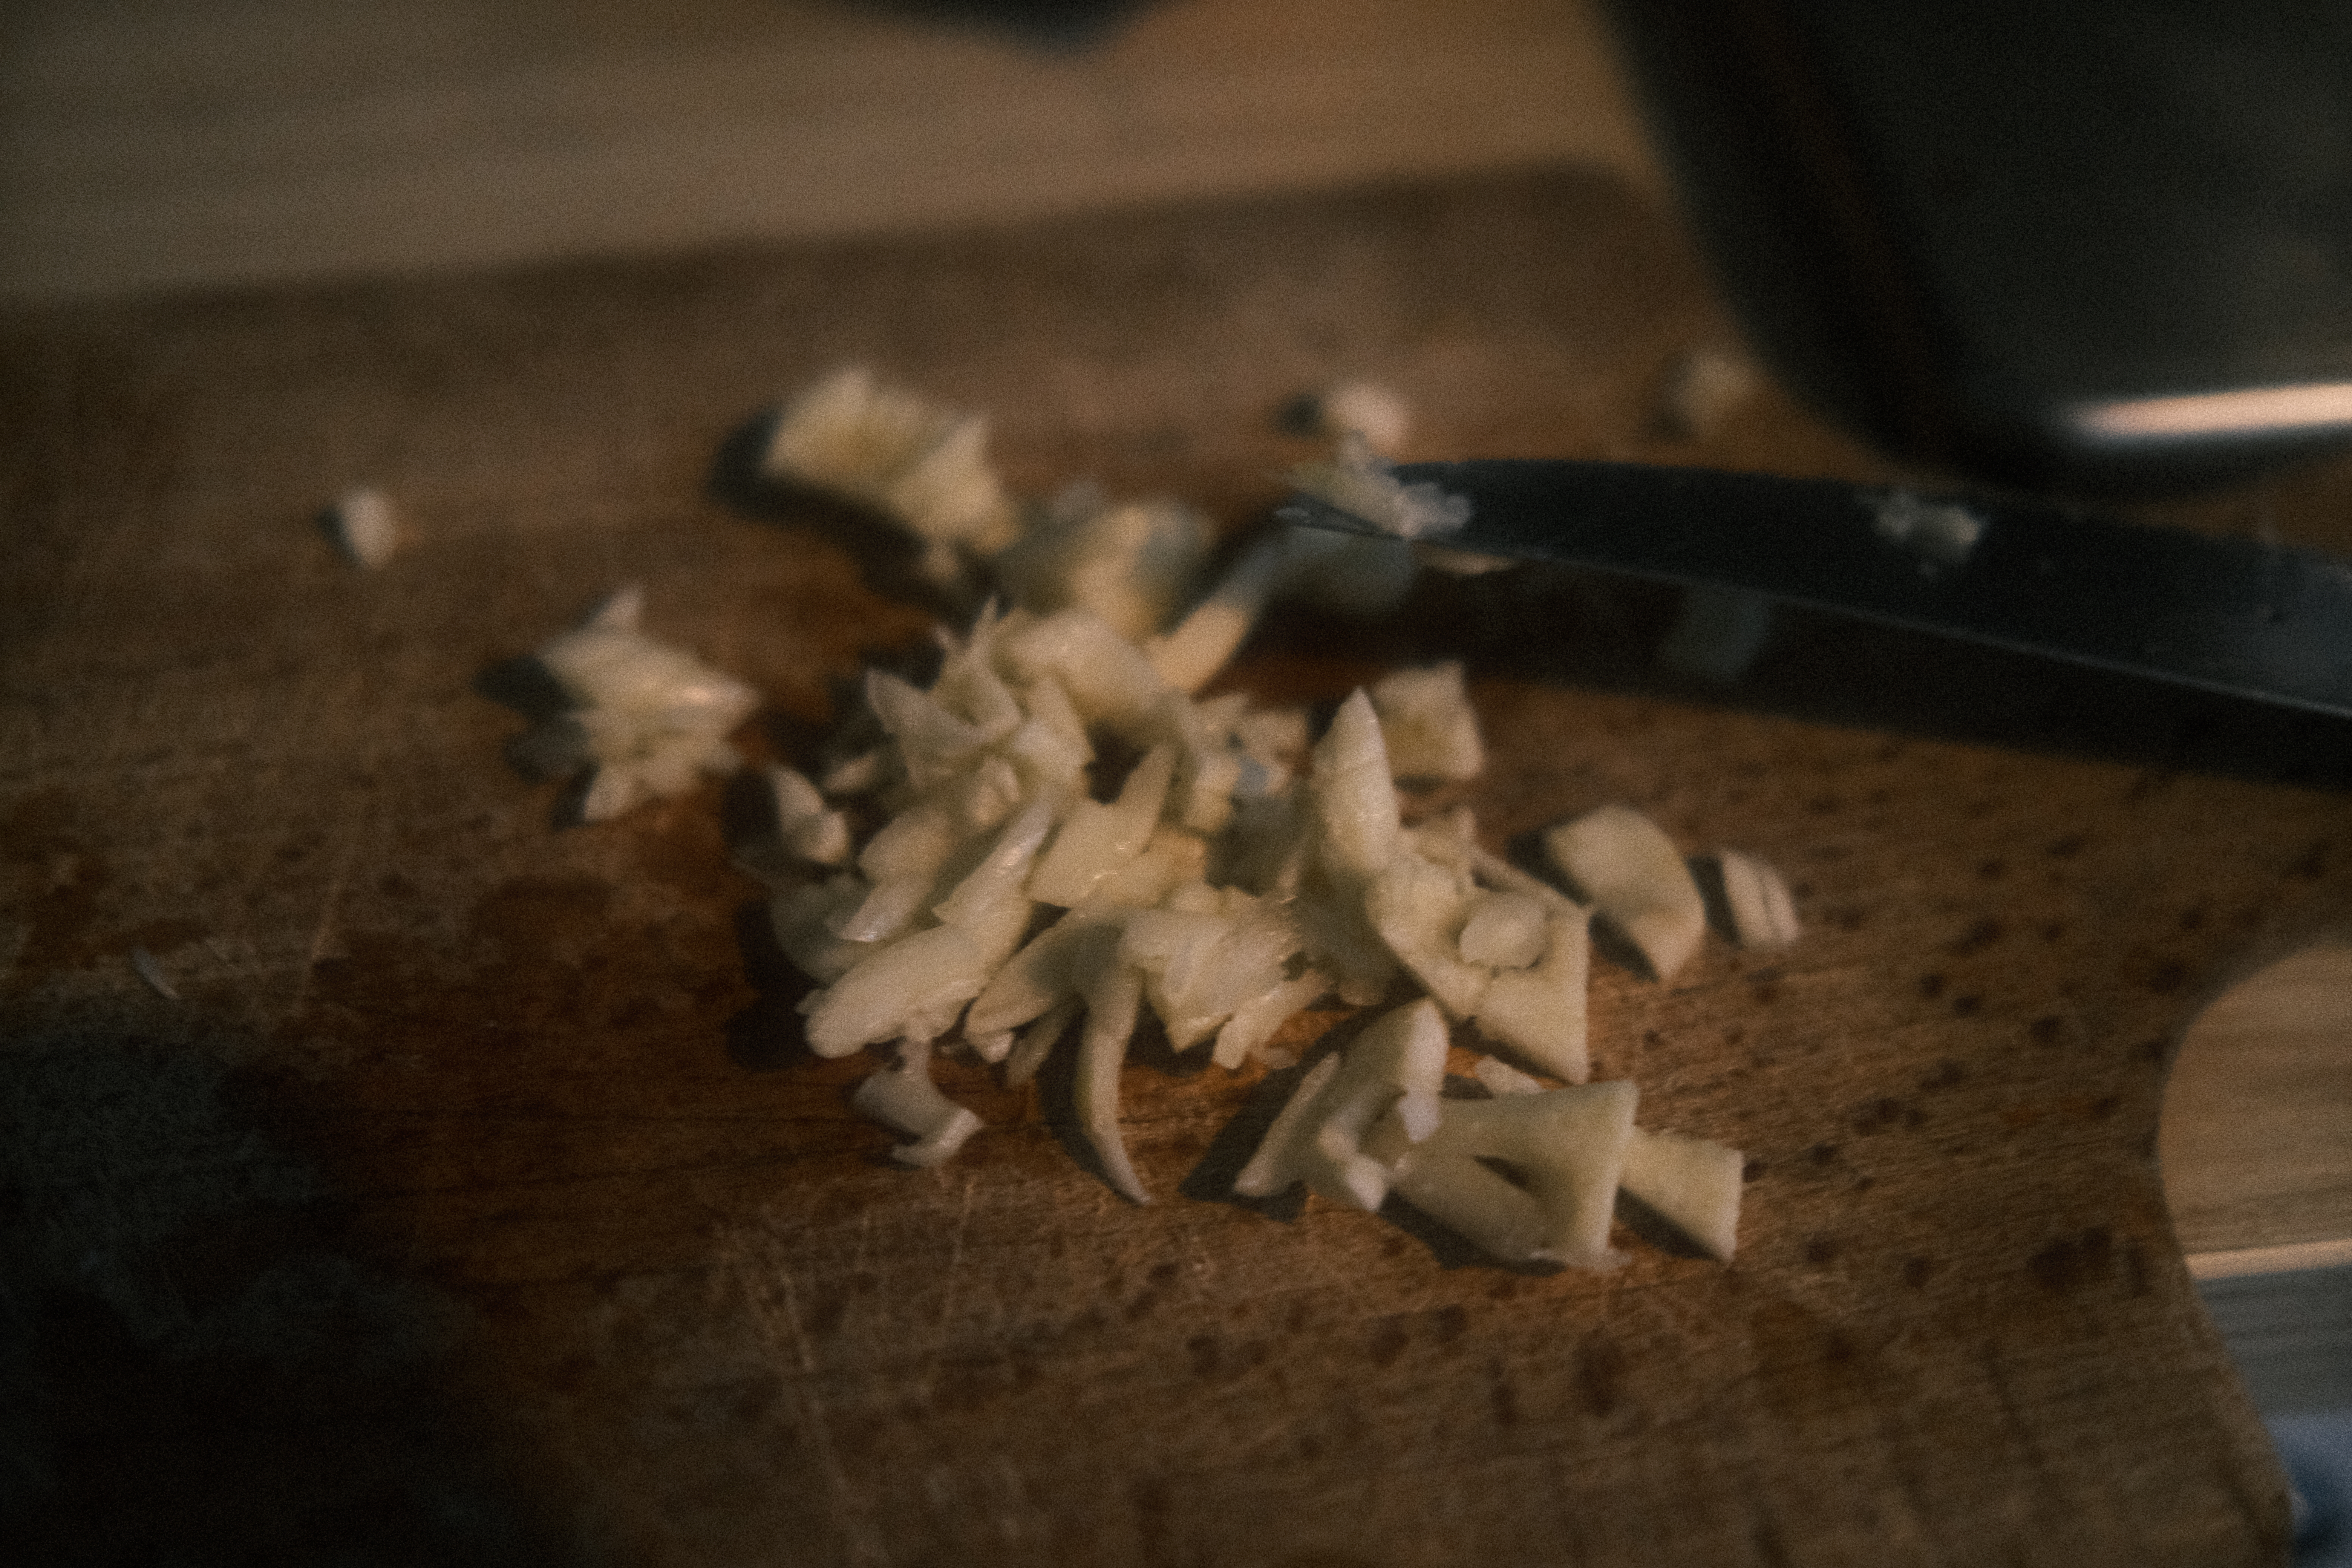
- garlic
- more spices
- broccoli
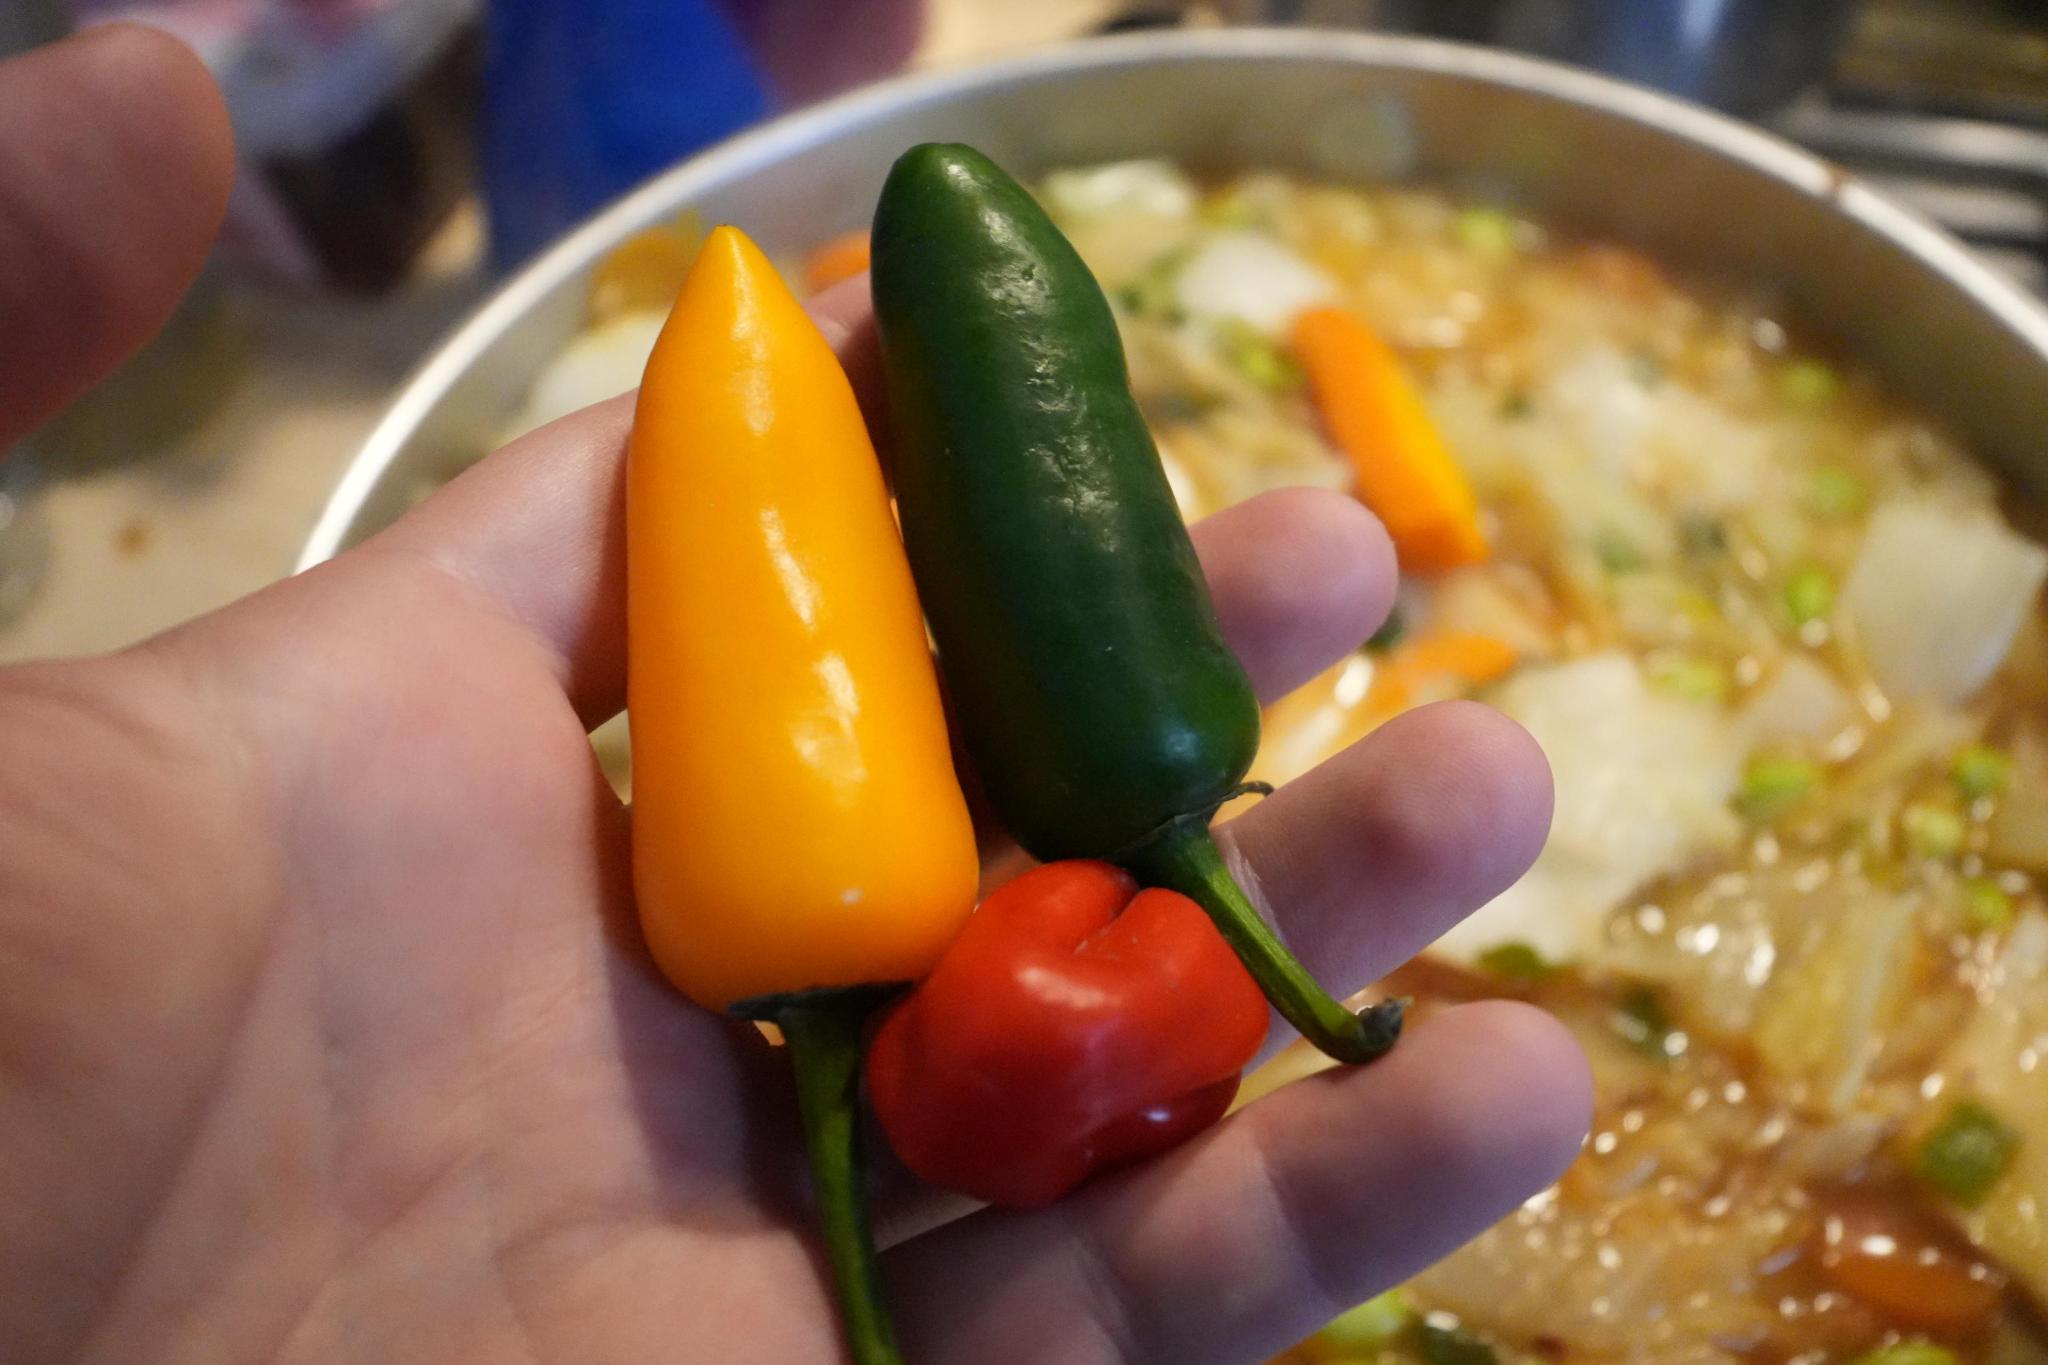
- bell pepper
- chili
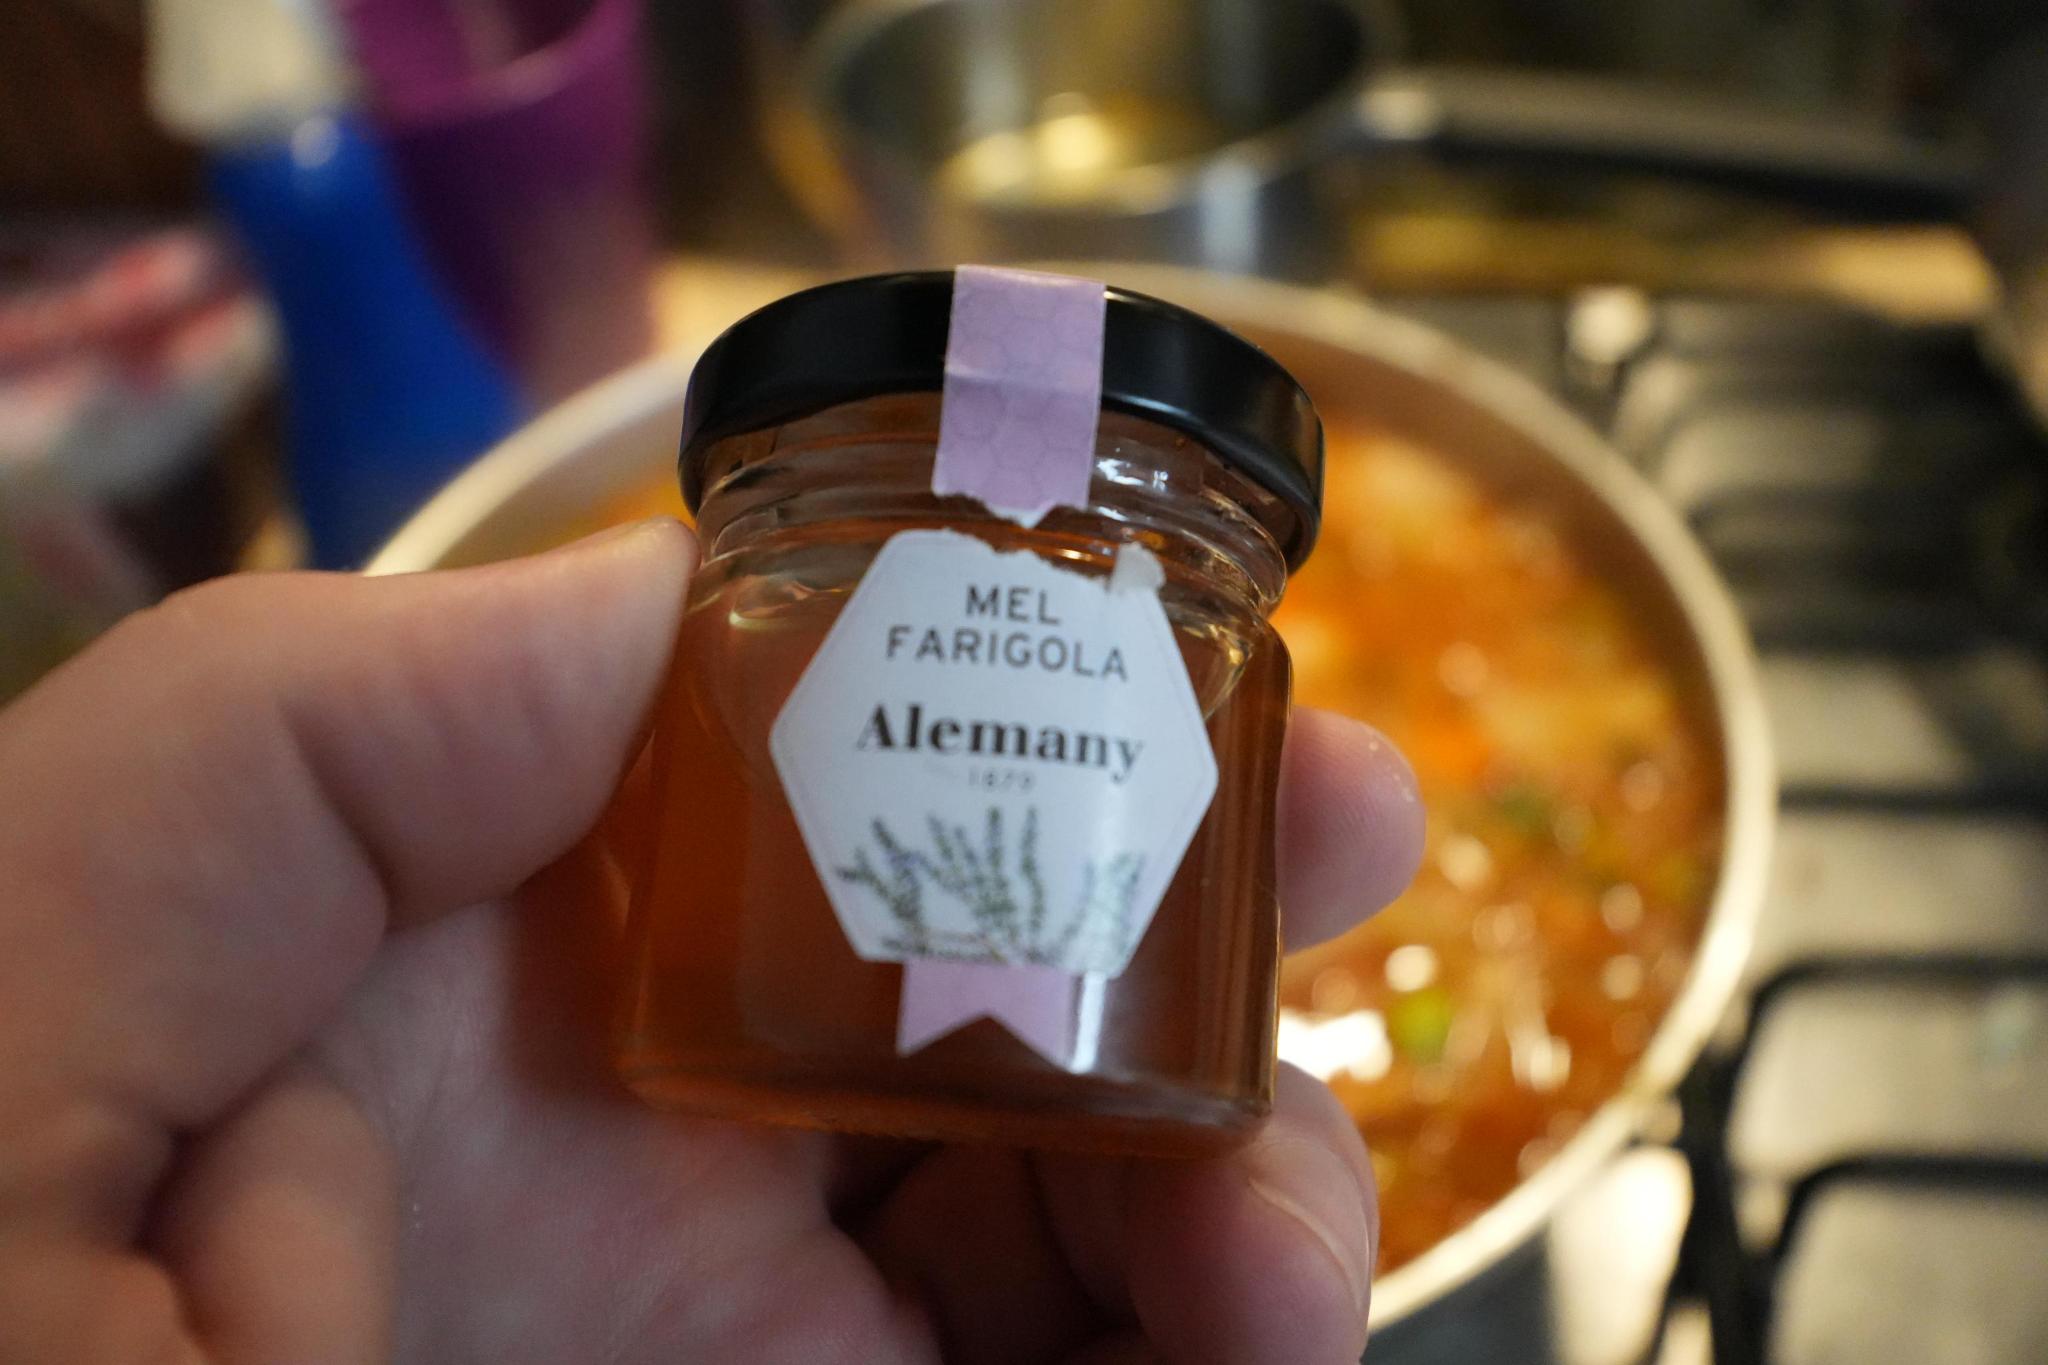
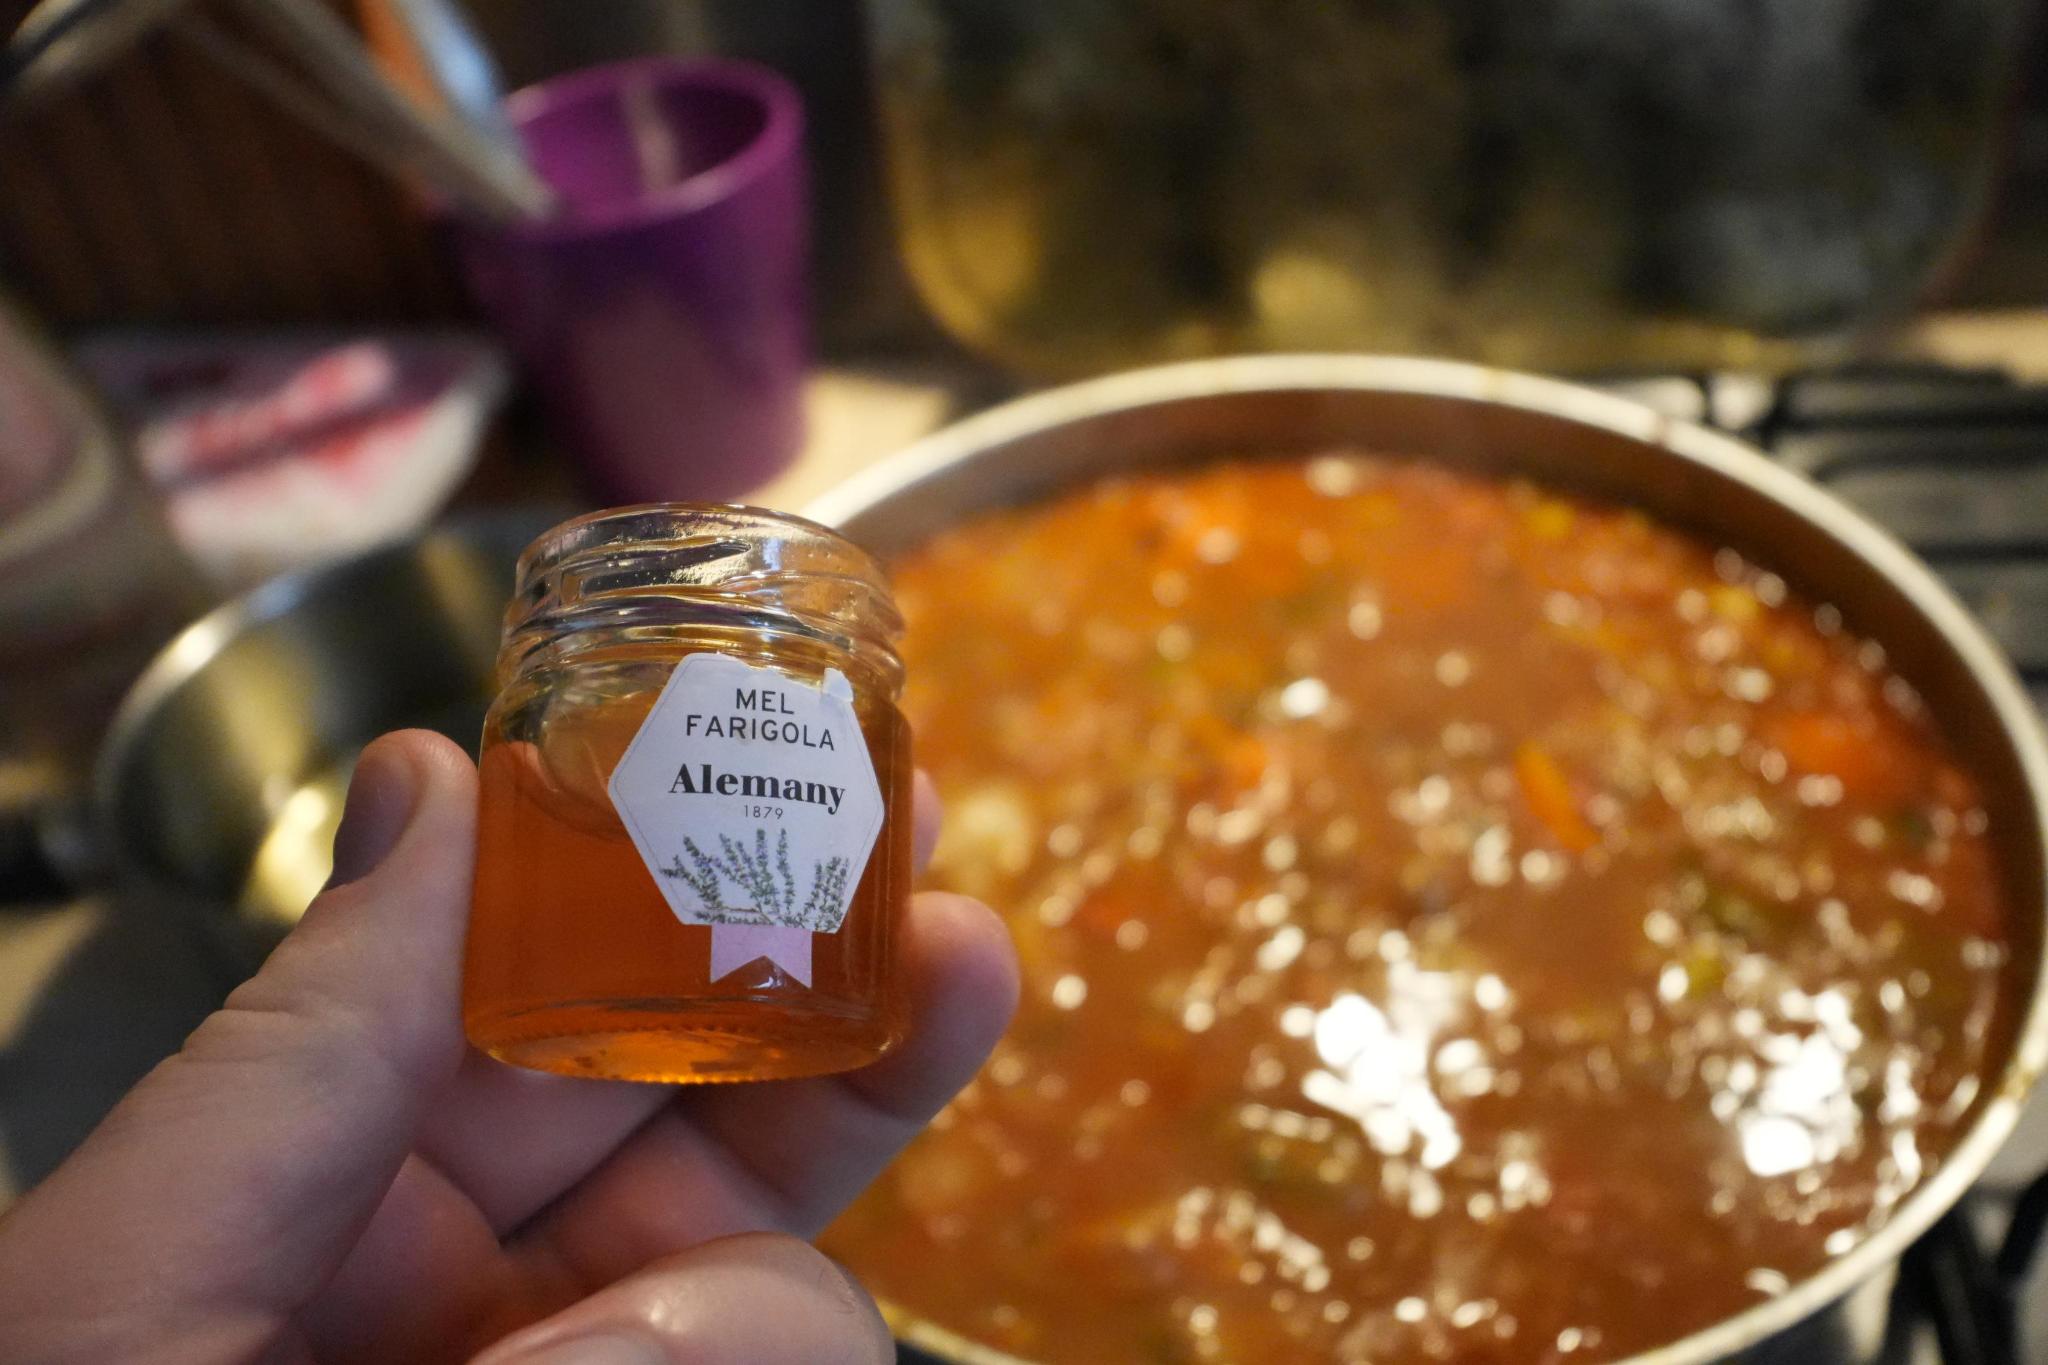
- honey / little sugar (preferably not really white sugar, is too uniform in taste, honey ideally also from a beekeeper)
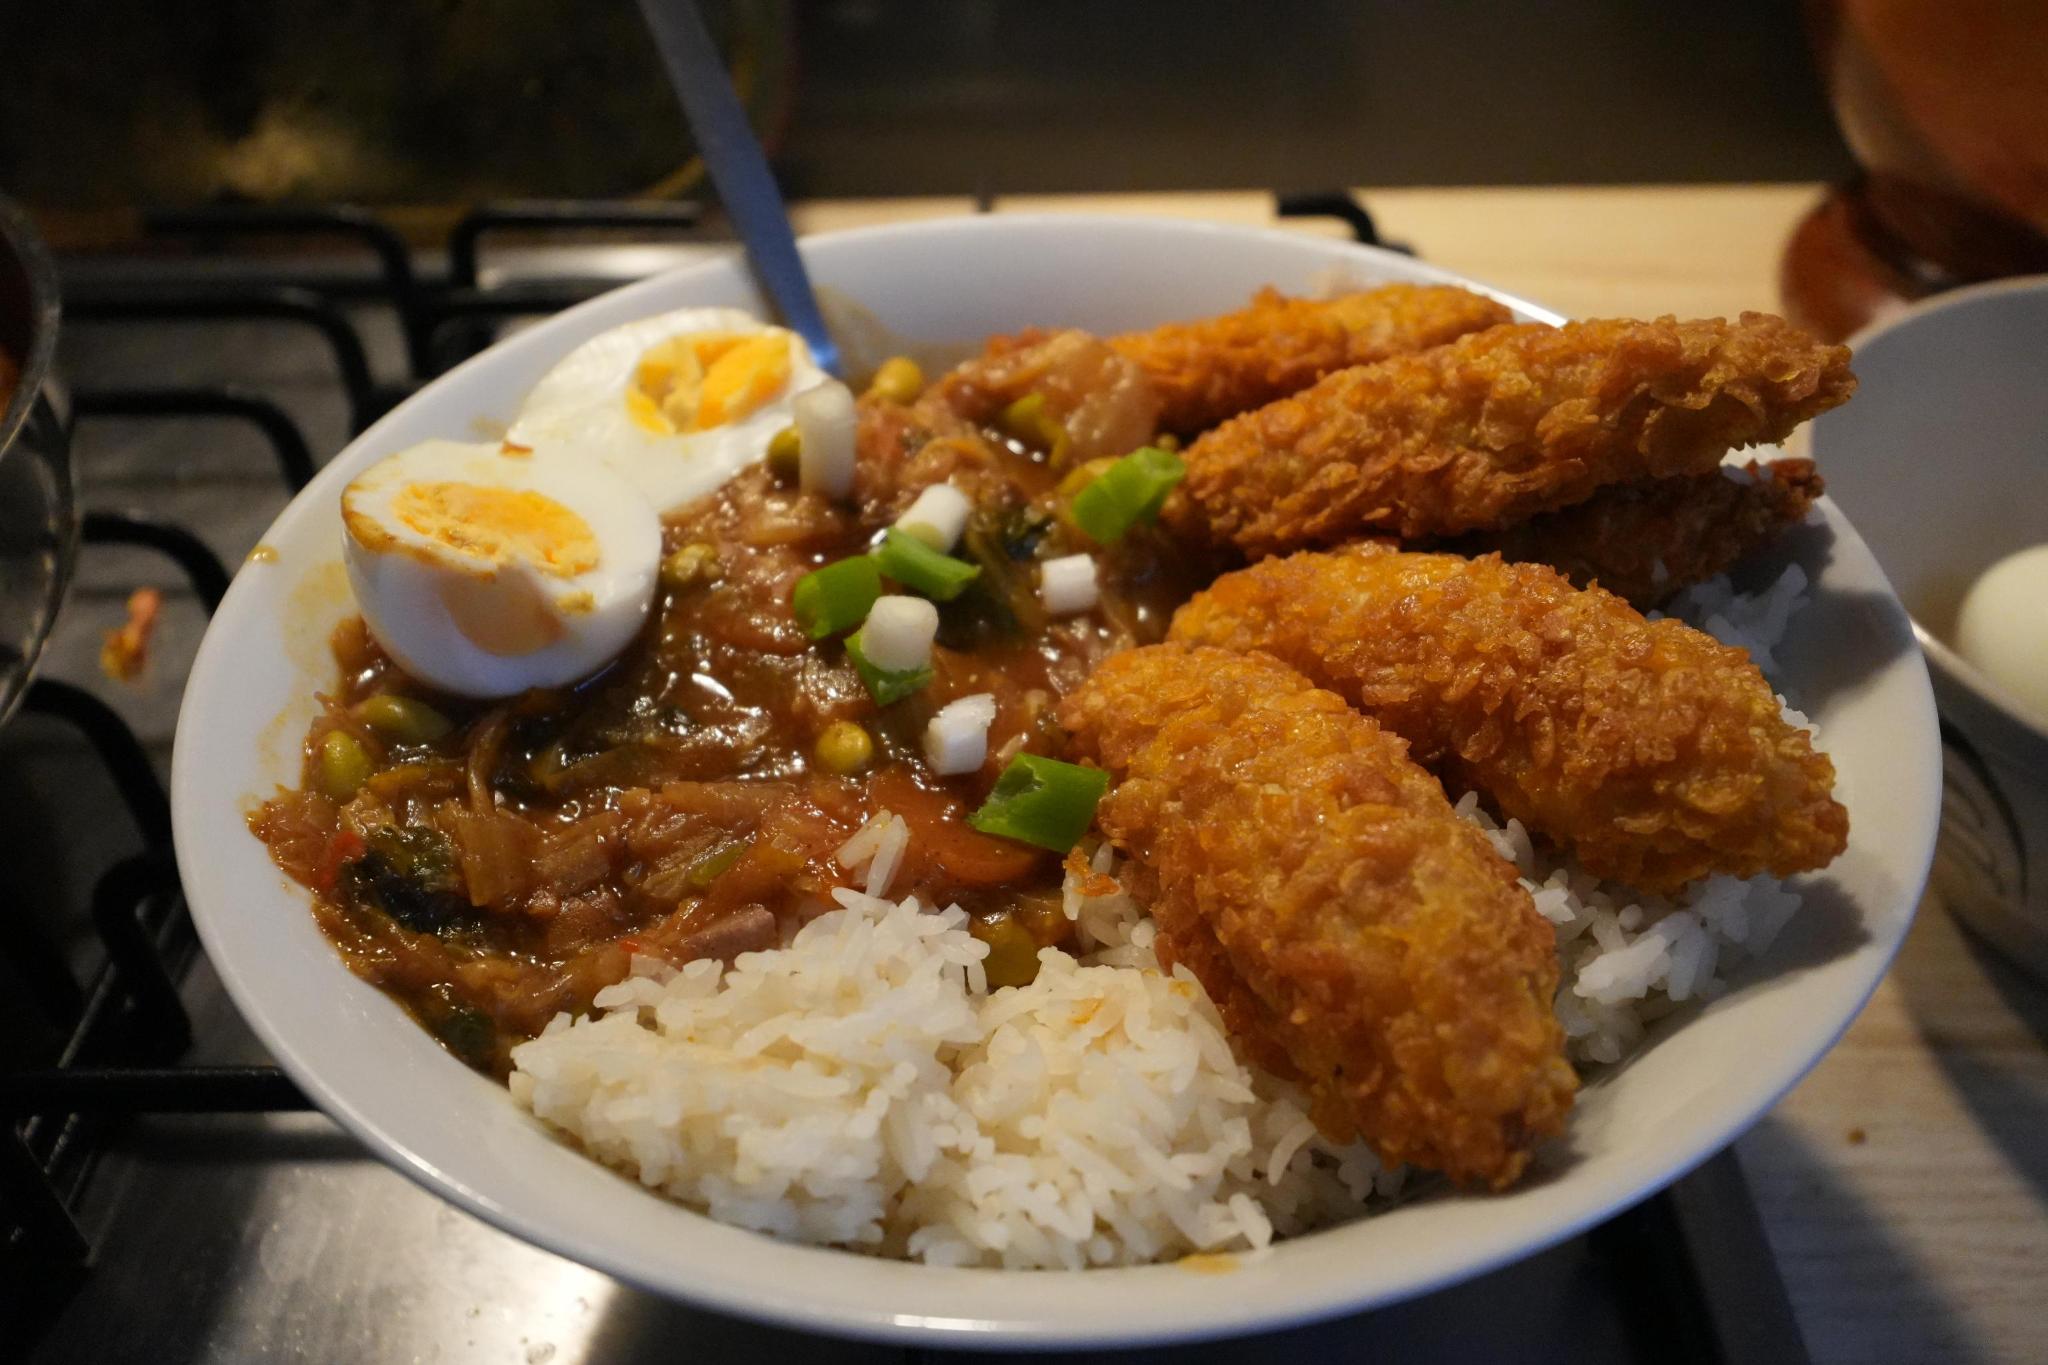
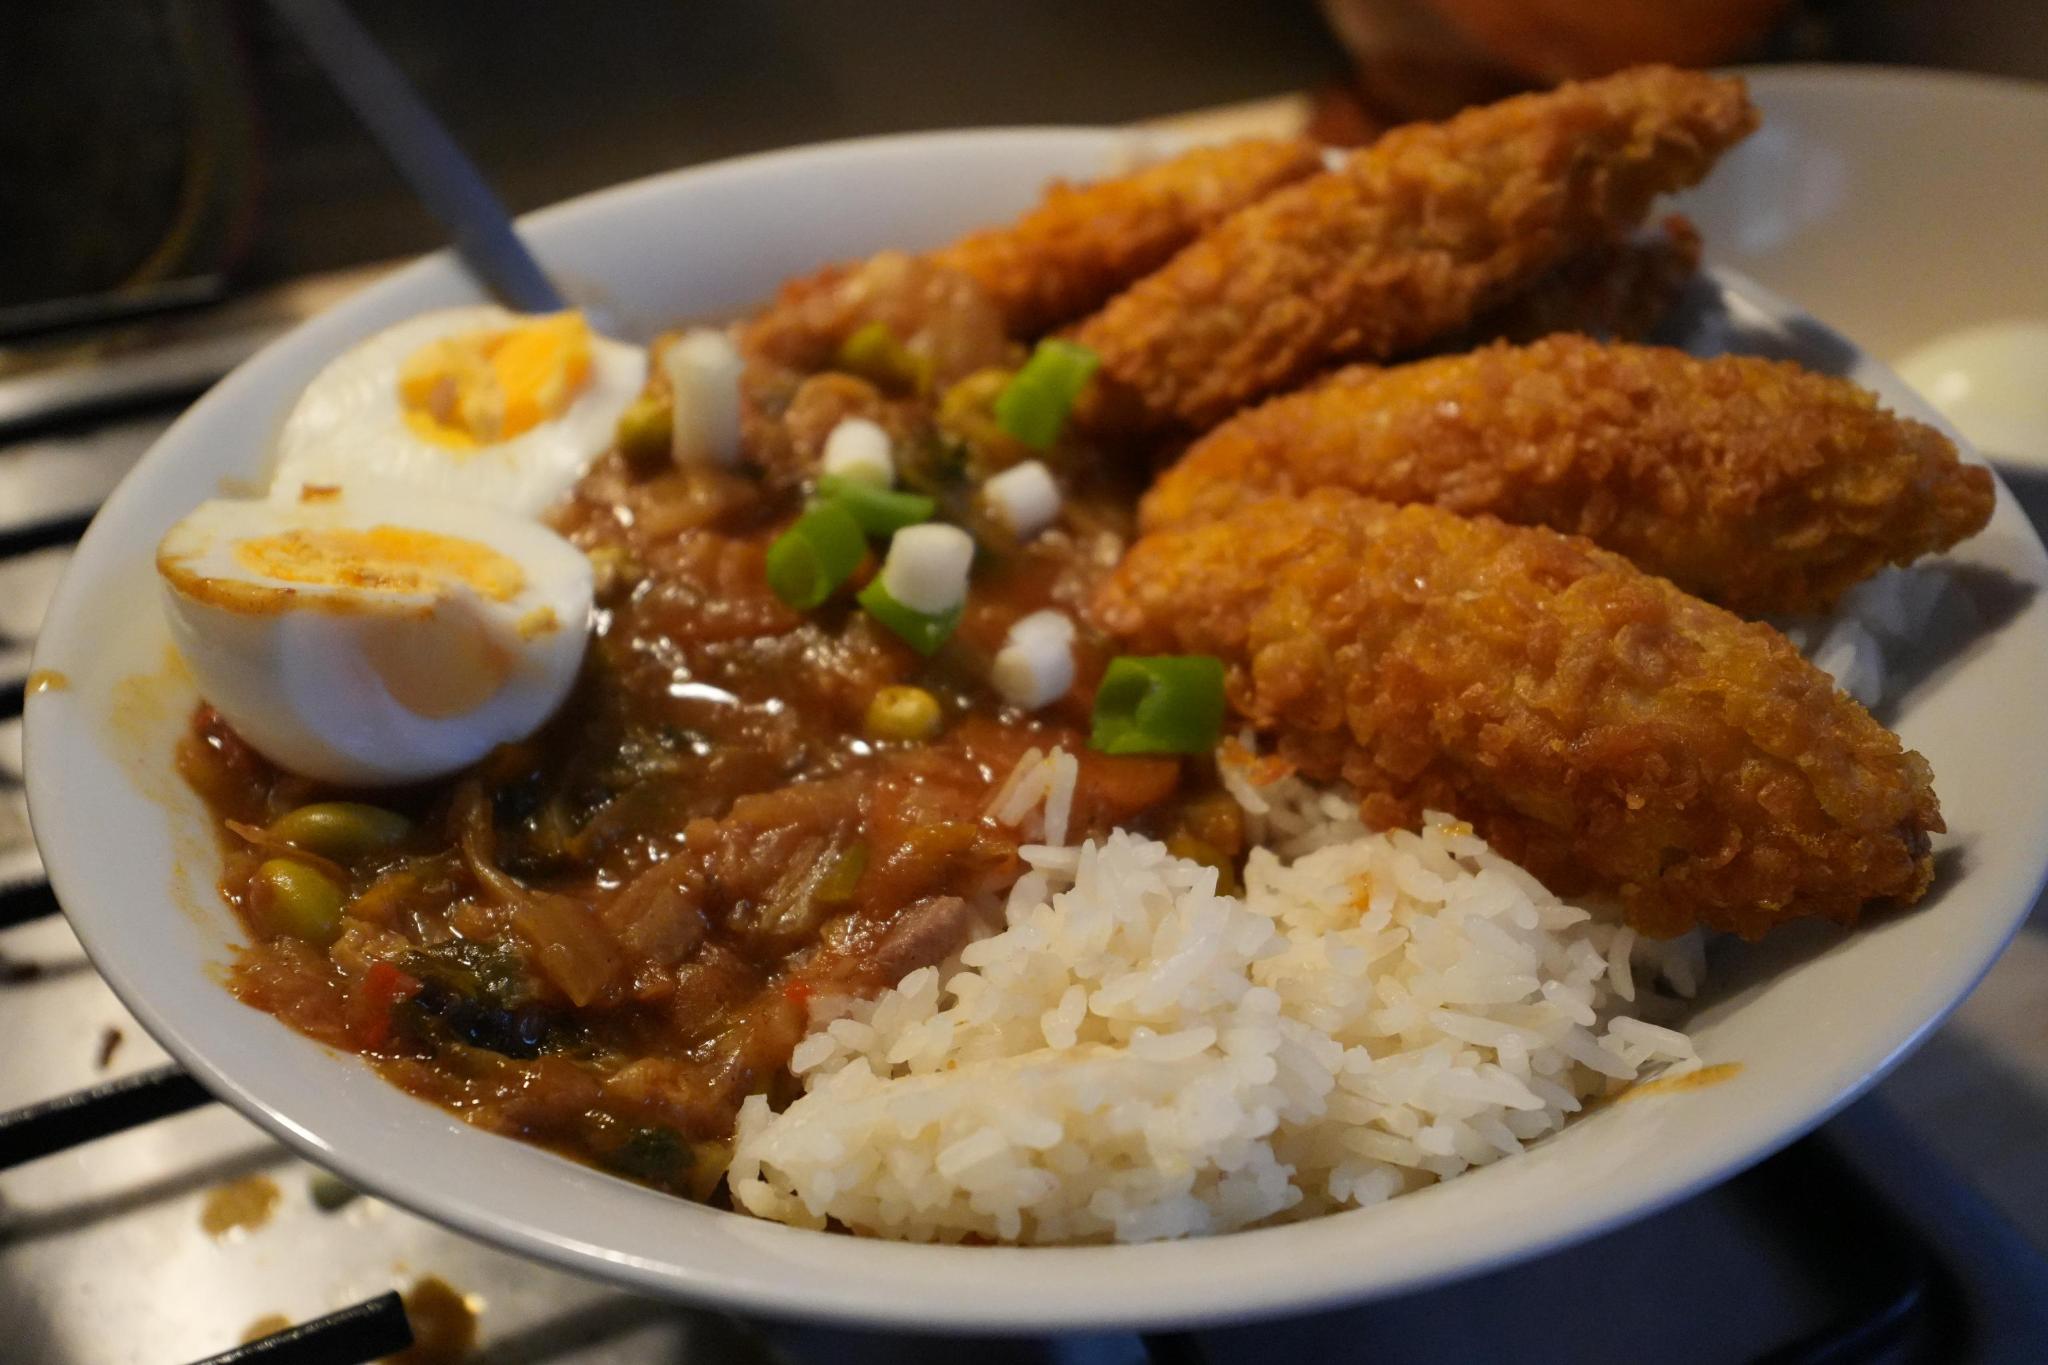
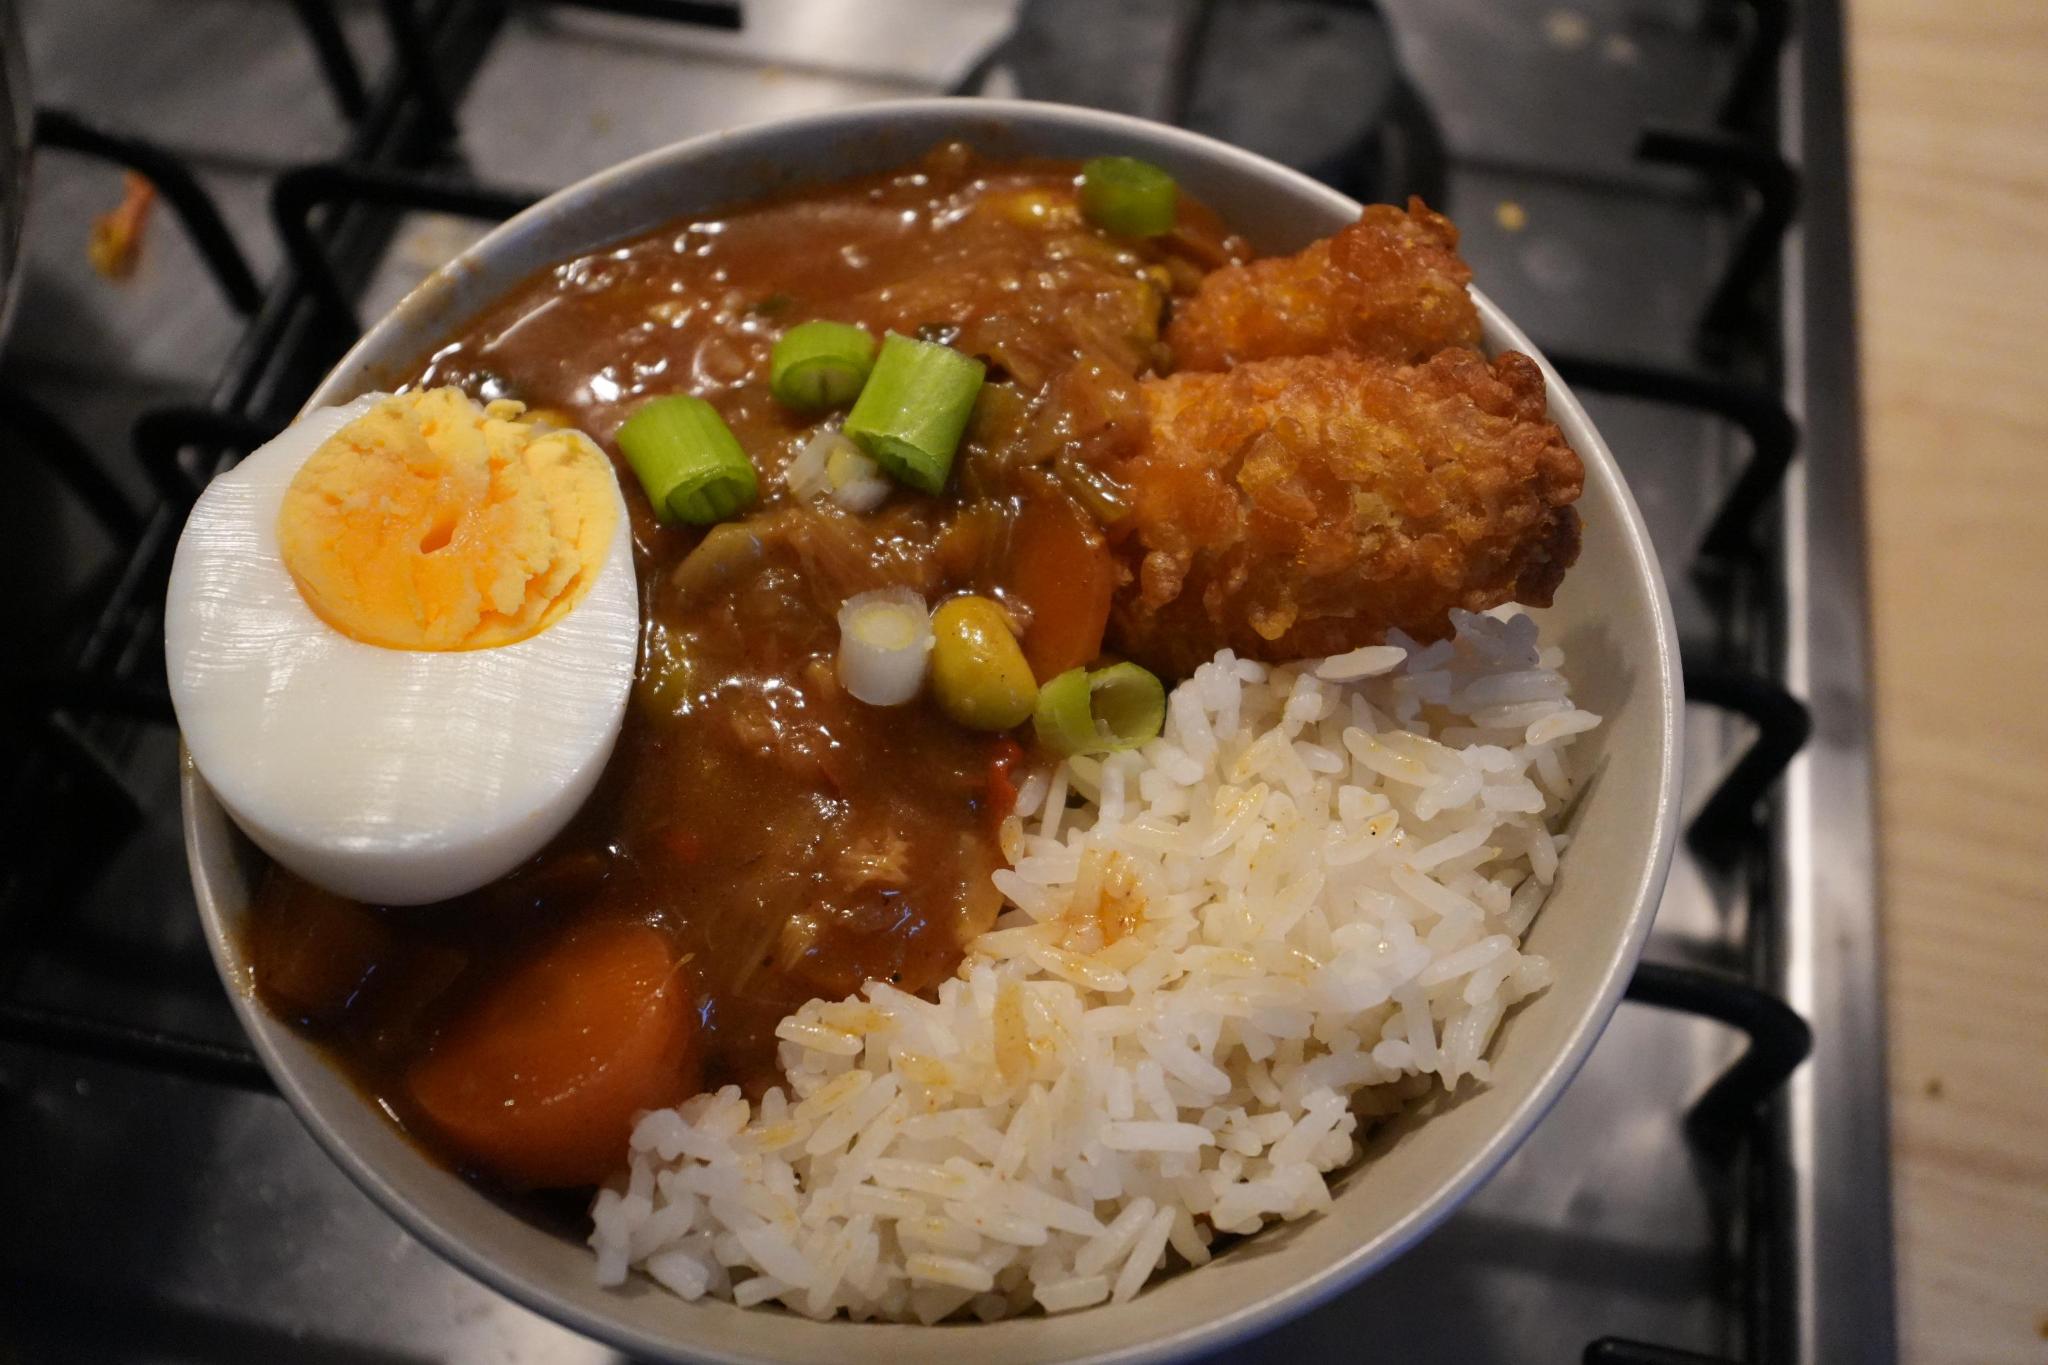
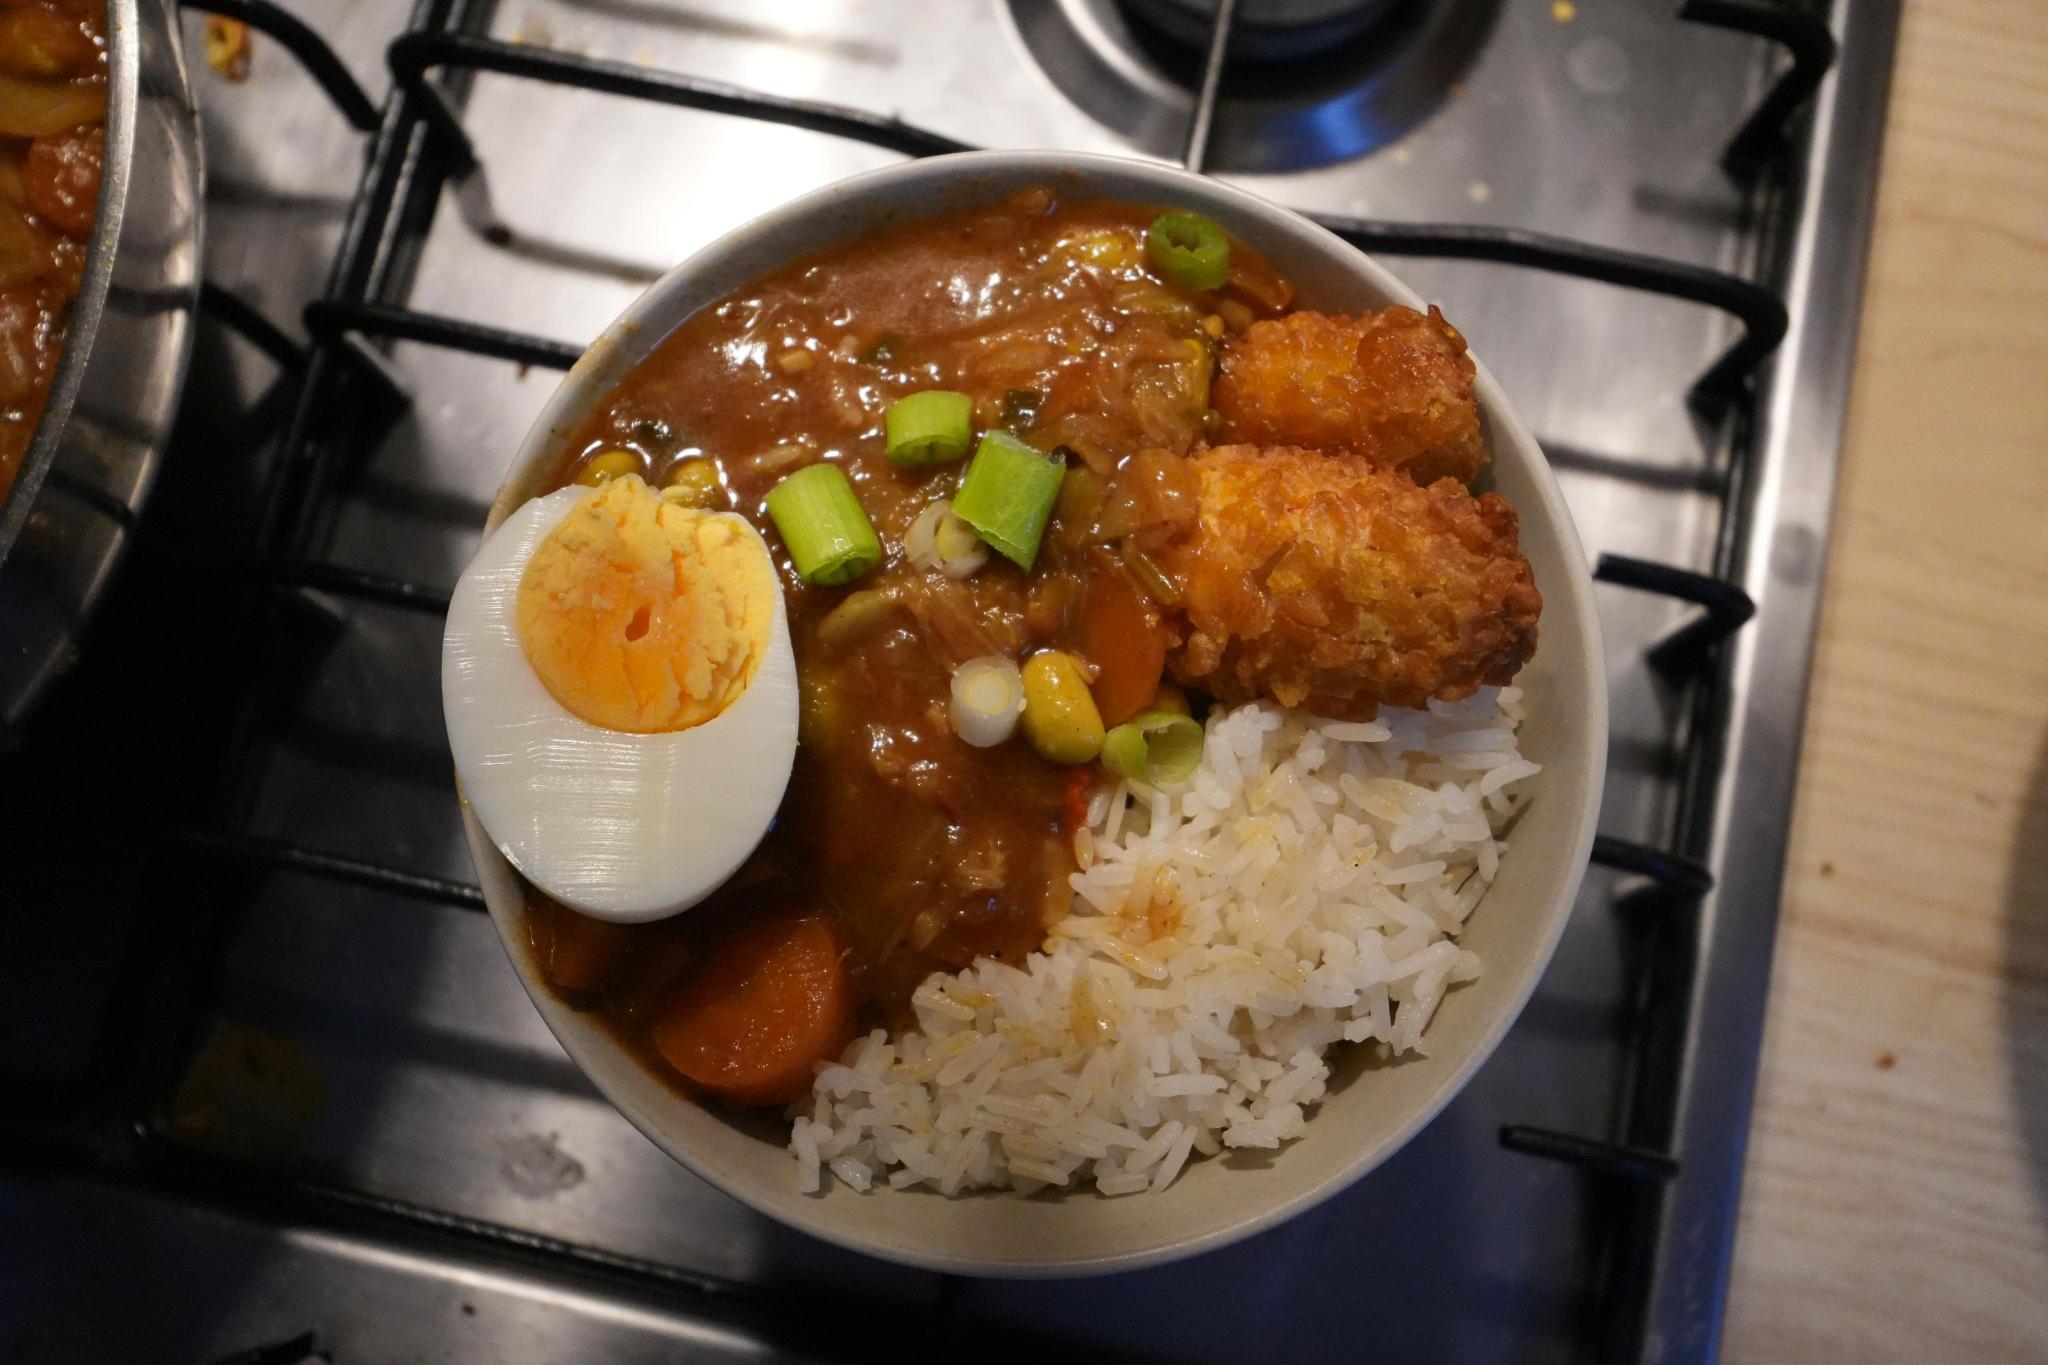
- meat / meat substitute
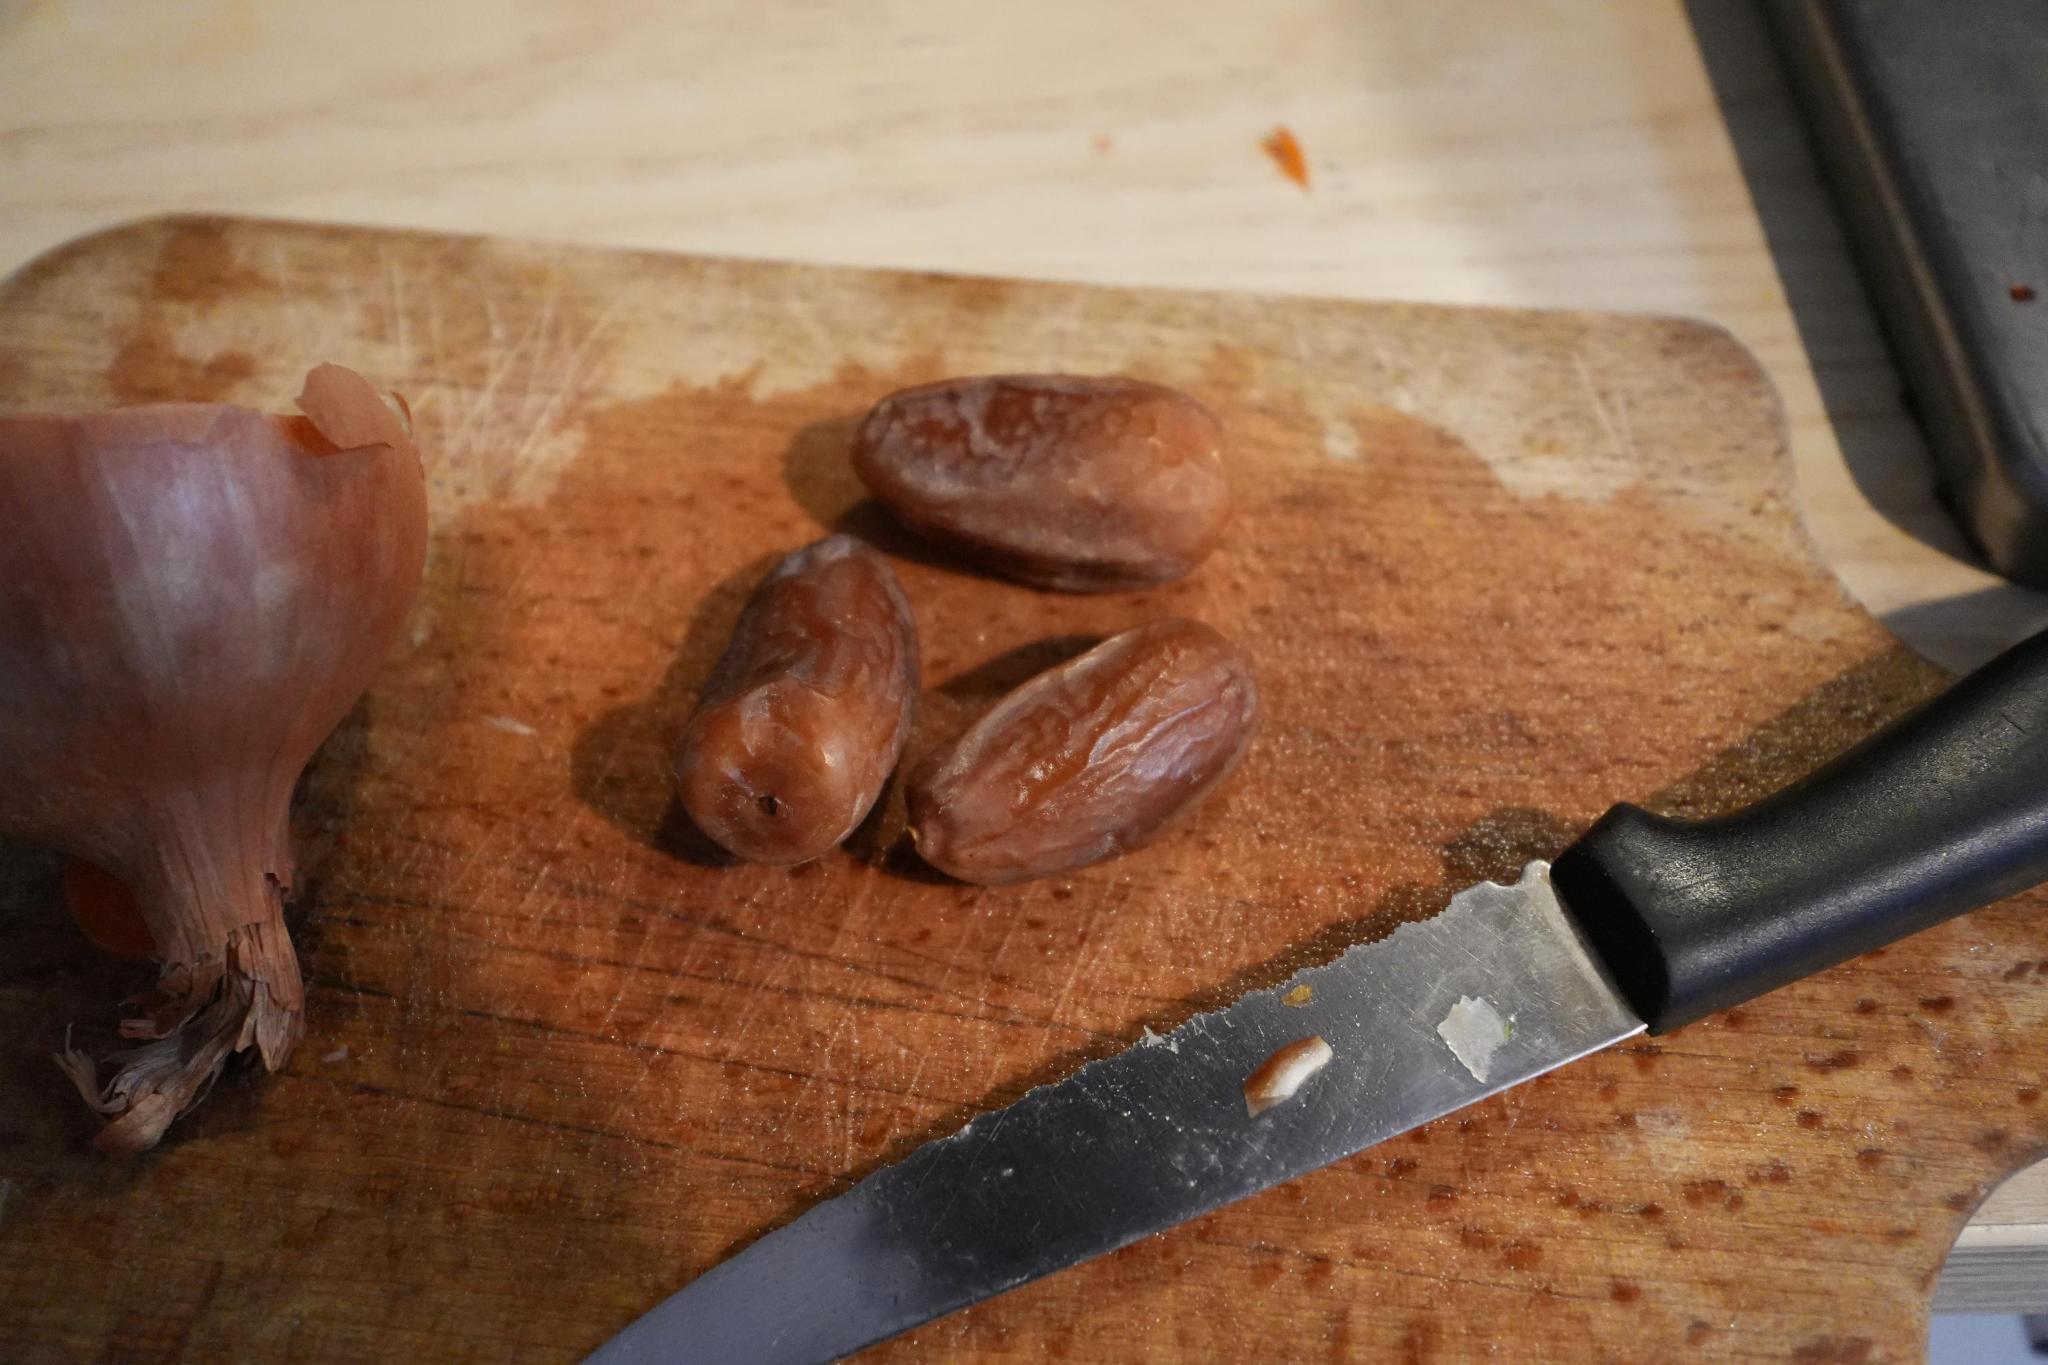
- …? be creative, recently added a date and with that got highest score from my brother so far 🙏
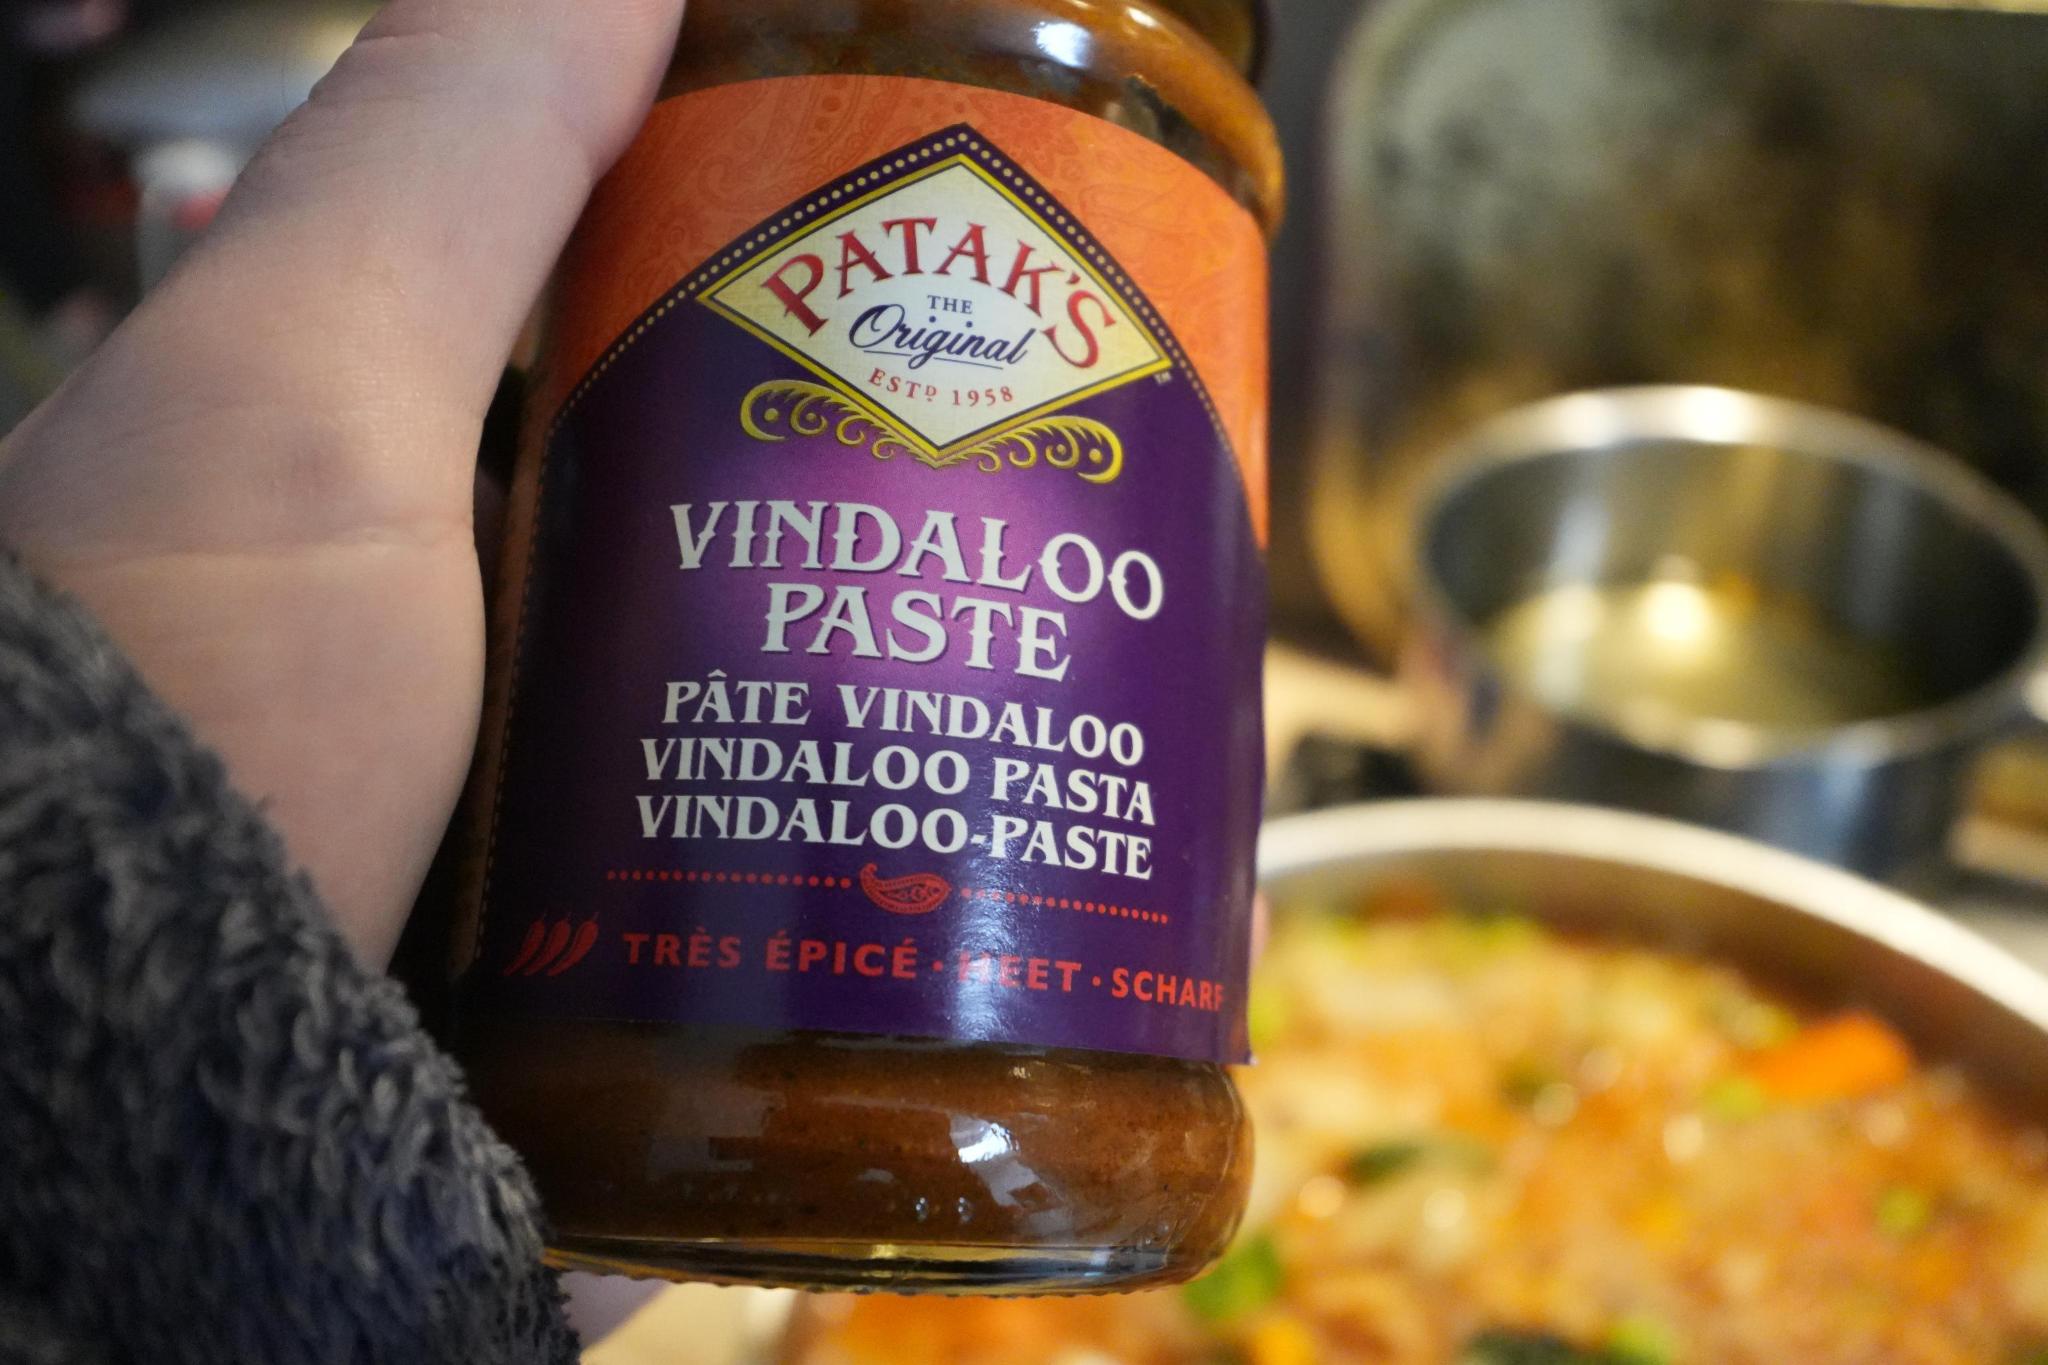
When one wants to go more adventurous, one can also mix different bouillon cubes, or different curries, just make sure that the amount of each is not too much, and that you keep the flavors you want (e.g., Indian curry is a bit sour sometimes which doesn’t really suit my preference, so I add a bit less of it).
At home I often mix 4 to 5 different curries into a super curry, that surpasses each (definitely not for every time, variation is key)
Preparation
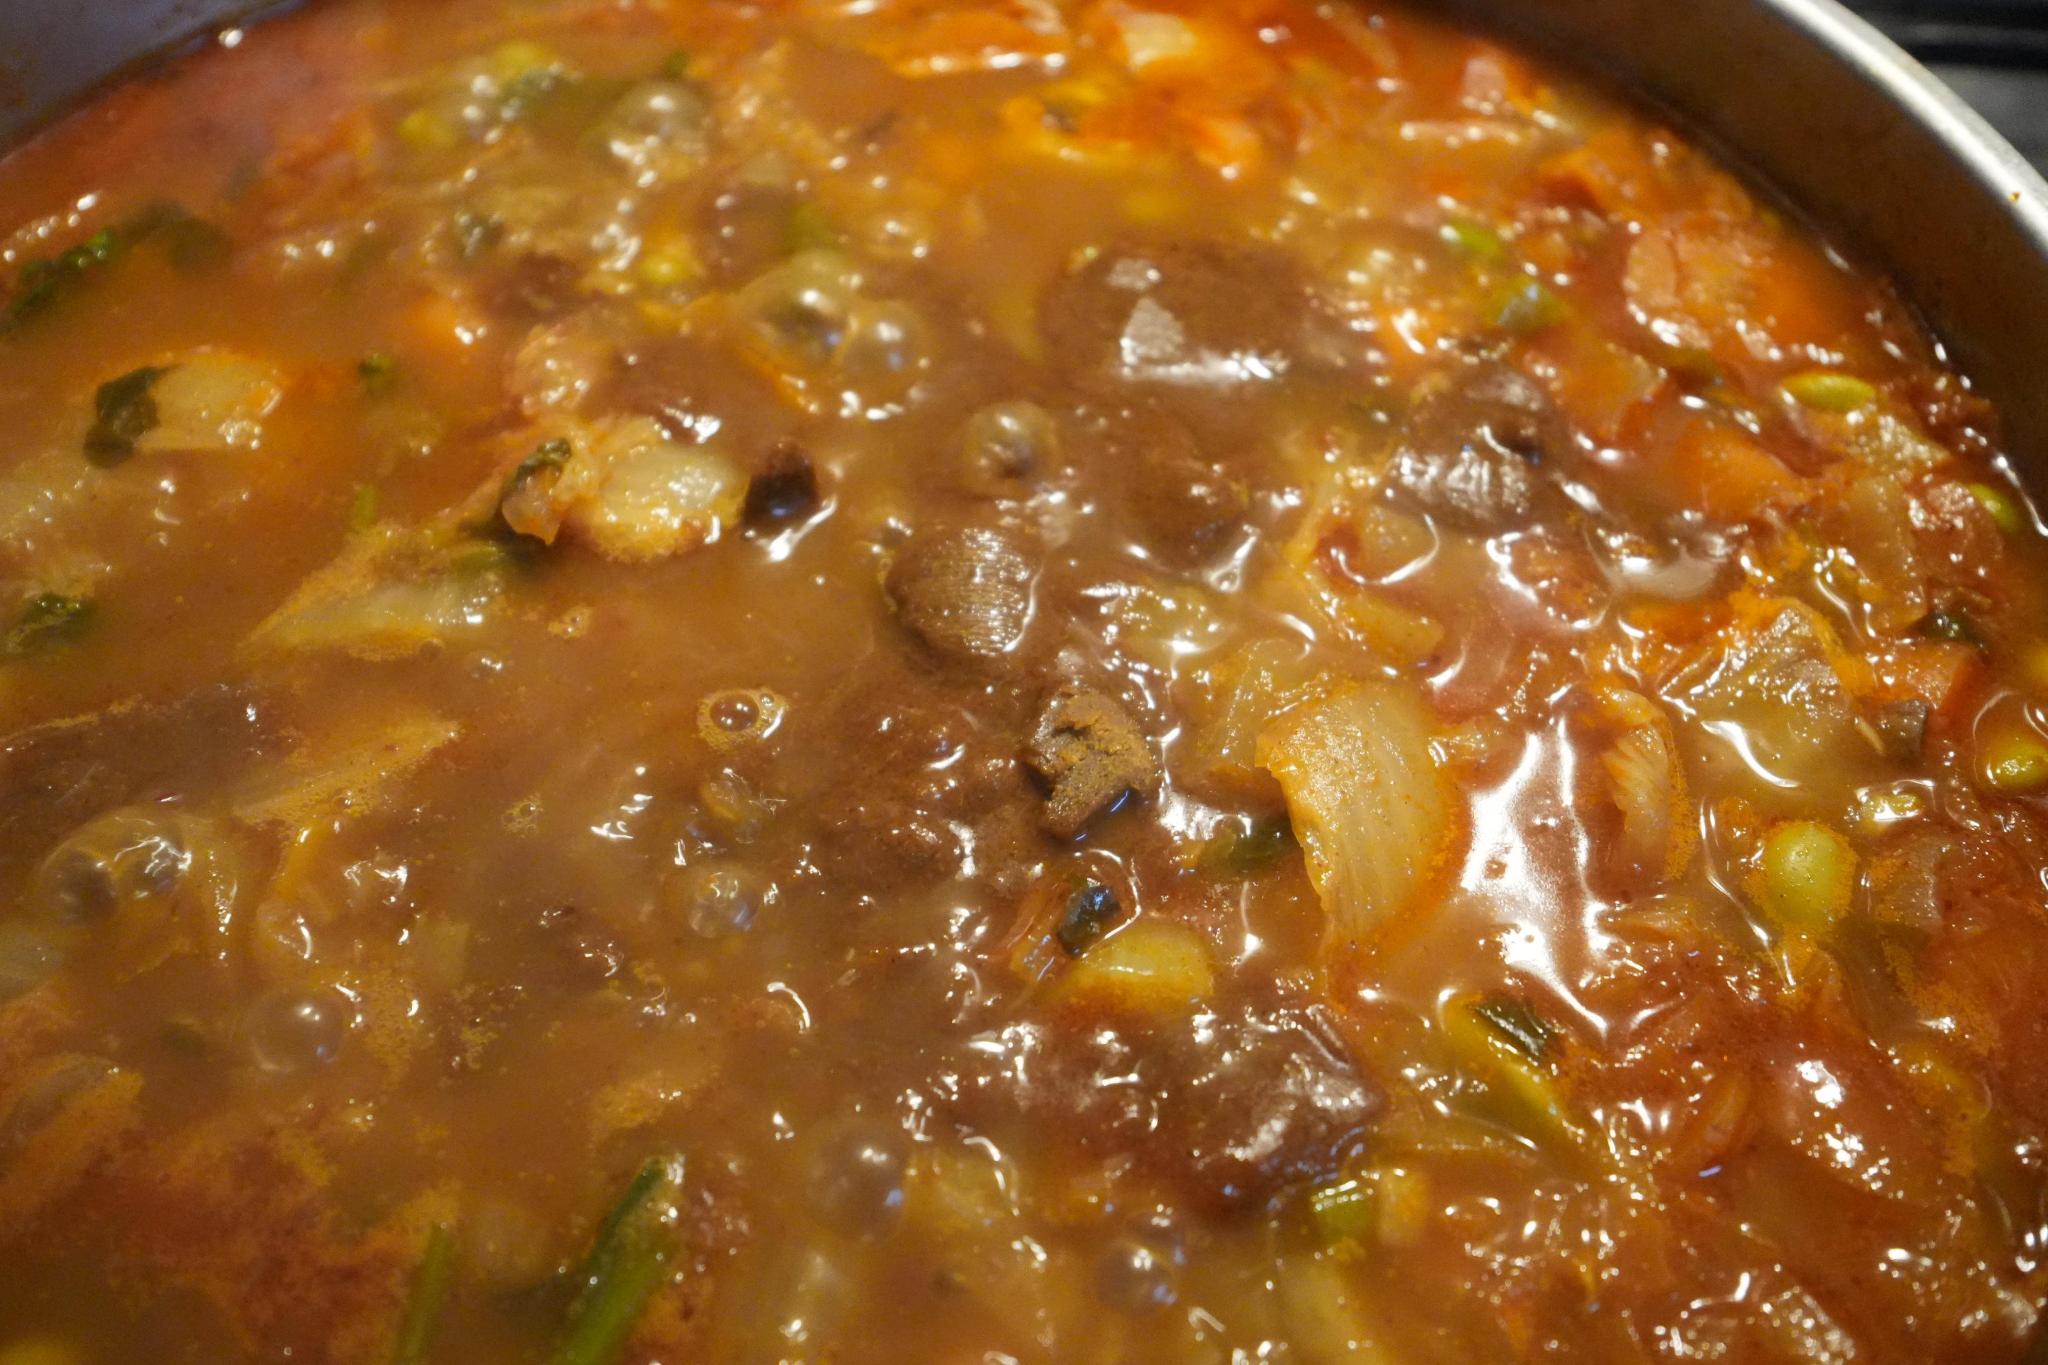
The curry
I prepare curry in a stew like manner. Good luck, and have fun experimenting :D!
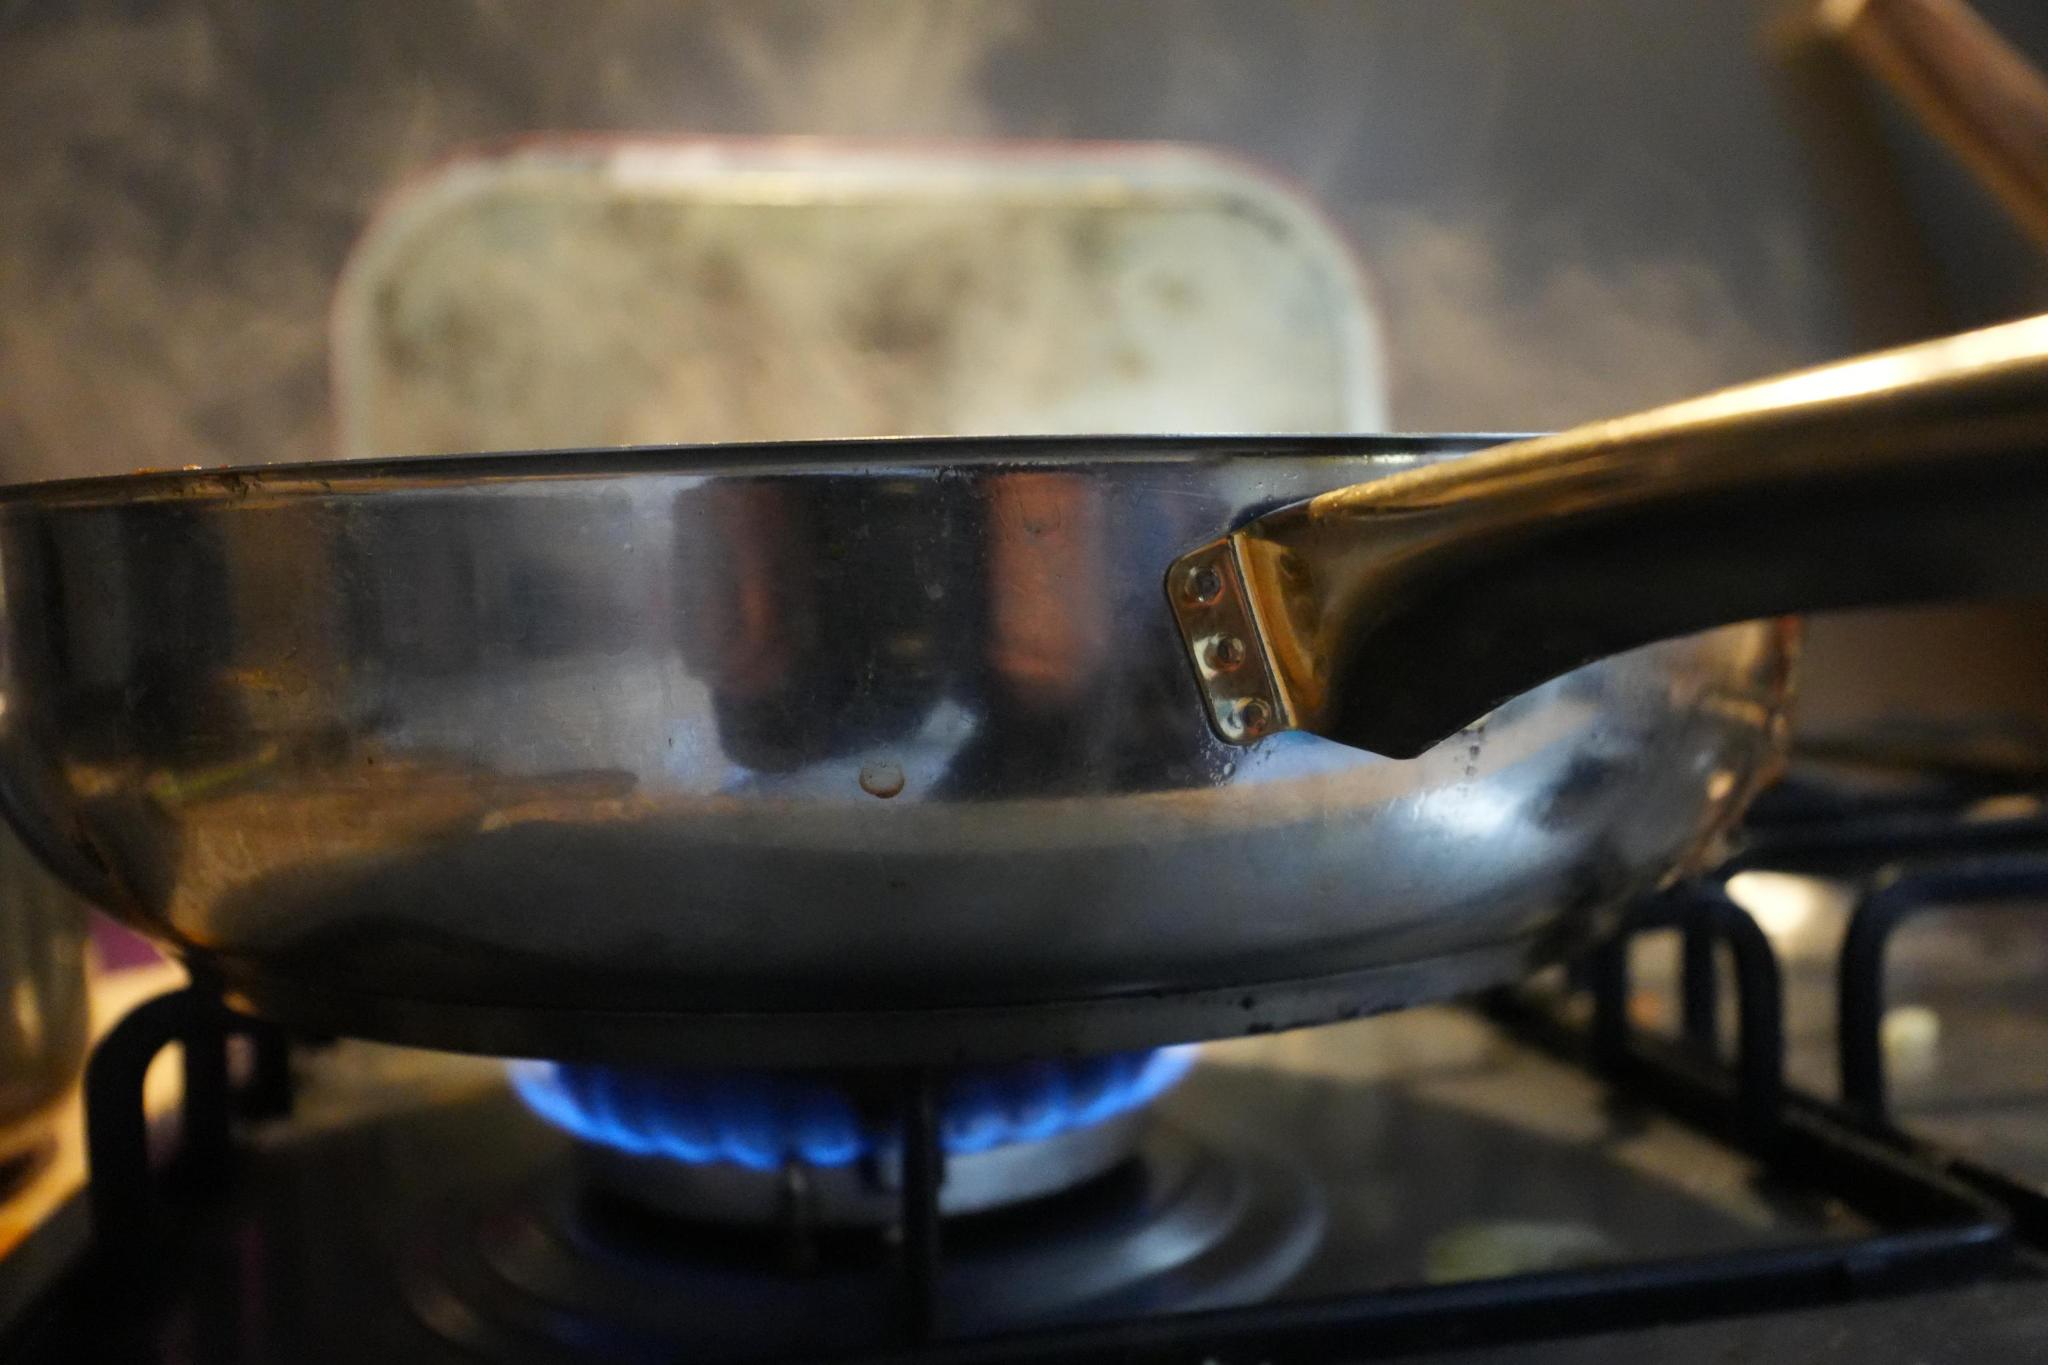
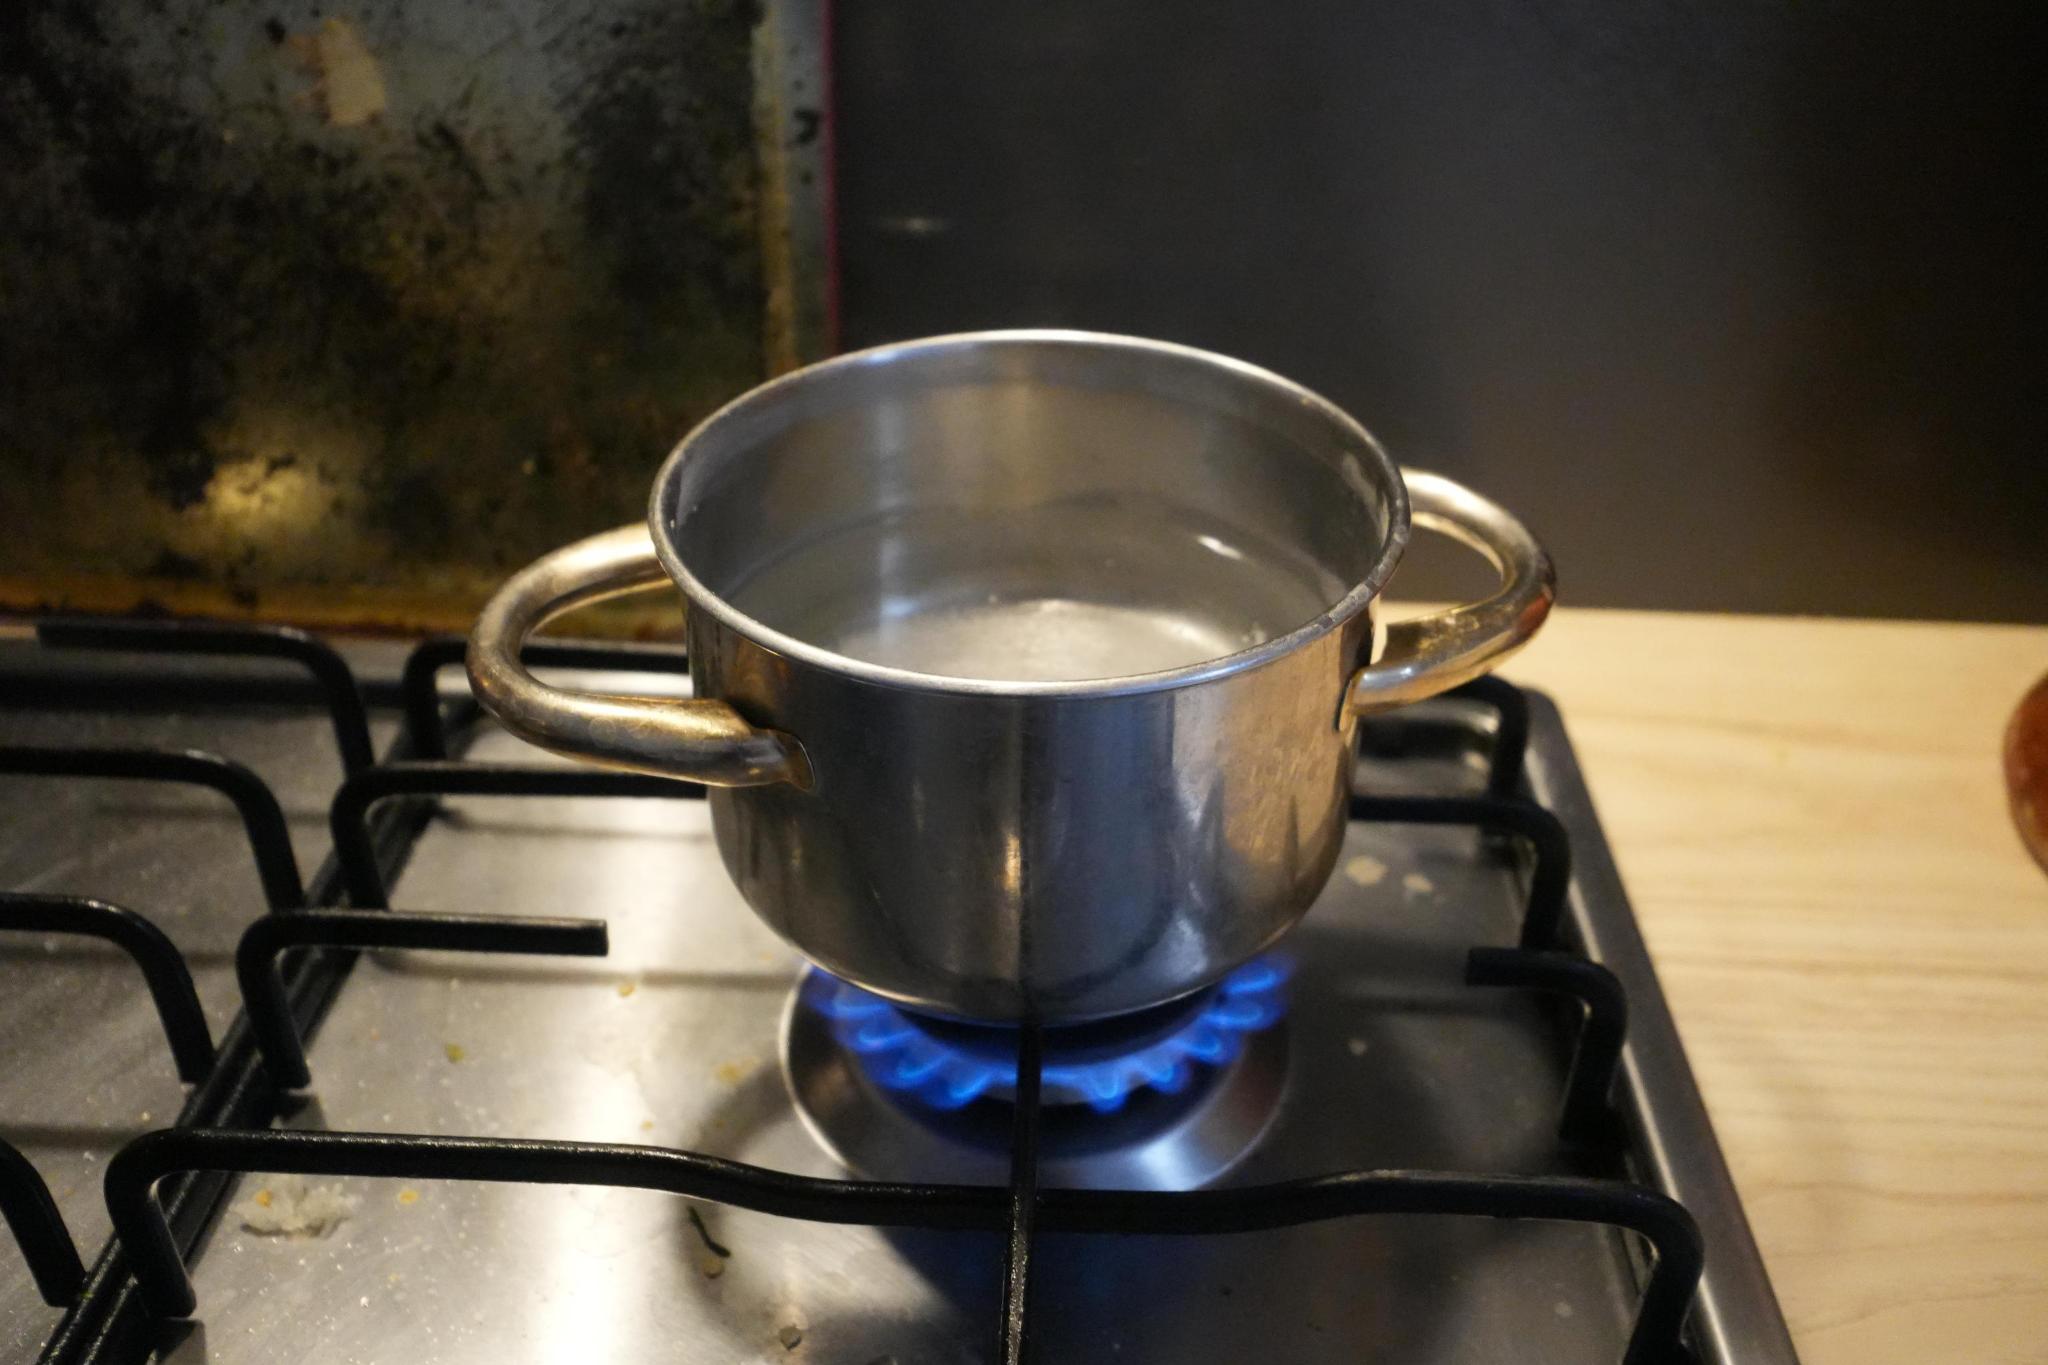
- wash a pan
- . fill the pan with some water (not half full, way less, but also not completely empty), it should be a pinch more than bottomed out, just enough to see the water boiling and have a bit left to stew the onion
- add some oil, should be floating on top of the water a bit; it’s not essential to do it now, but it’s easy to forget later
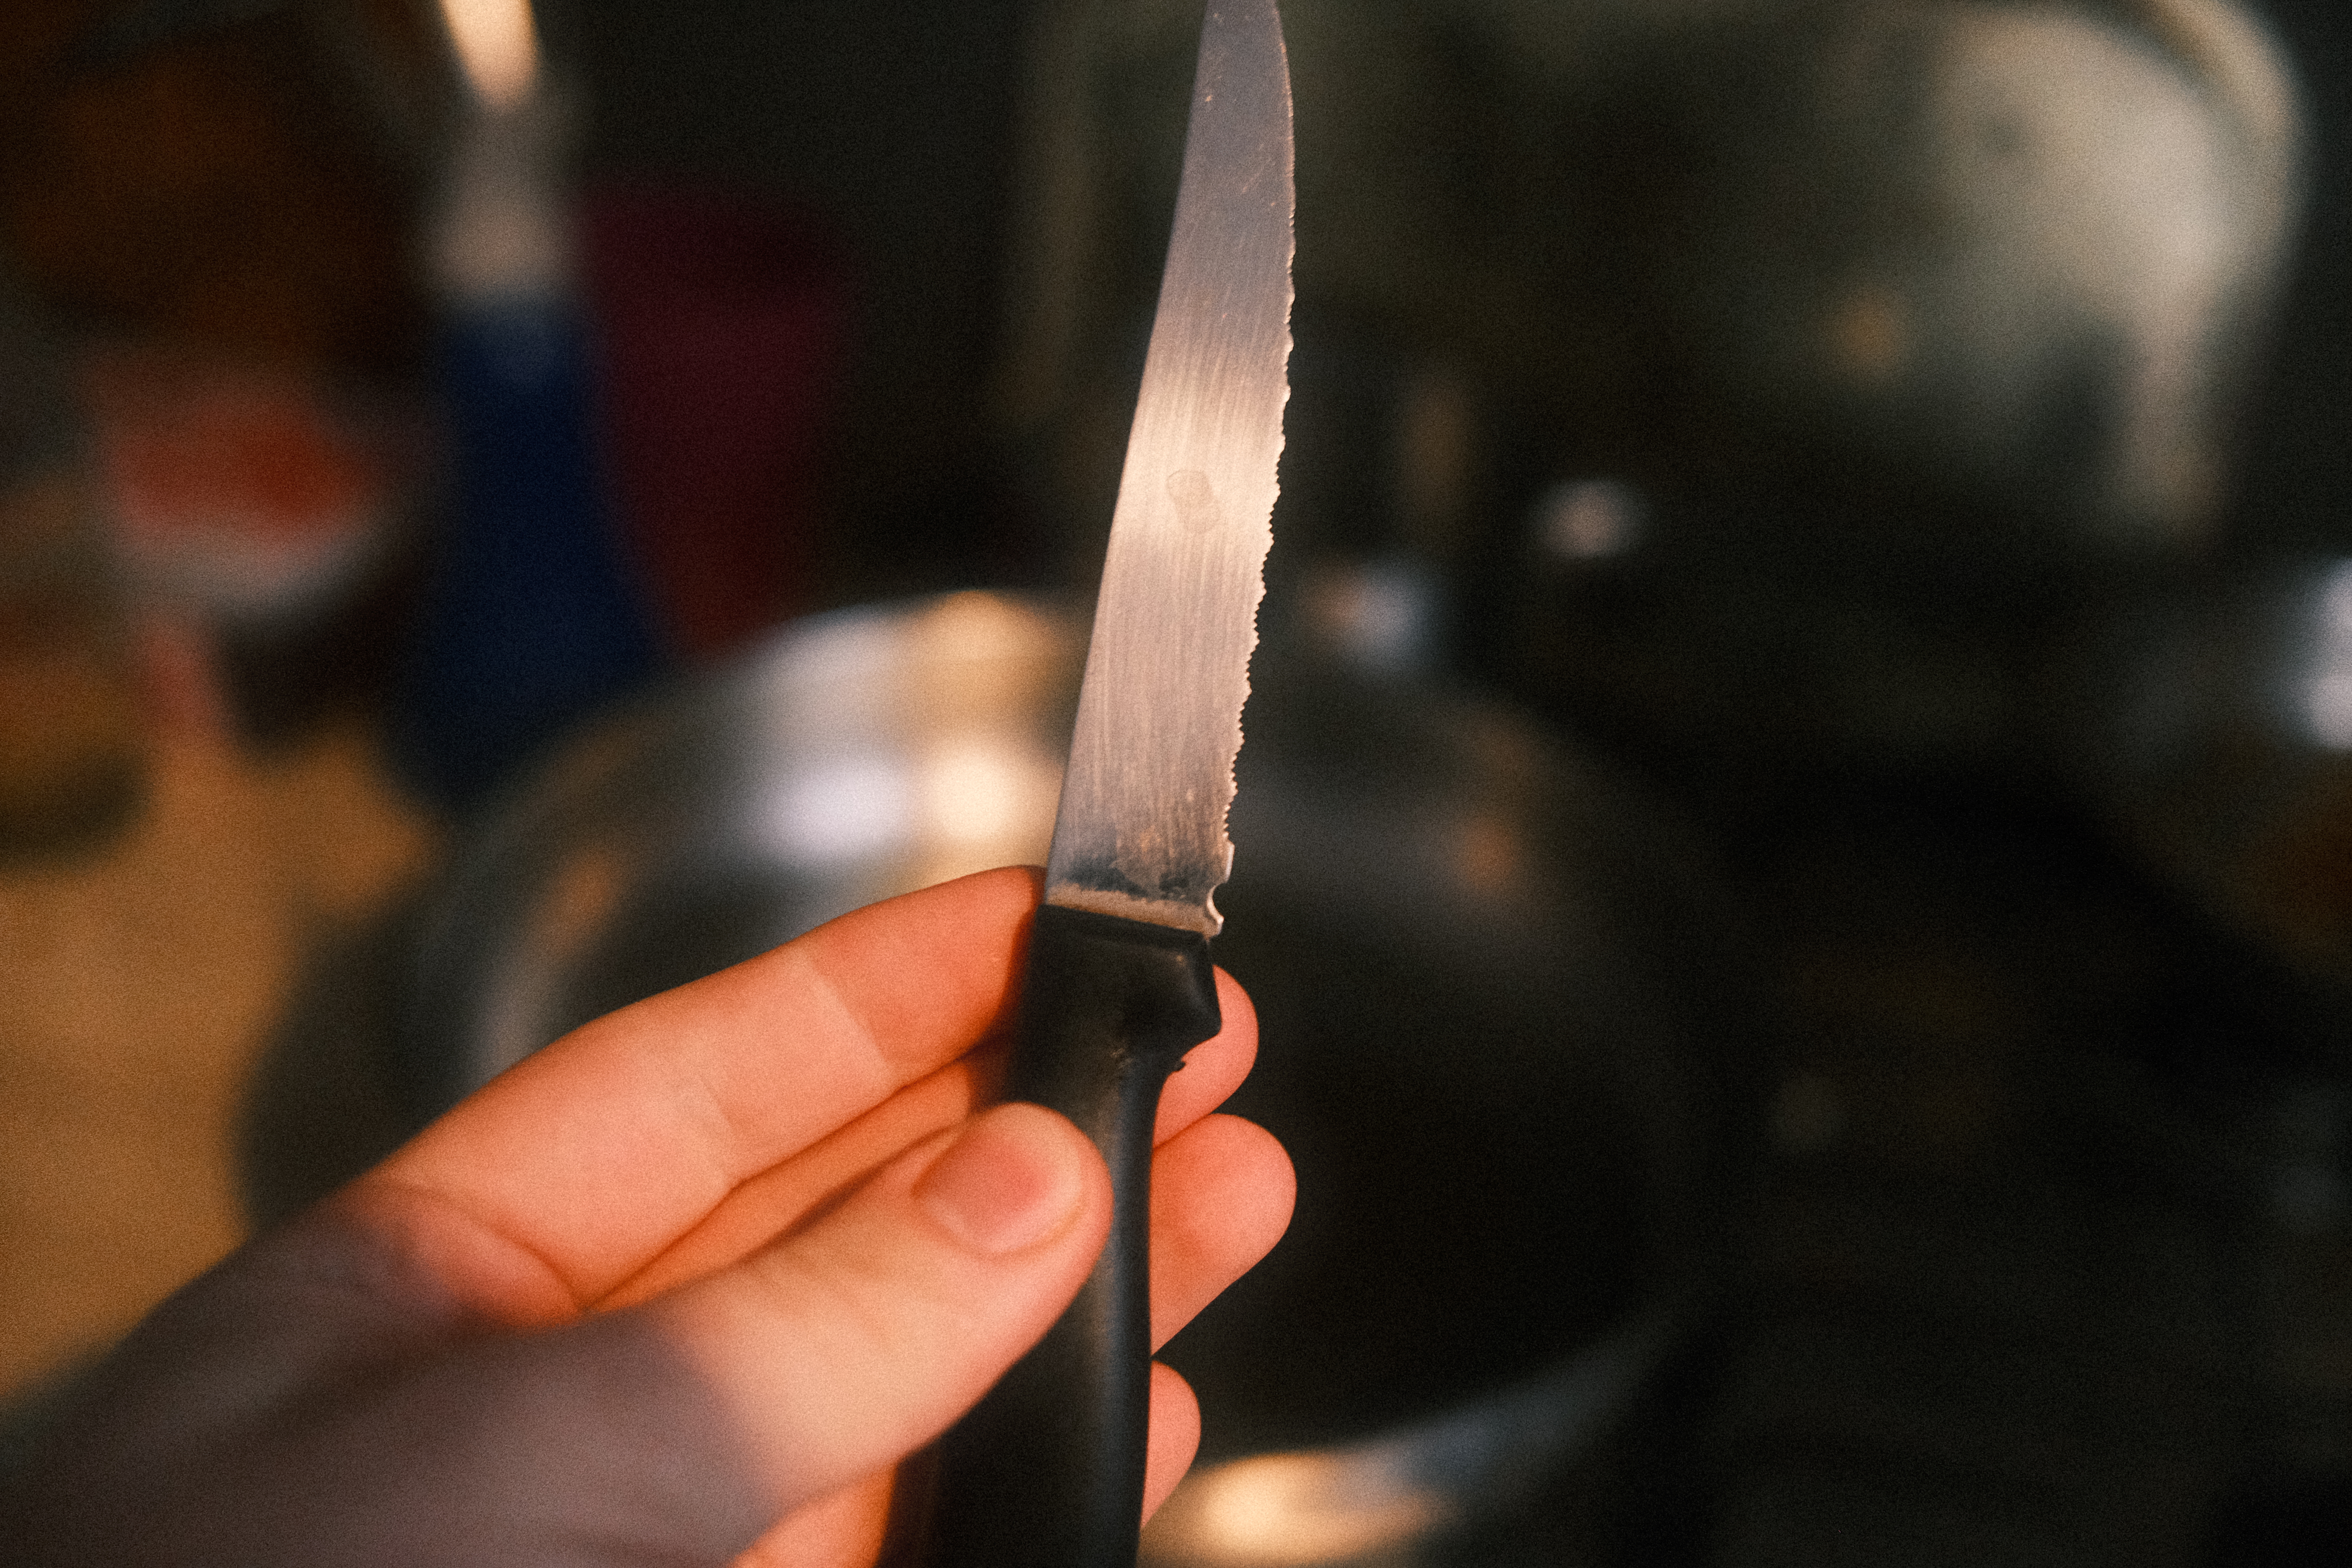
- prepare a knife
- prepare some vegetables that you want to use:
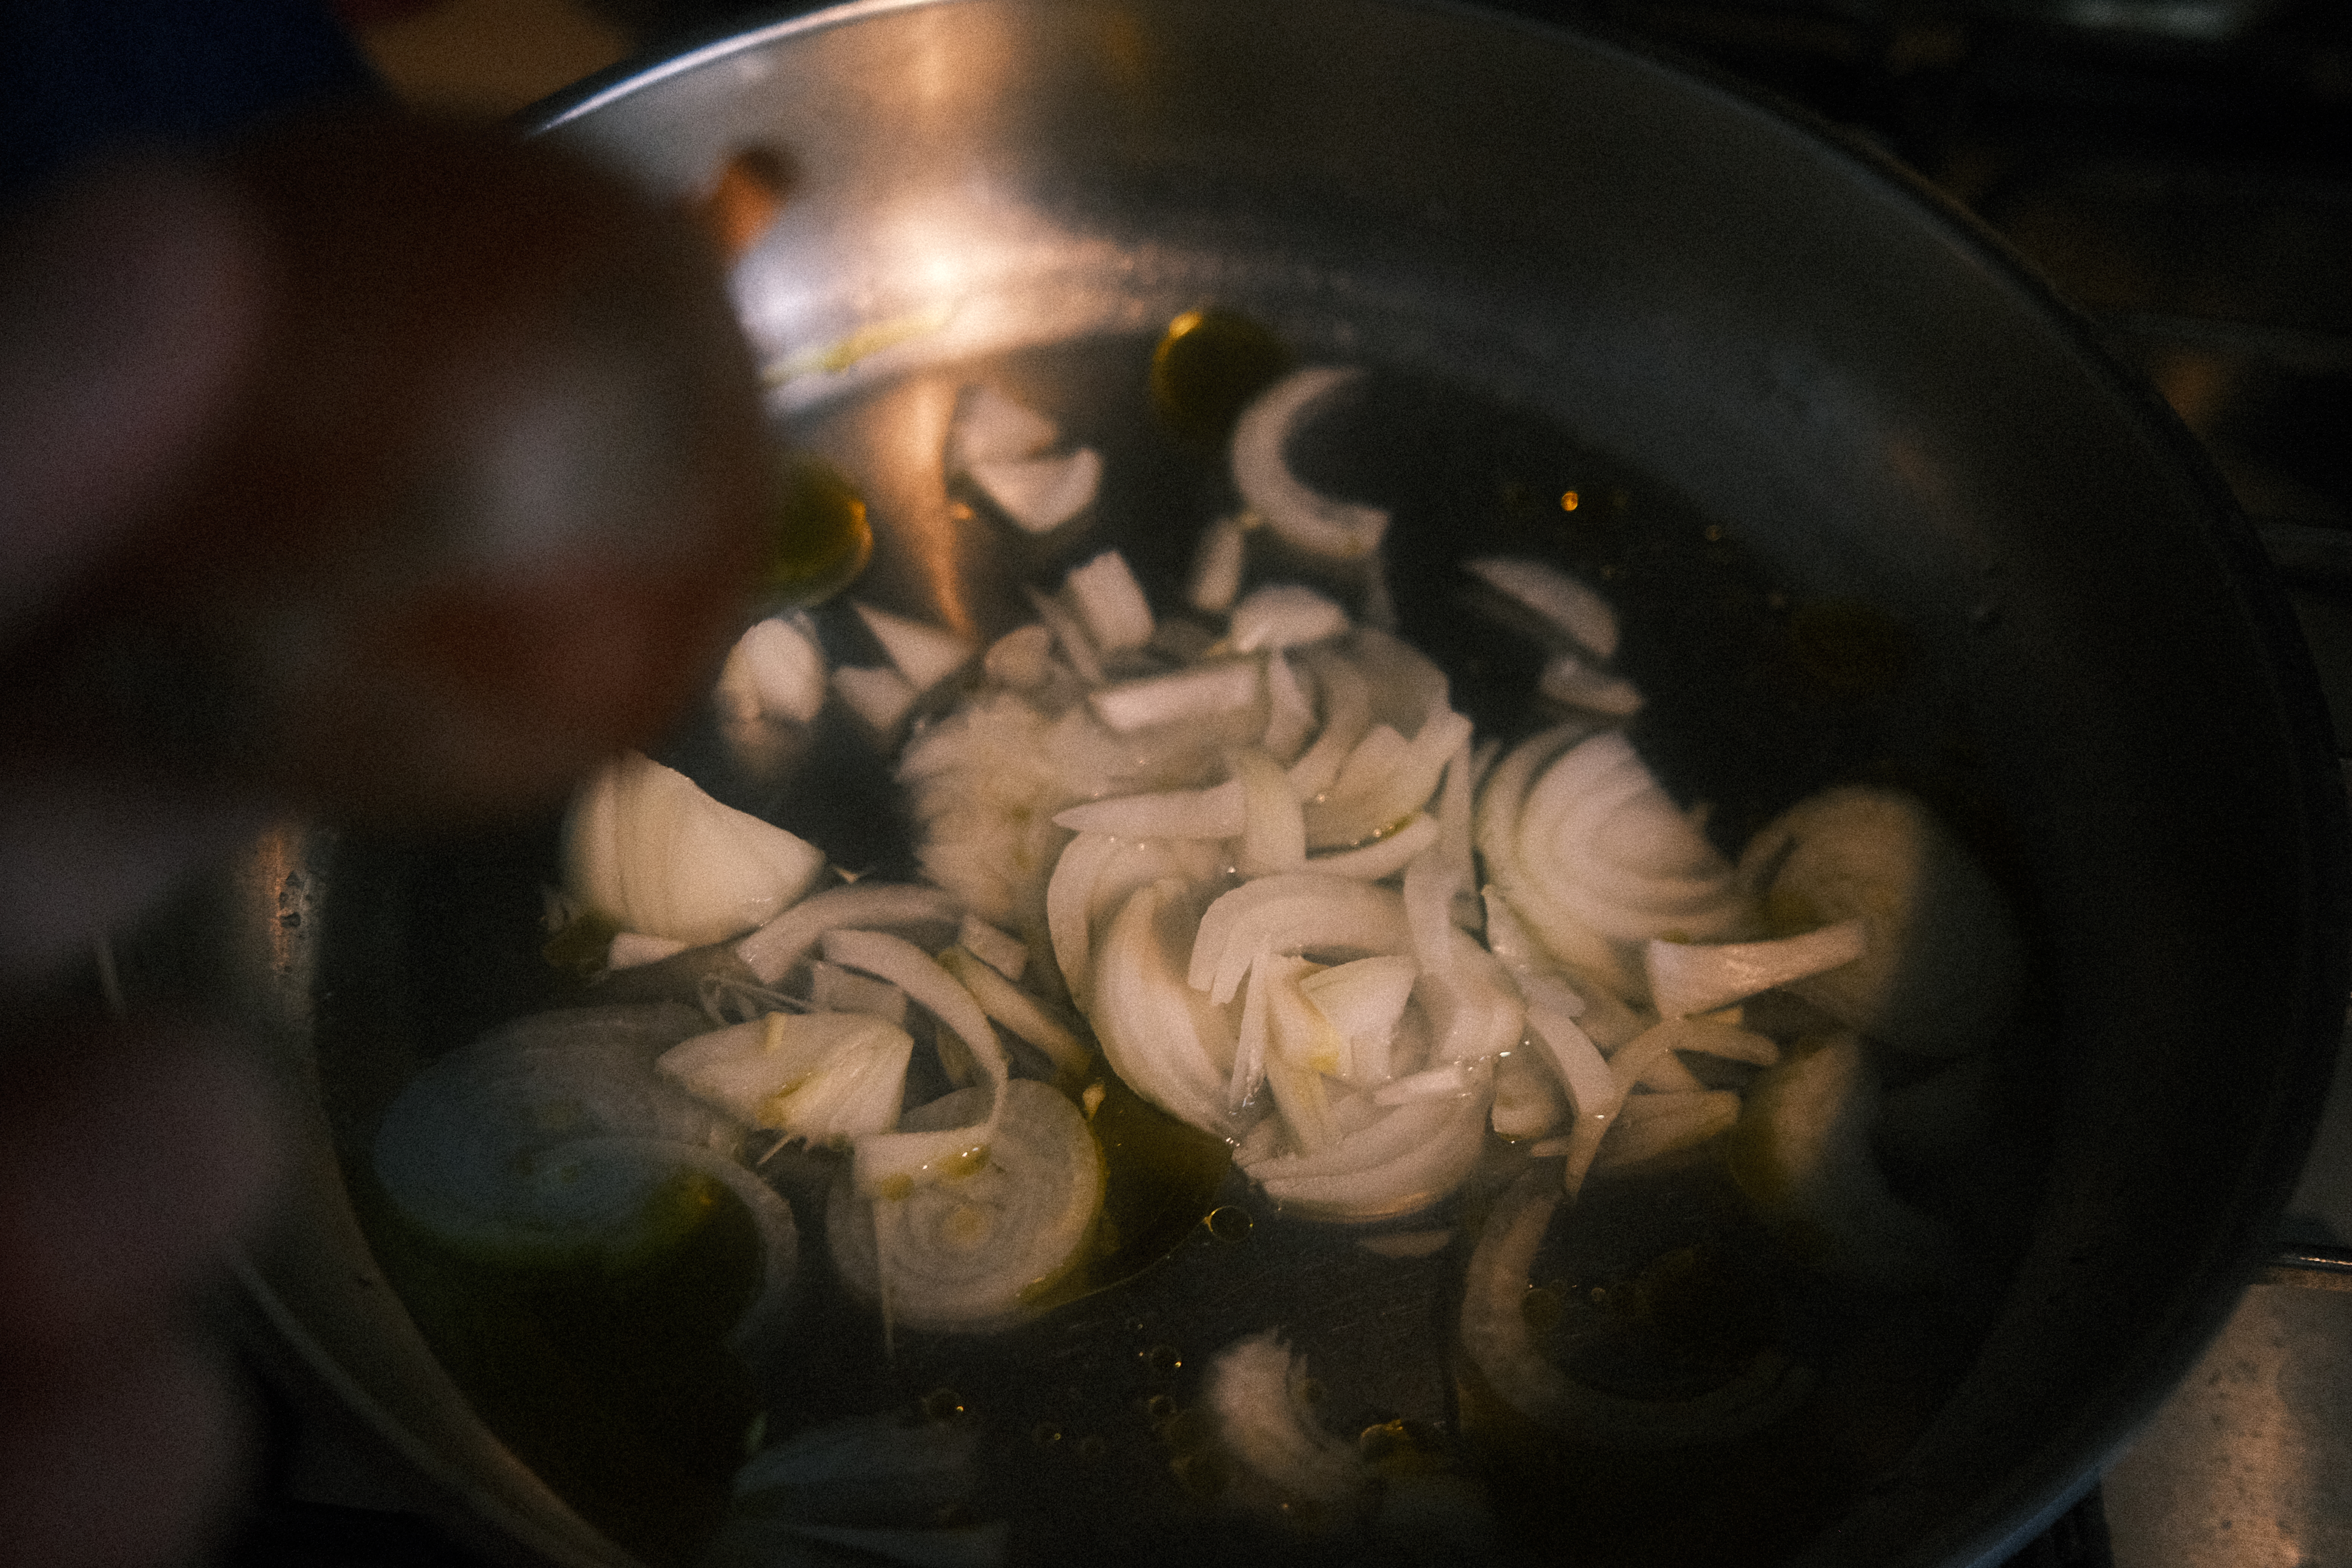
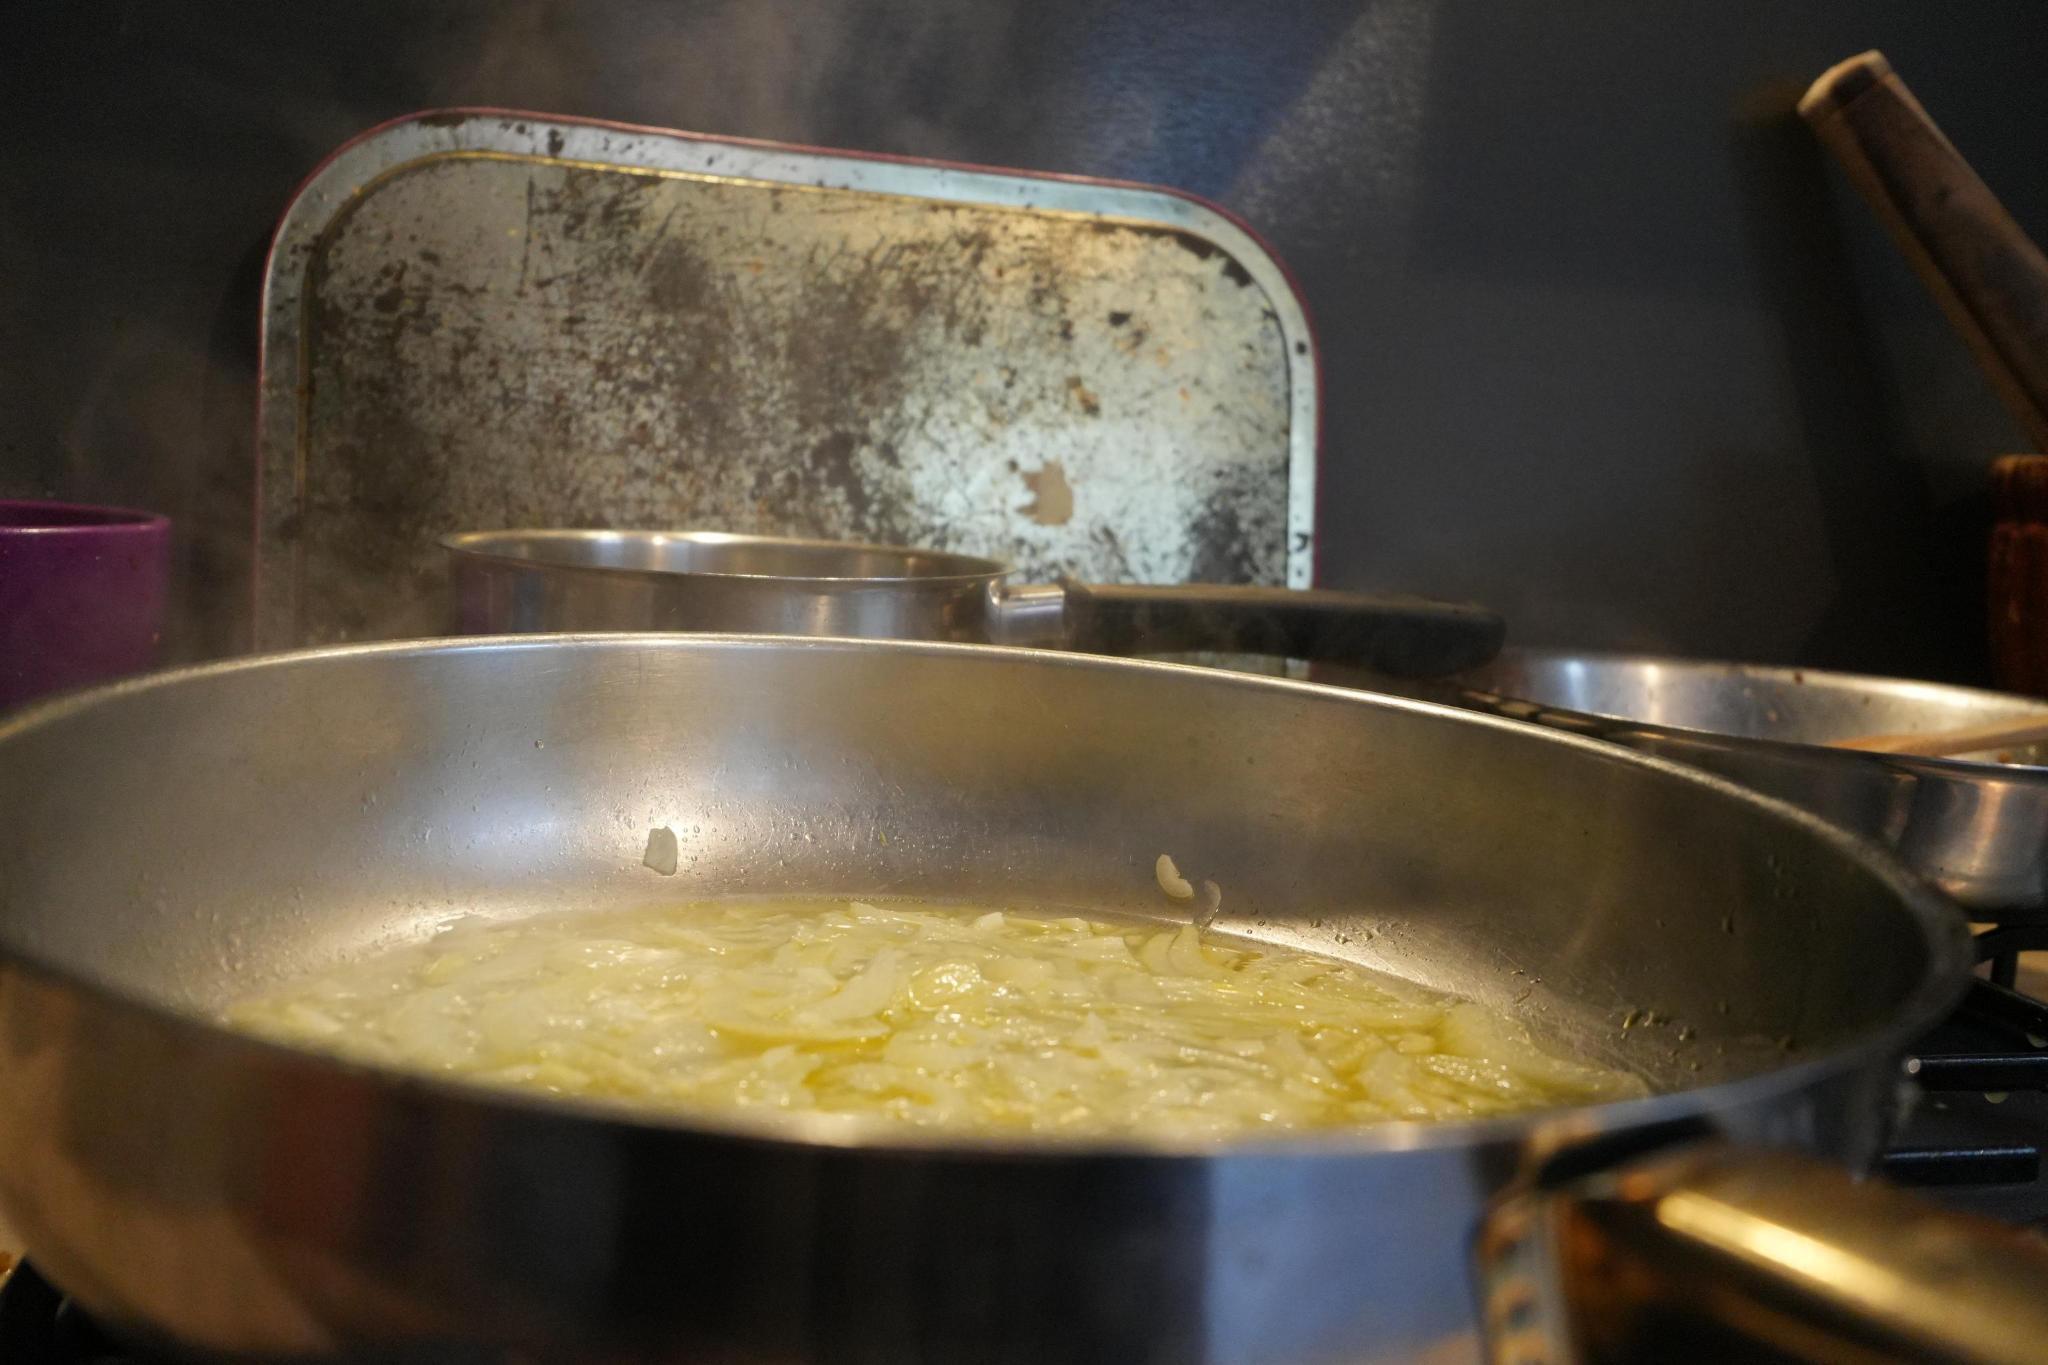
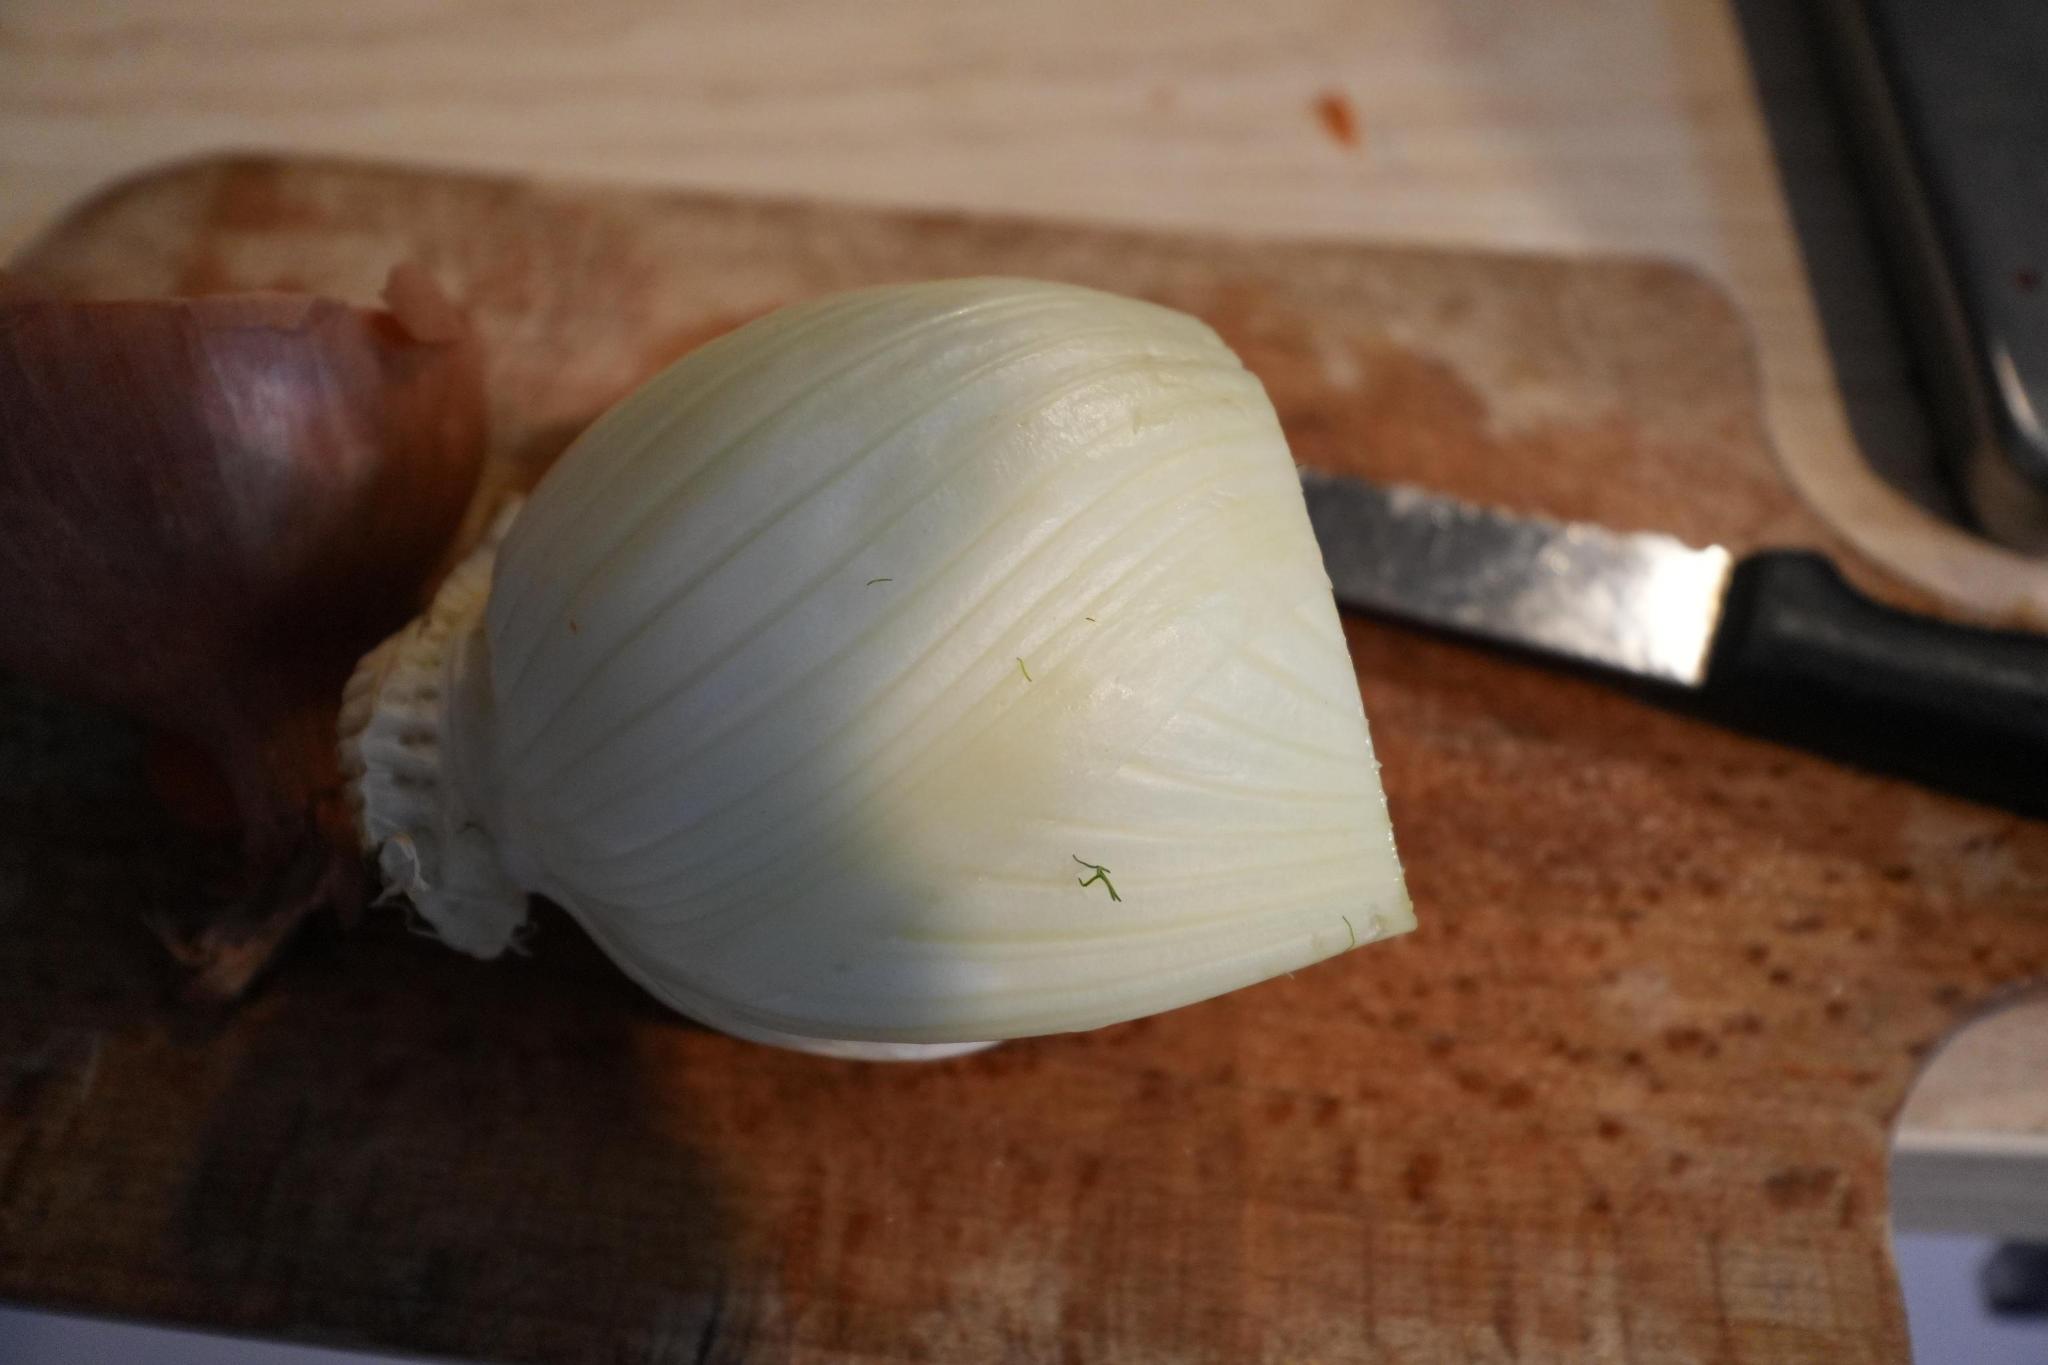
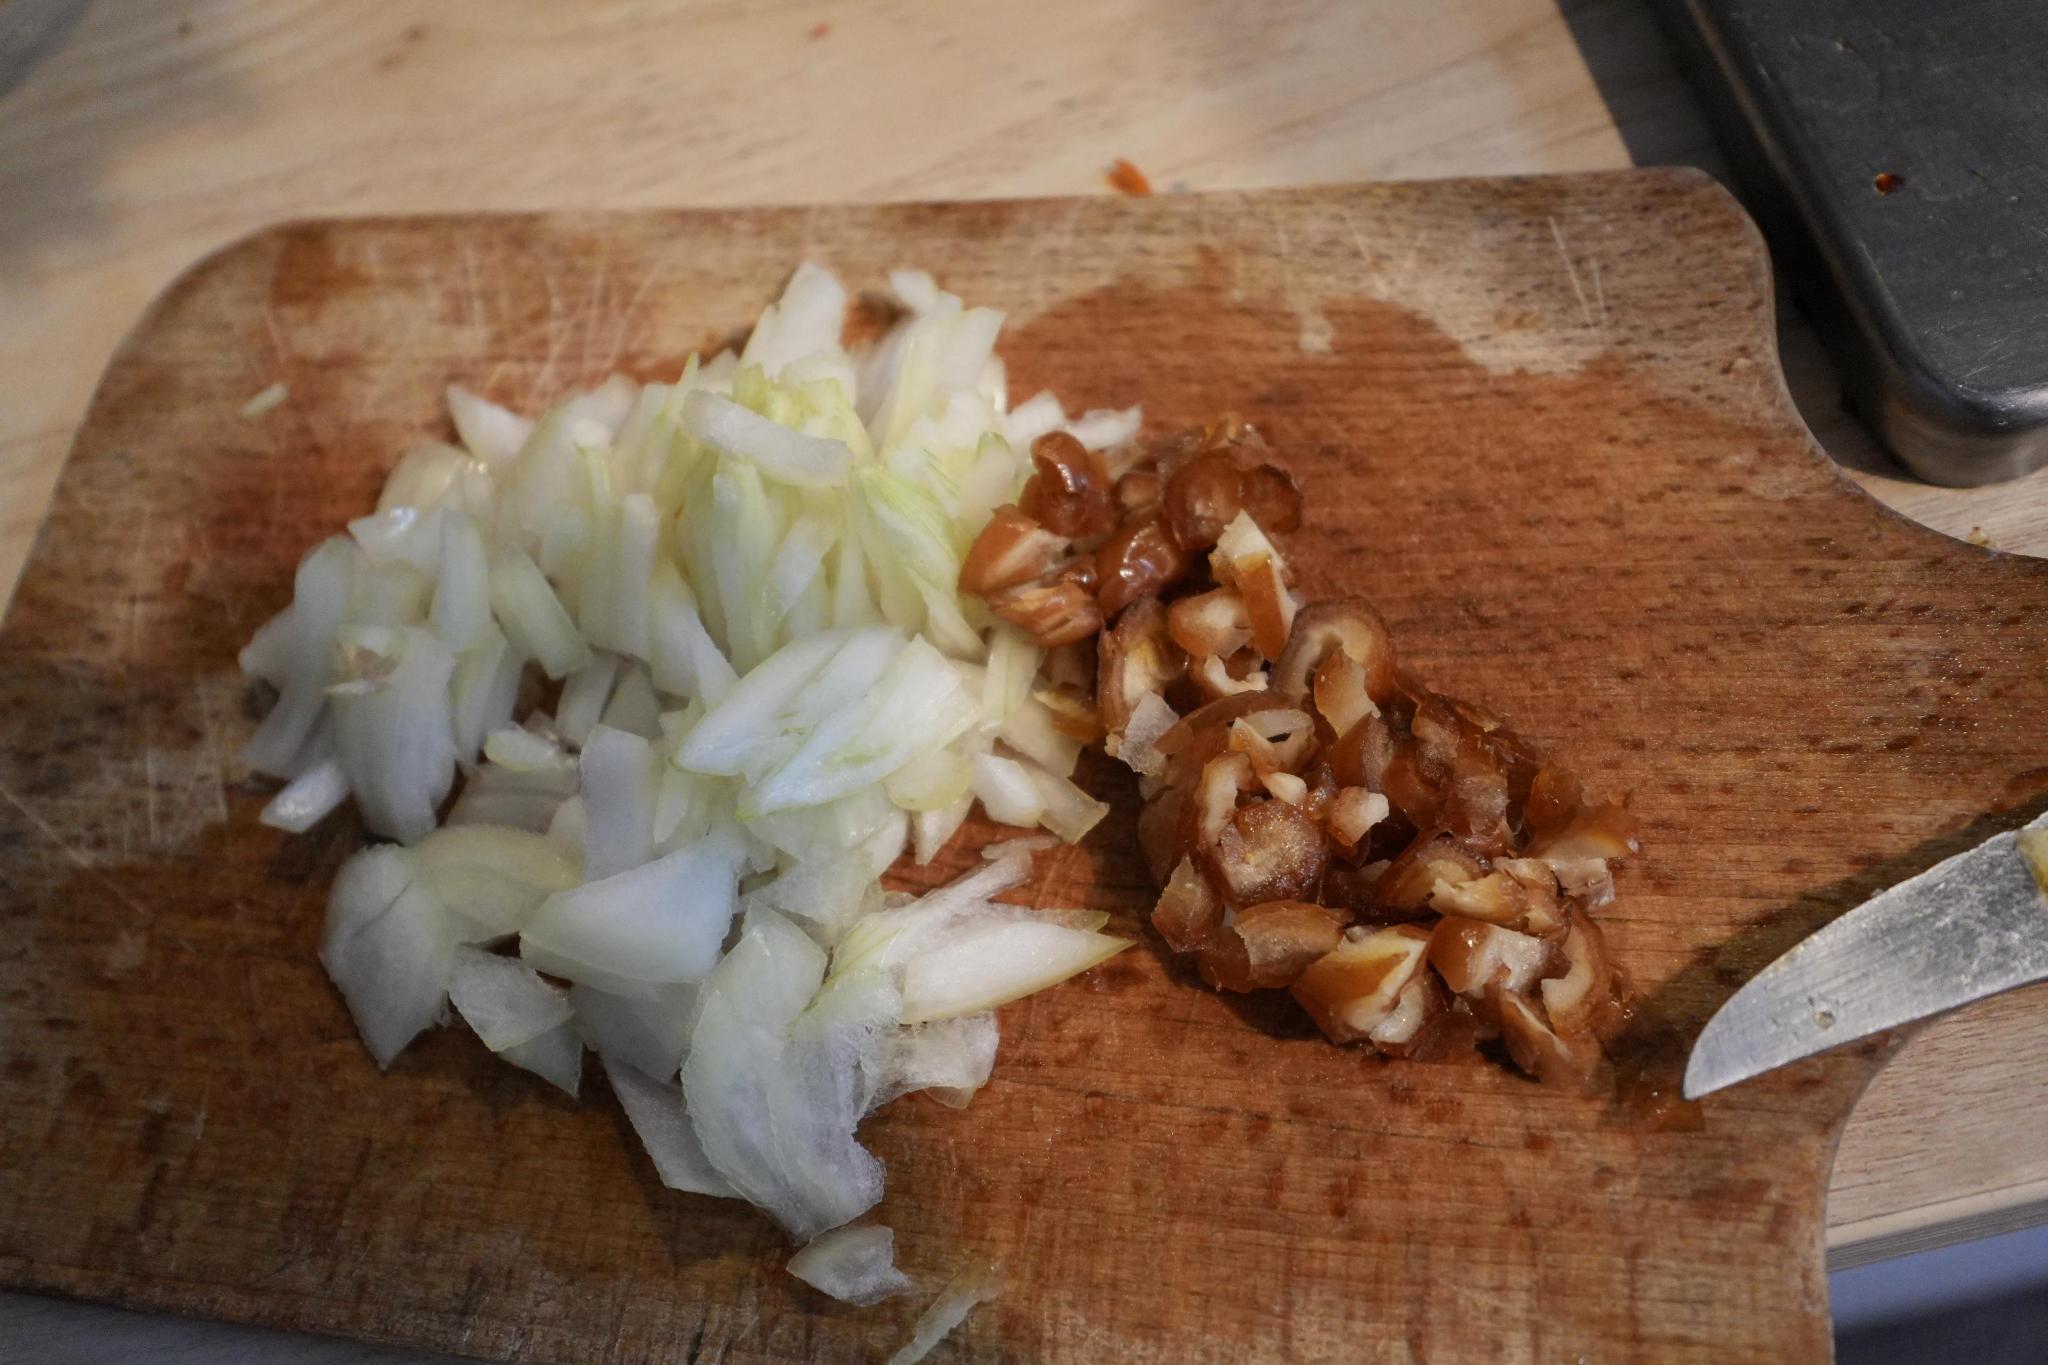
- whilst the pan is on the fire, dice the onion, the thinner you get it, the less kids (/ my wife) are (/ is) gonna notice the vegetables in their (/ her) food
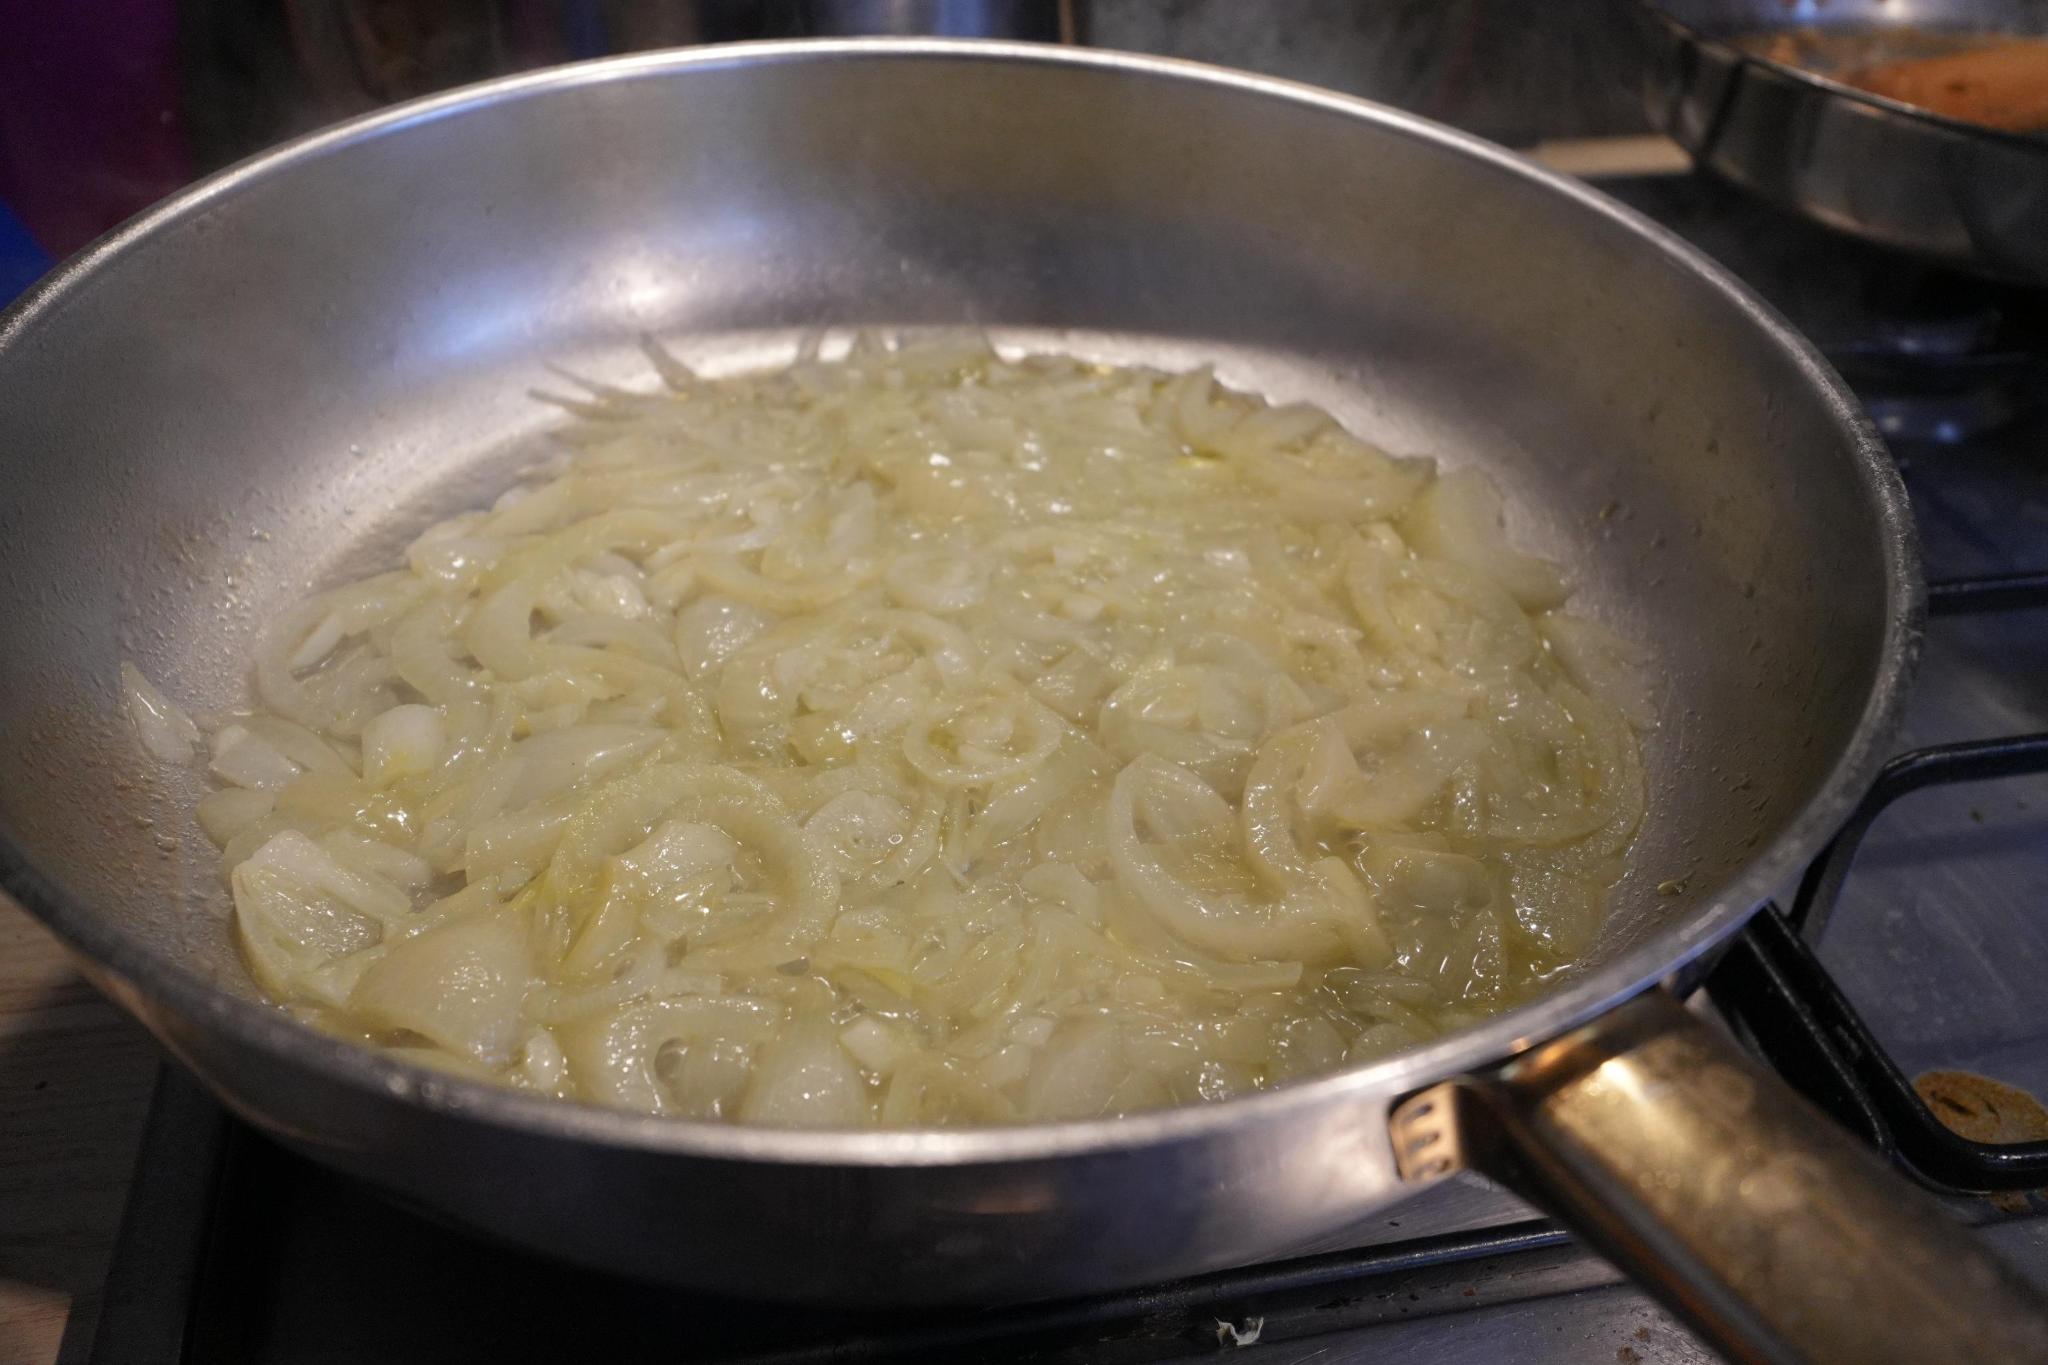
- add the thinly diced onion in the pan, when there is still a bit of water left, but most has evaporated
- (if you decide to add garlic, this is probably a good time to add it, the easiest way i’ve seen so far to add garlic is from this video)

- (add the spring onion, in thin slices, don’t use it all, since about half will be used in decoration, for some reason kids/adults seem to like this particular vibrant veggie and mind it less, almost makes you look like a professional)
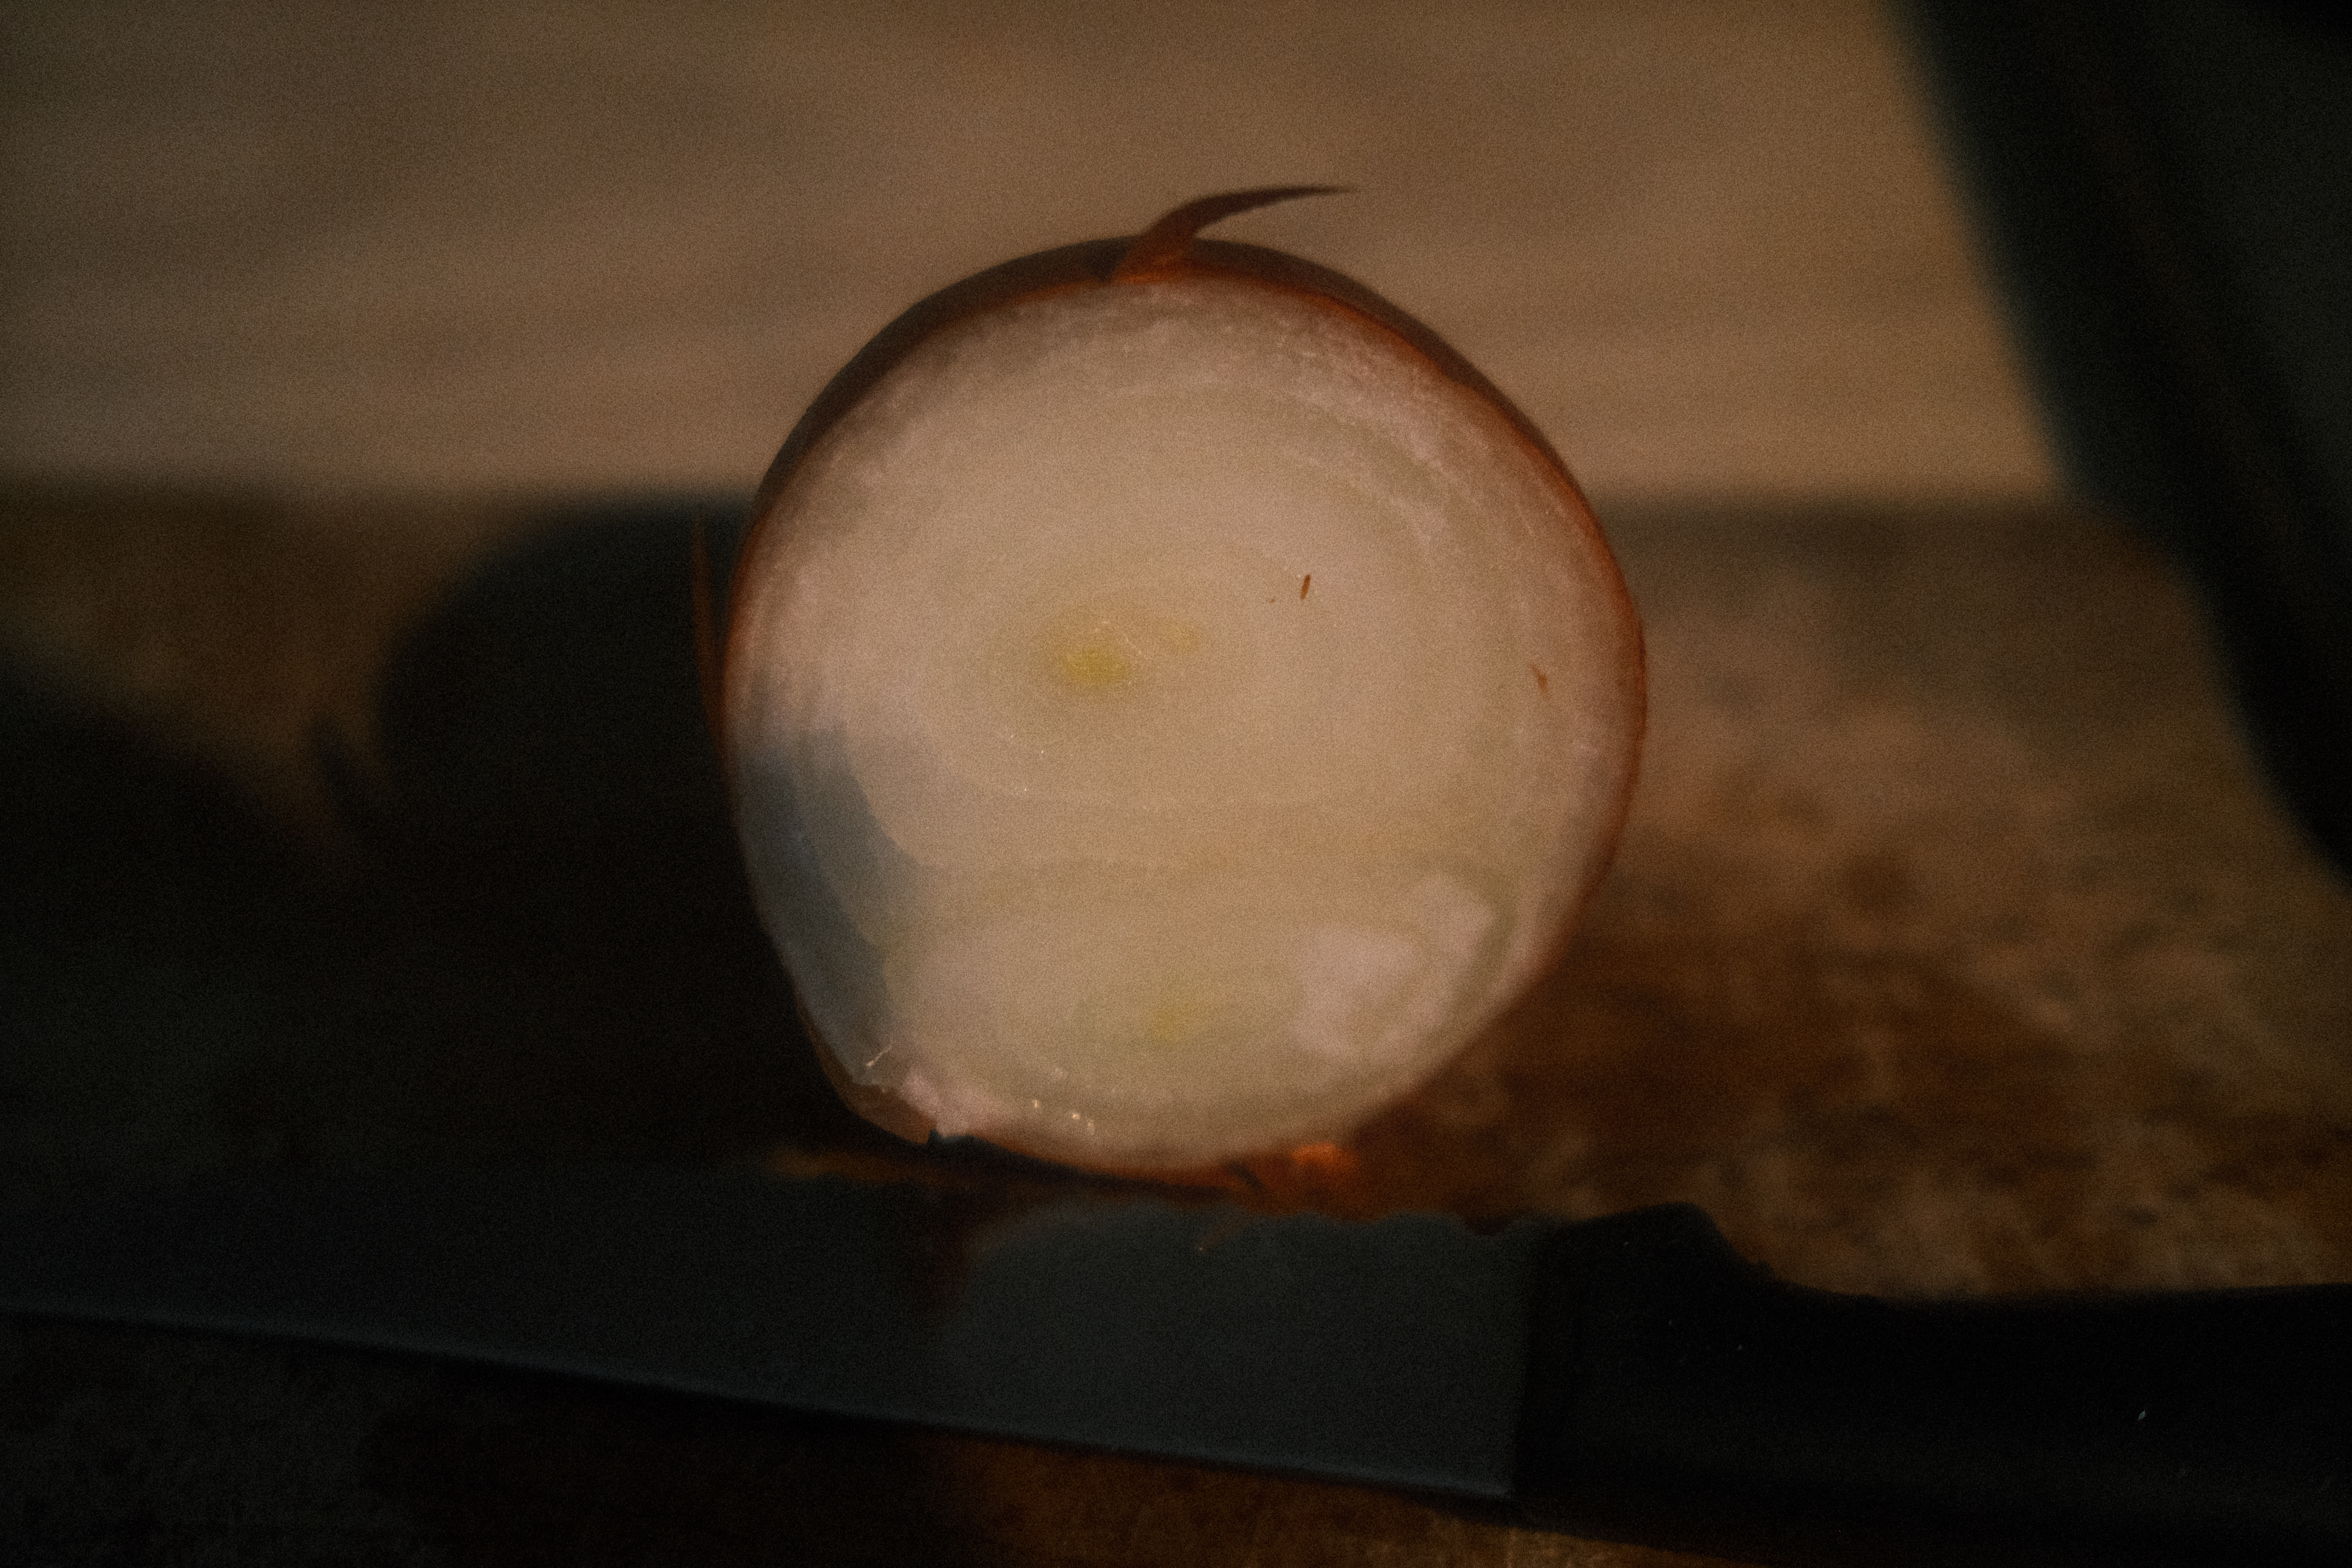
- time to start to chop the apple / carrot / the potato / brocoli / leafies / paprika / chili / … (not everything, but start preparing some already, order is important here, a.k.a. apple comes first)
- add the apple slices
- wait a tiny bit, for a slight fry / caramelization
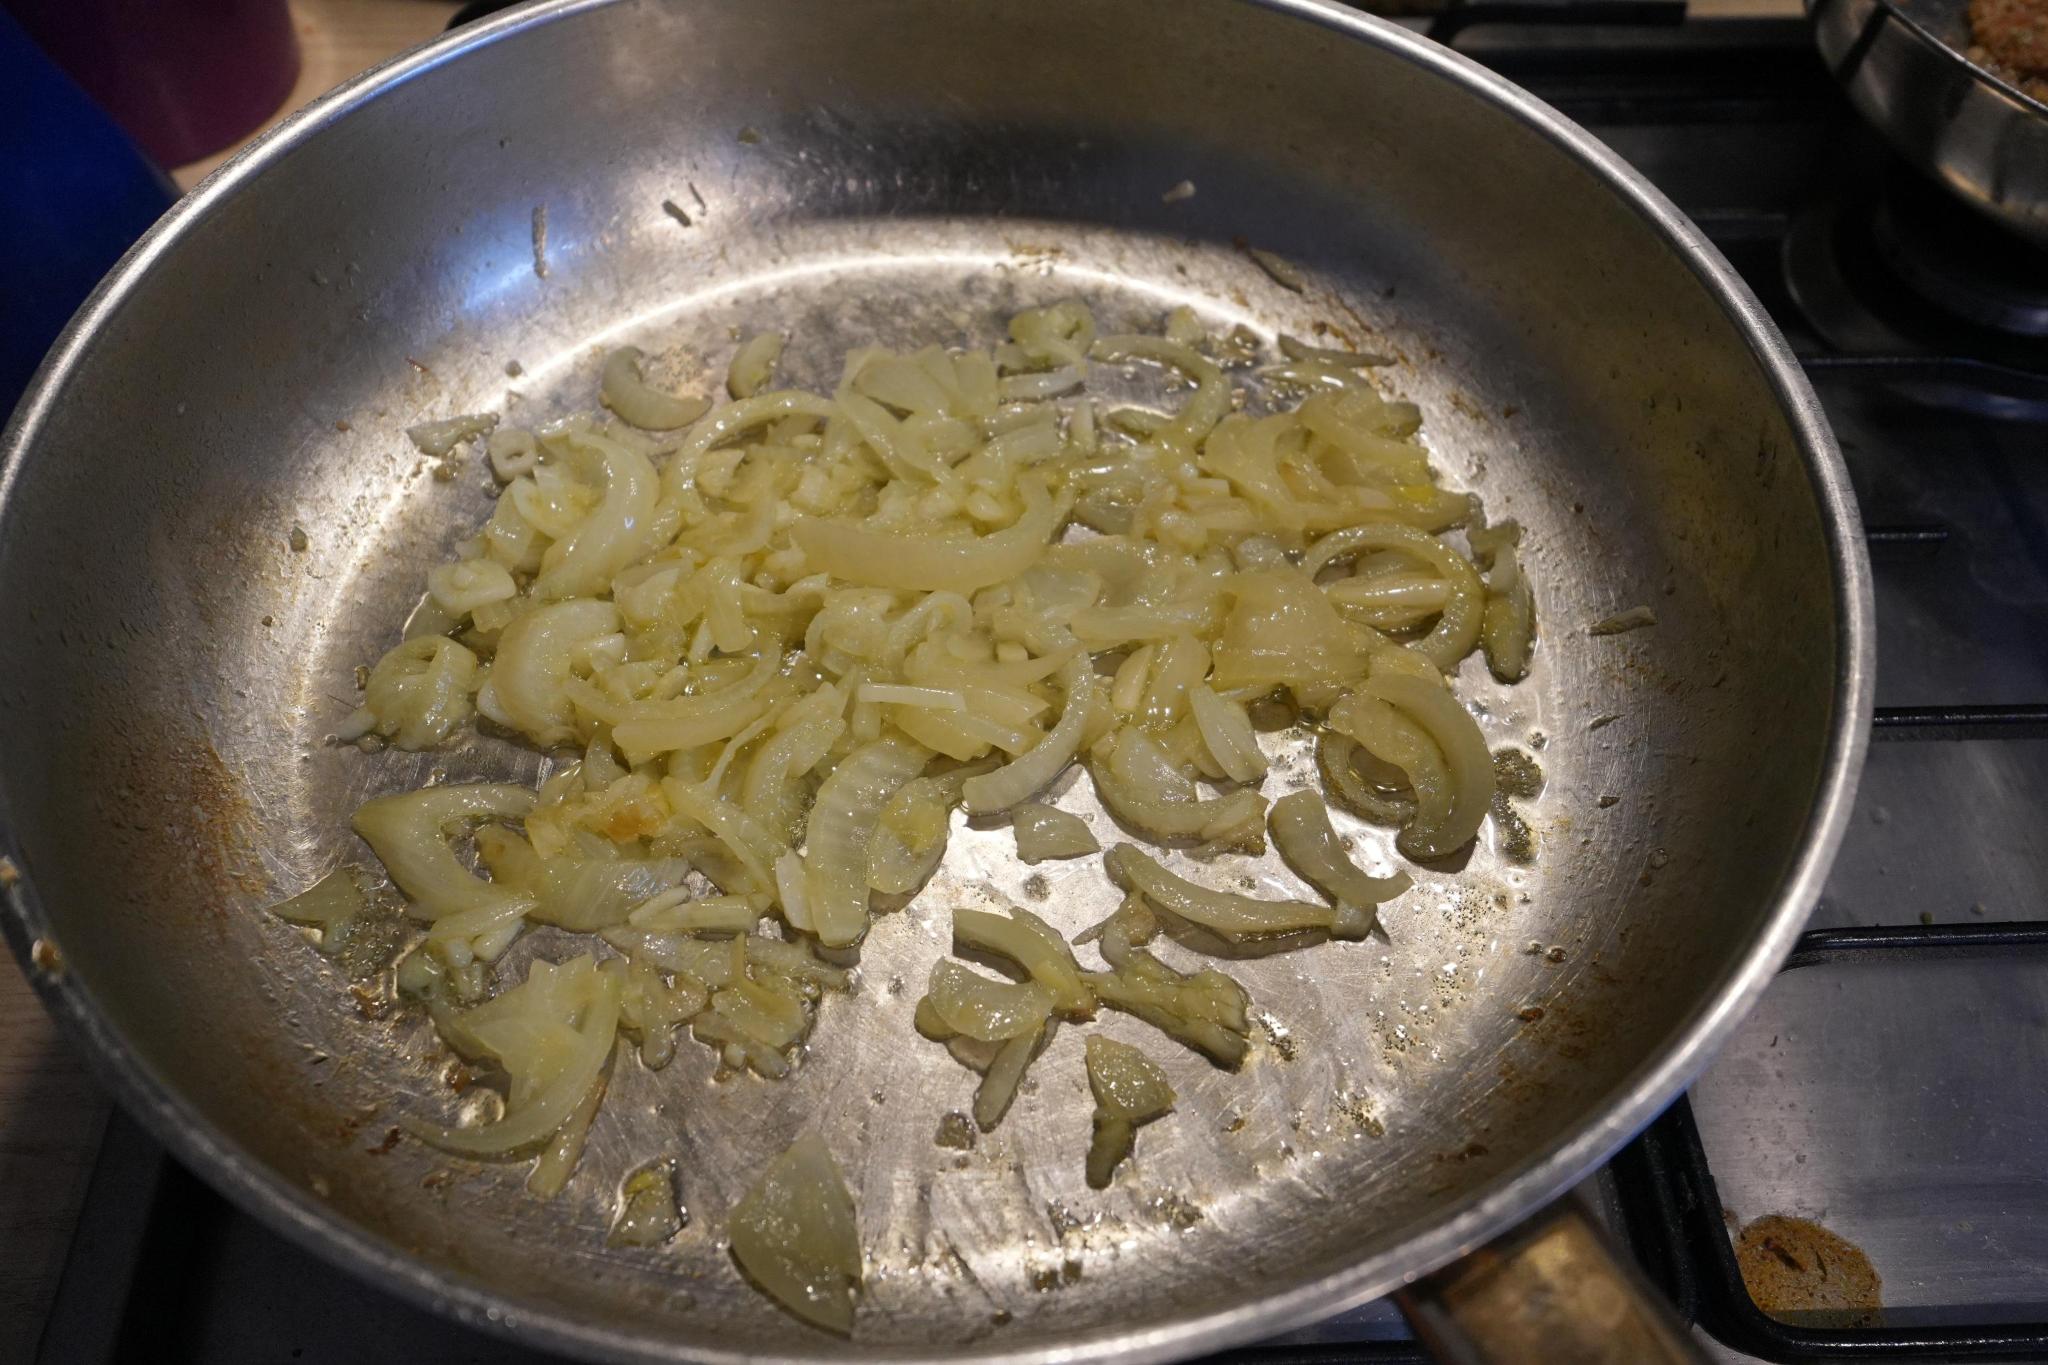
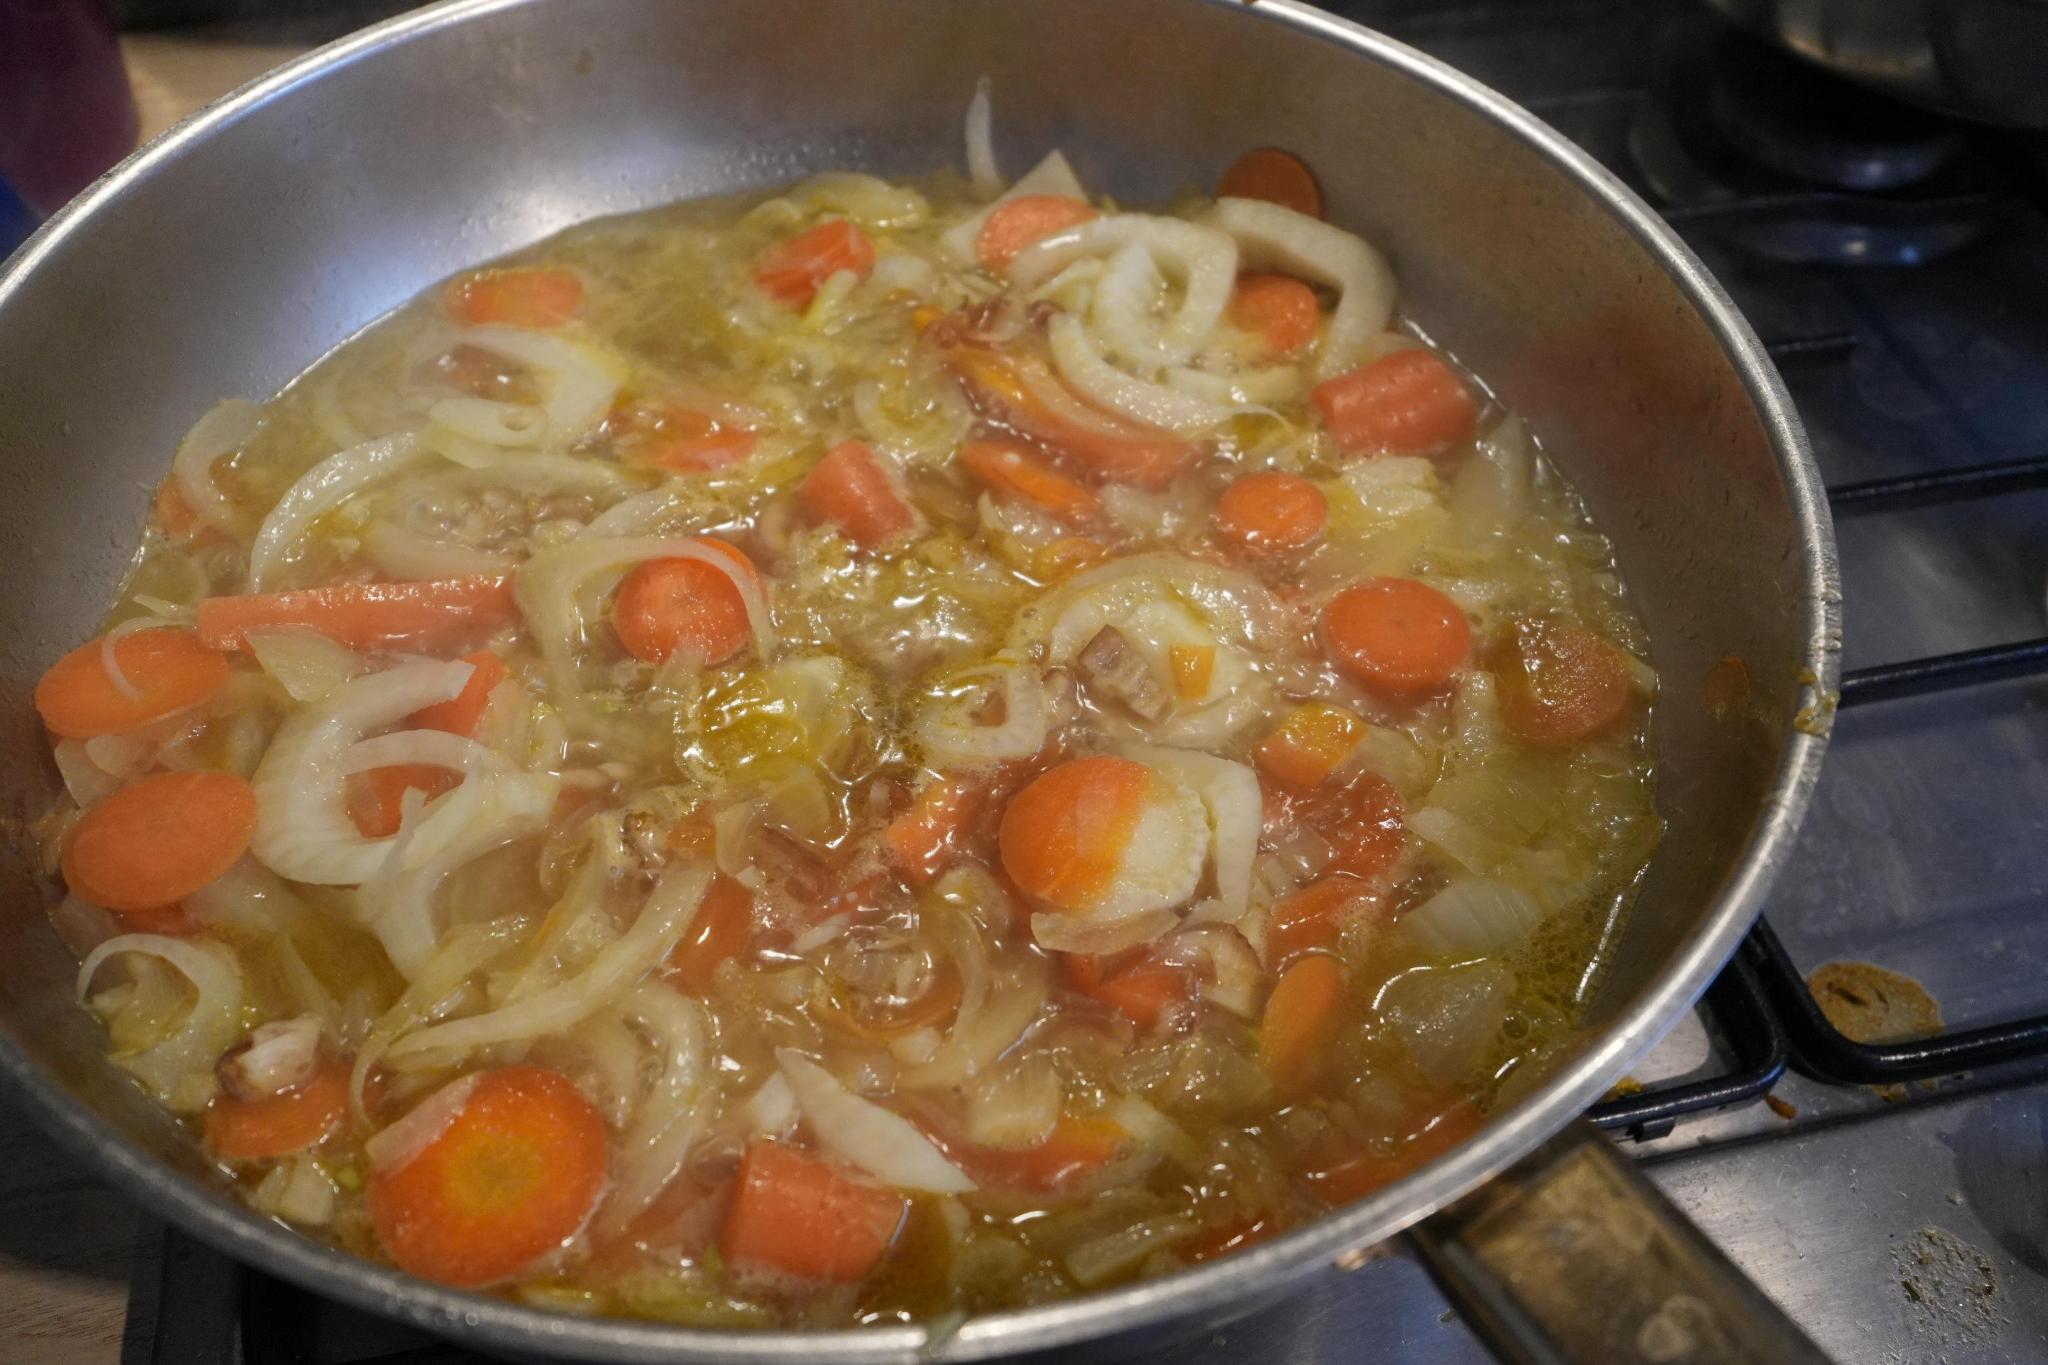
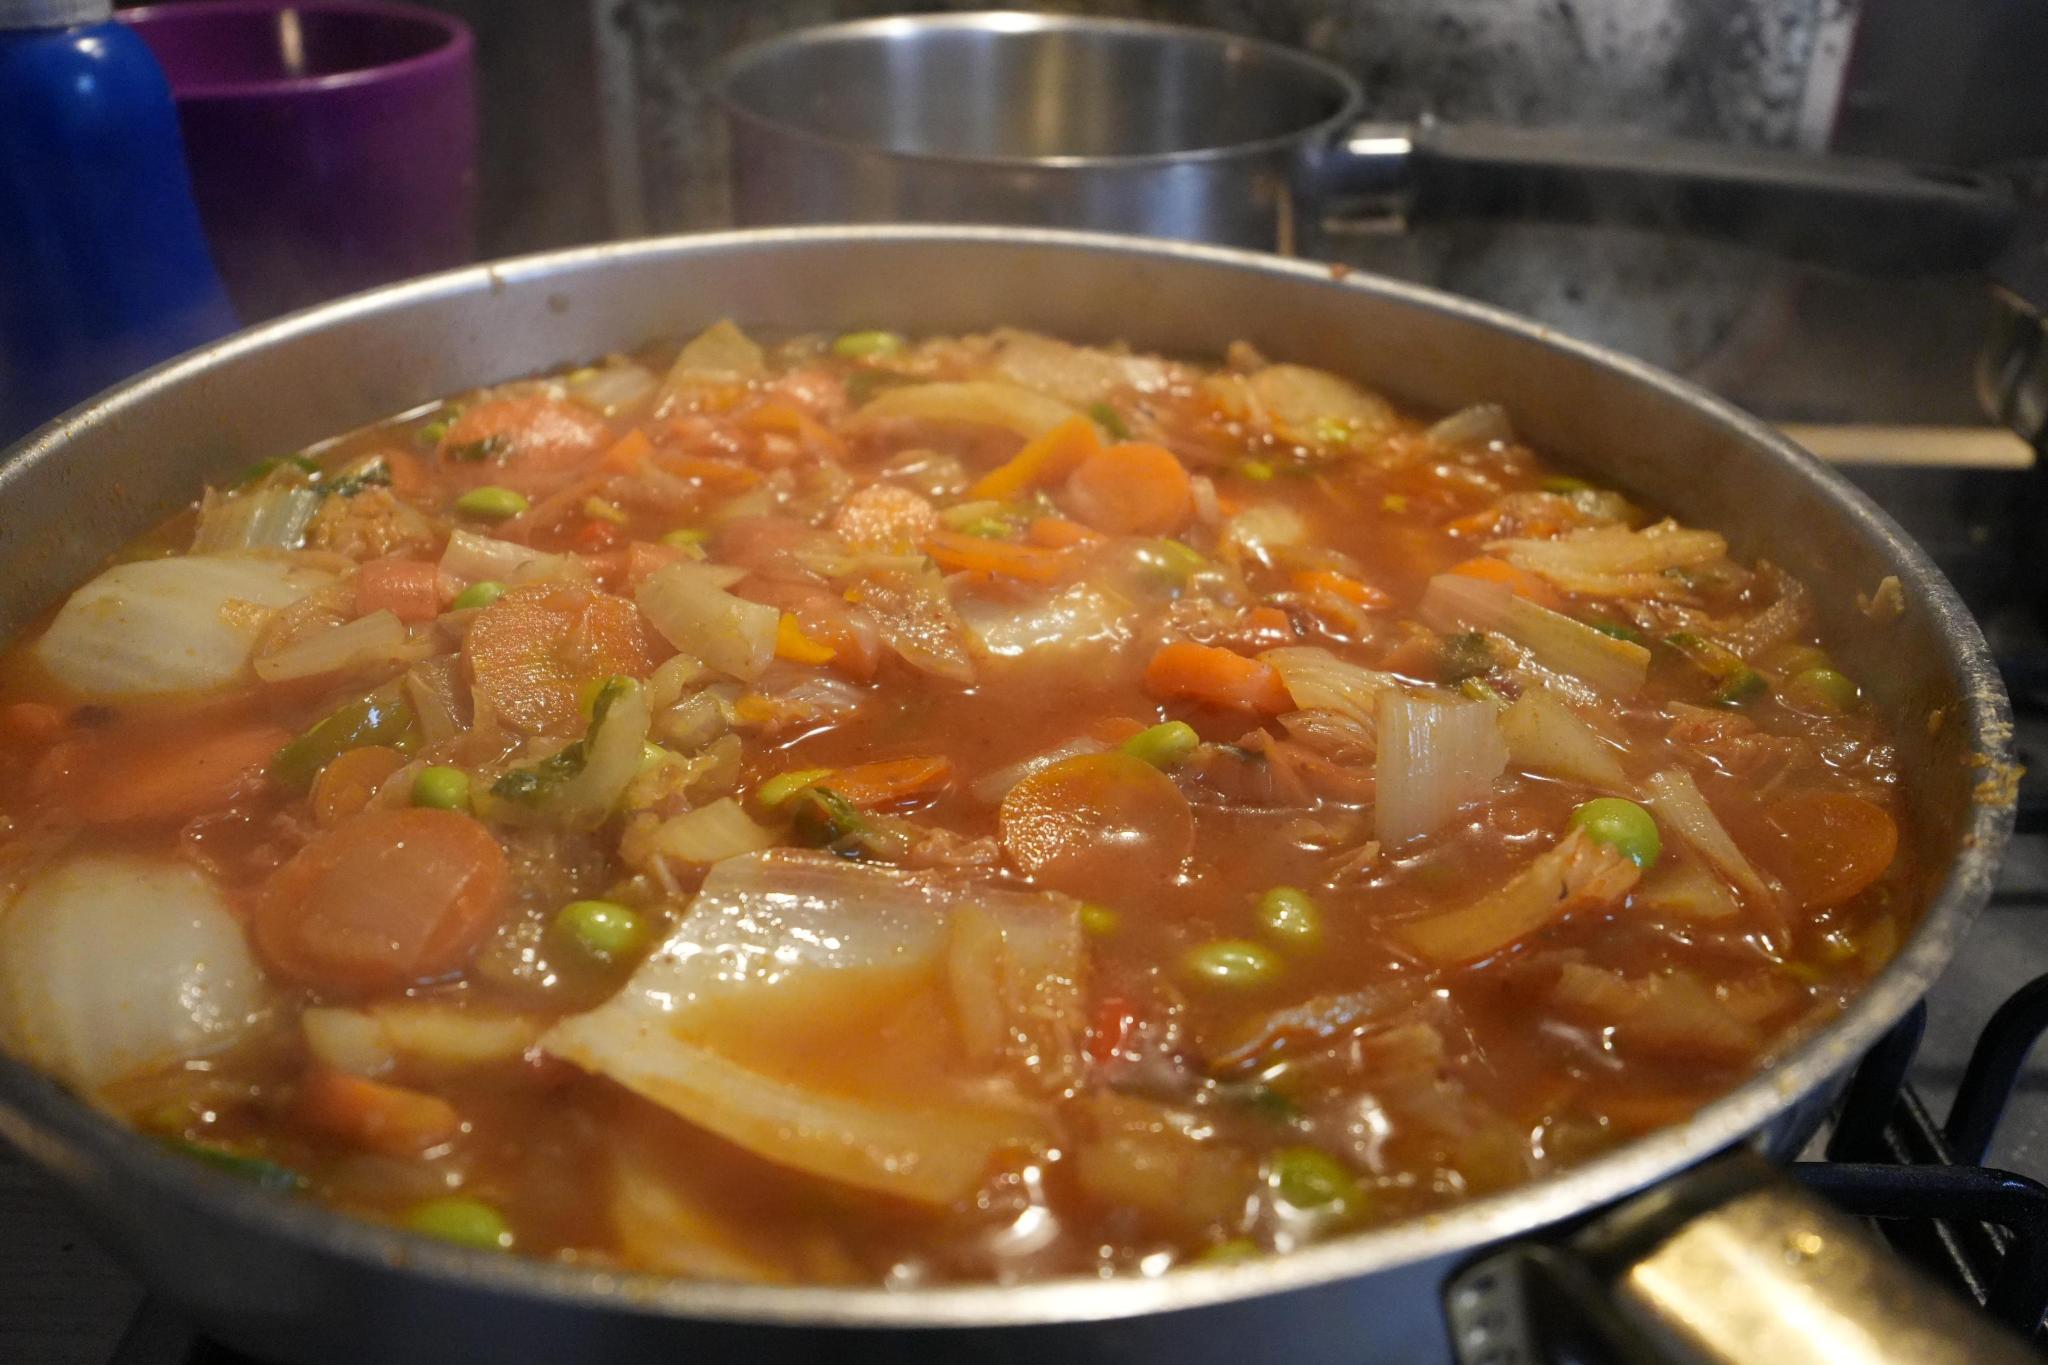
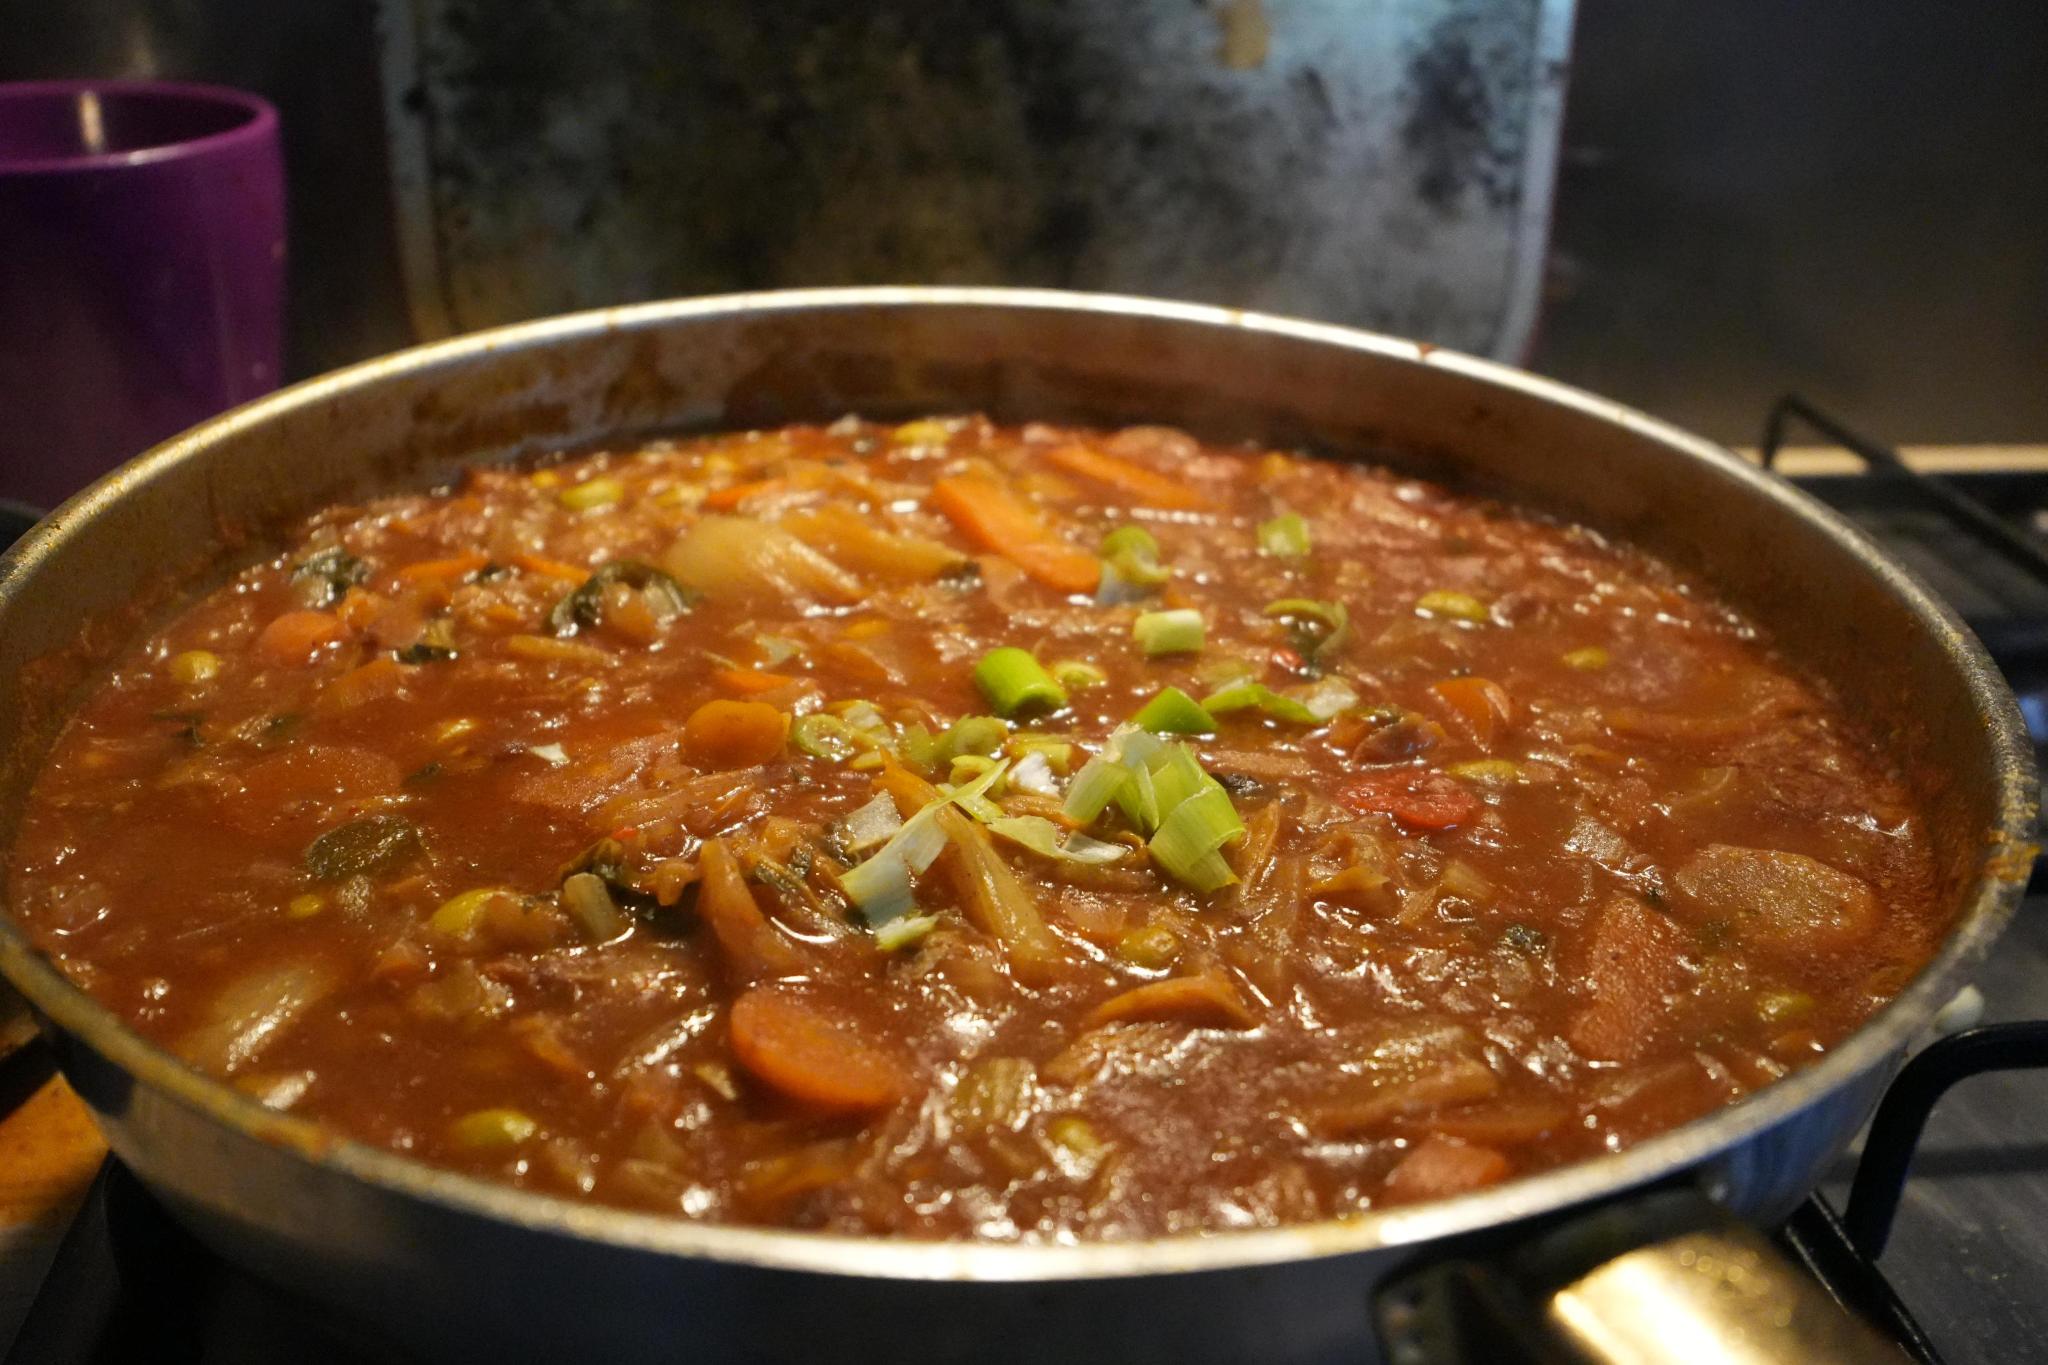
- by now the onion should be slightly caramelized and undergone the maynard process, add a lot more water, at least half full, maybe slightly more (i always use a pretty big pan)
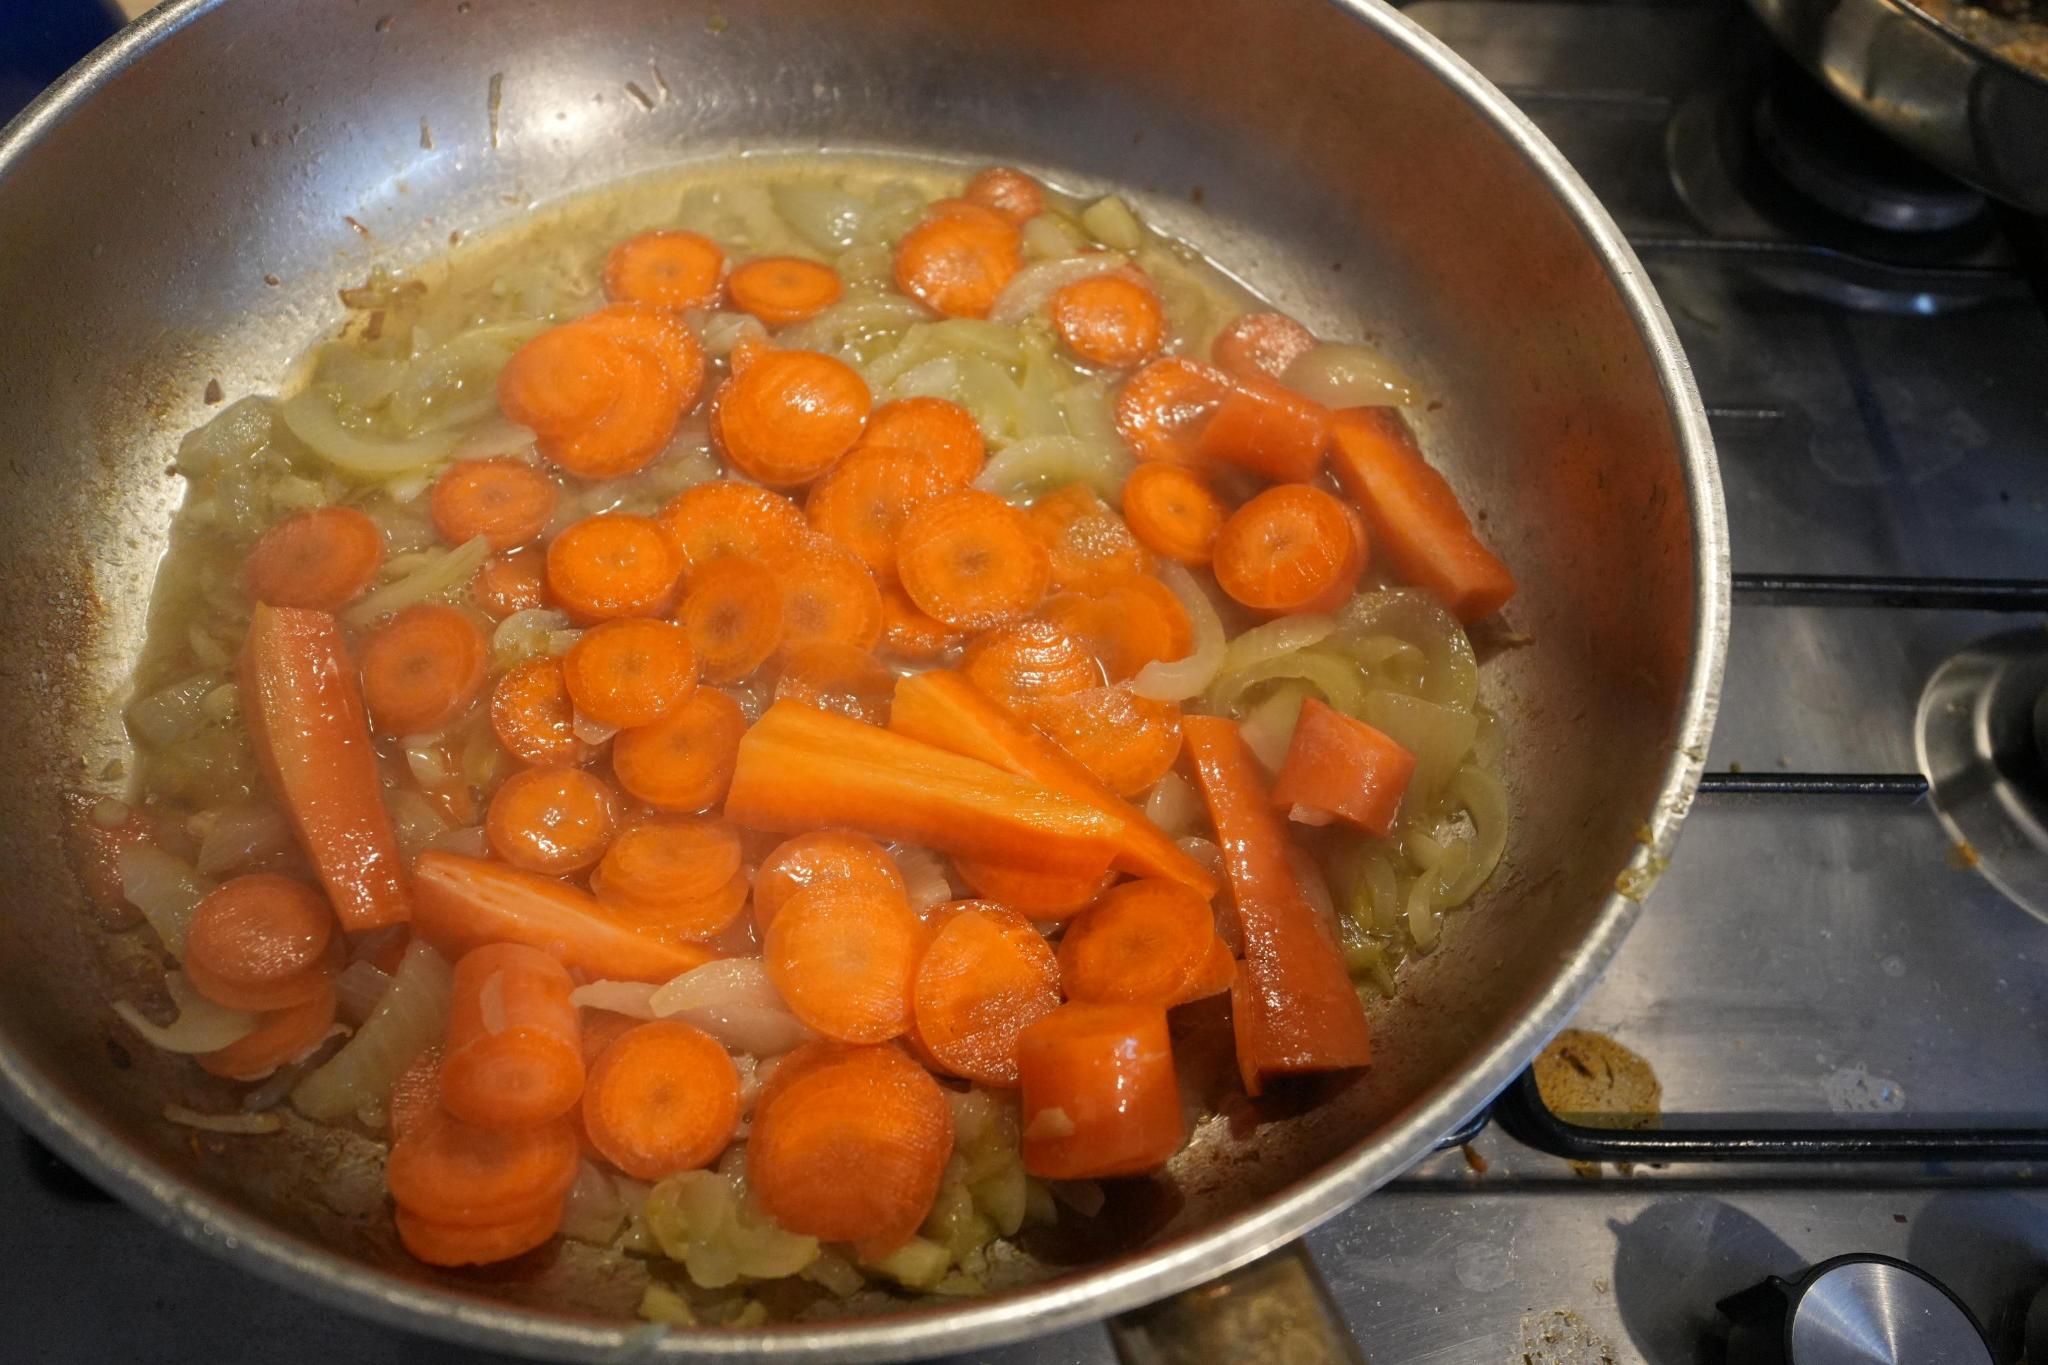
- slowly start adding the veggies before or when it’s boiling, in the order described above, (I usually tend to order them according to cooking time; a.k.a. fruits / vegetables that take longer to cook, go first)

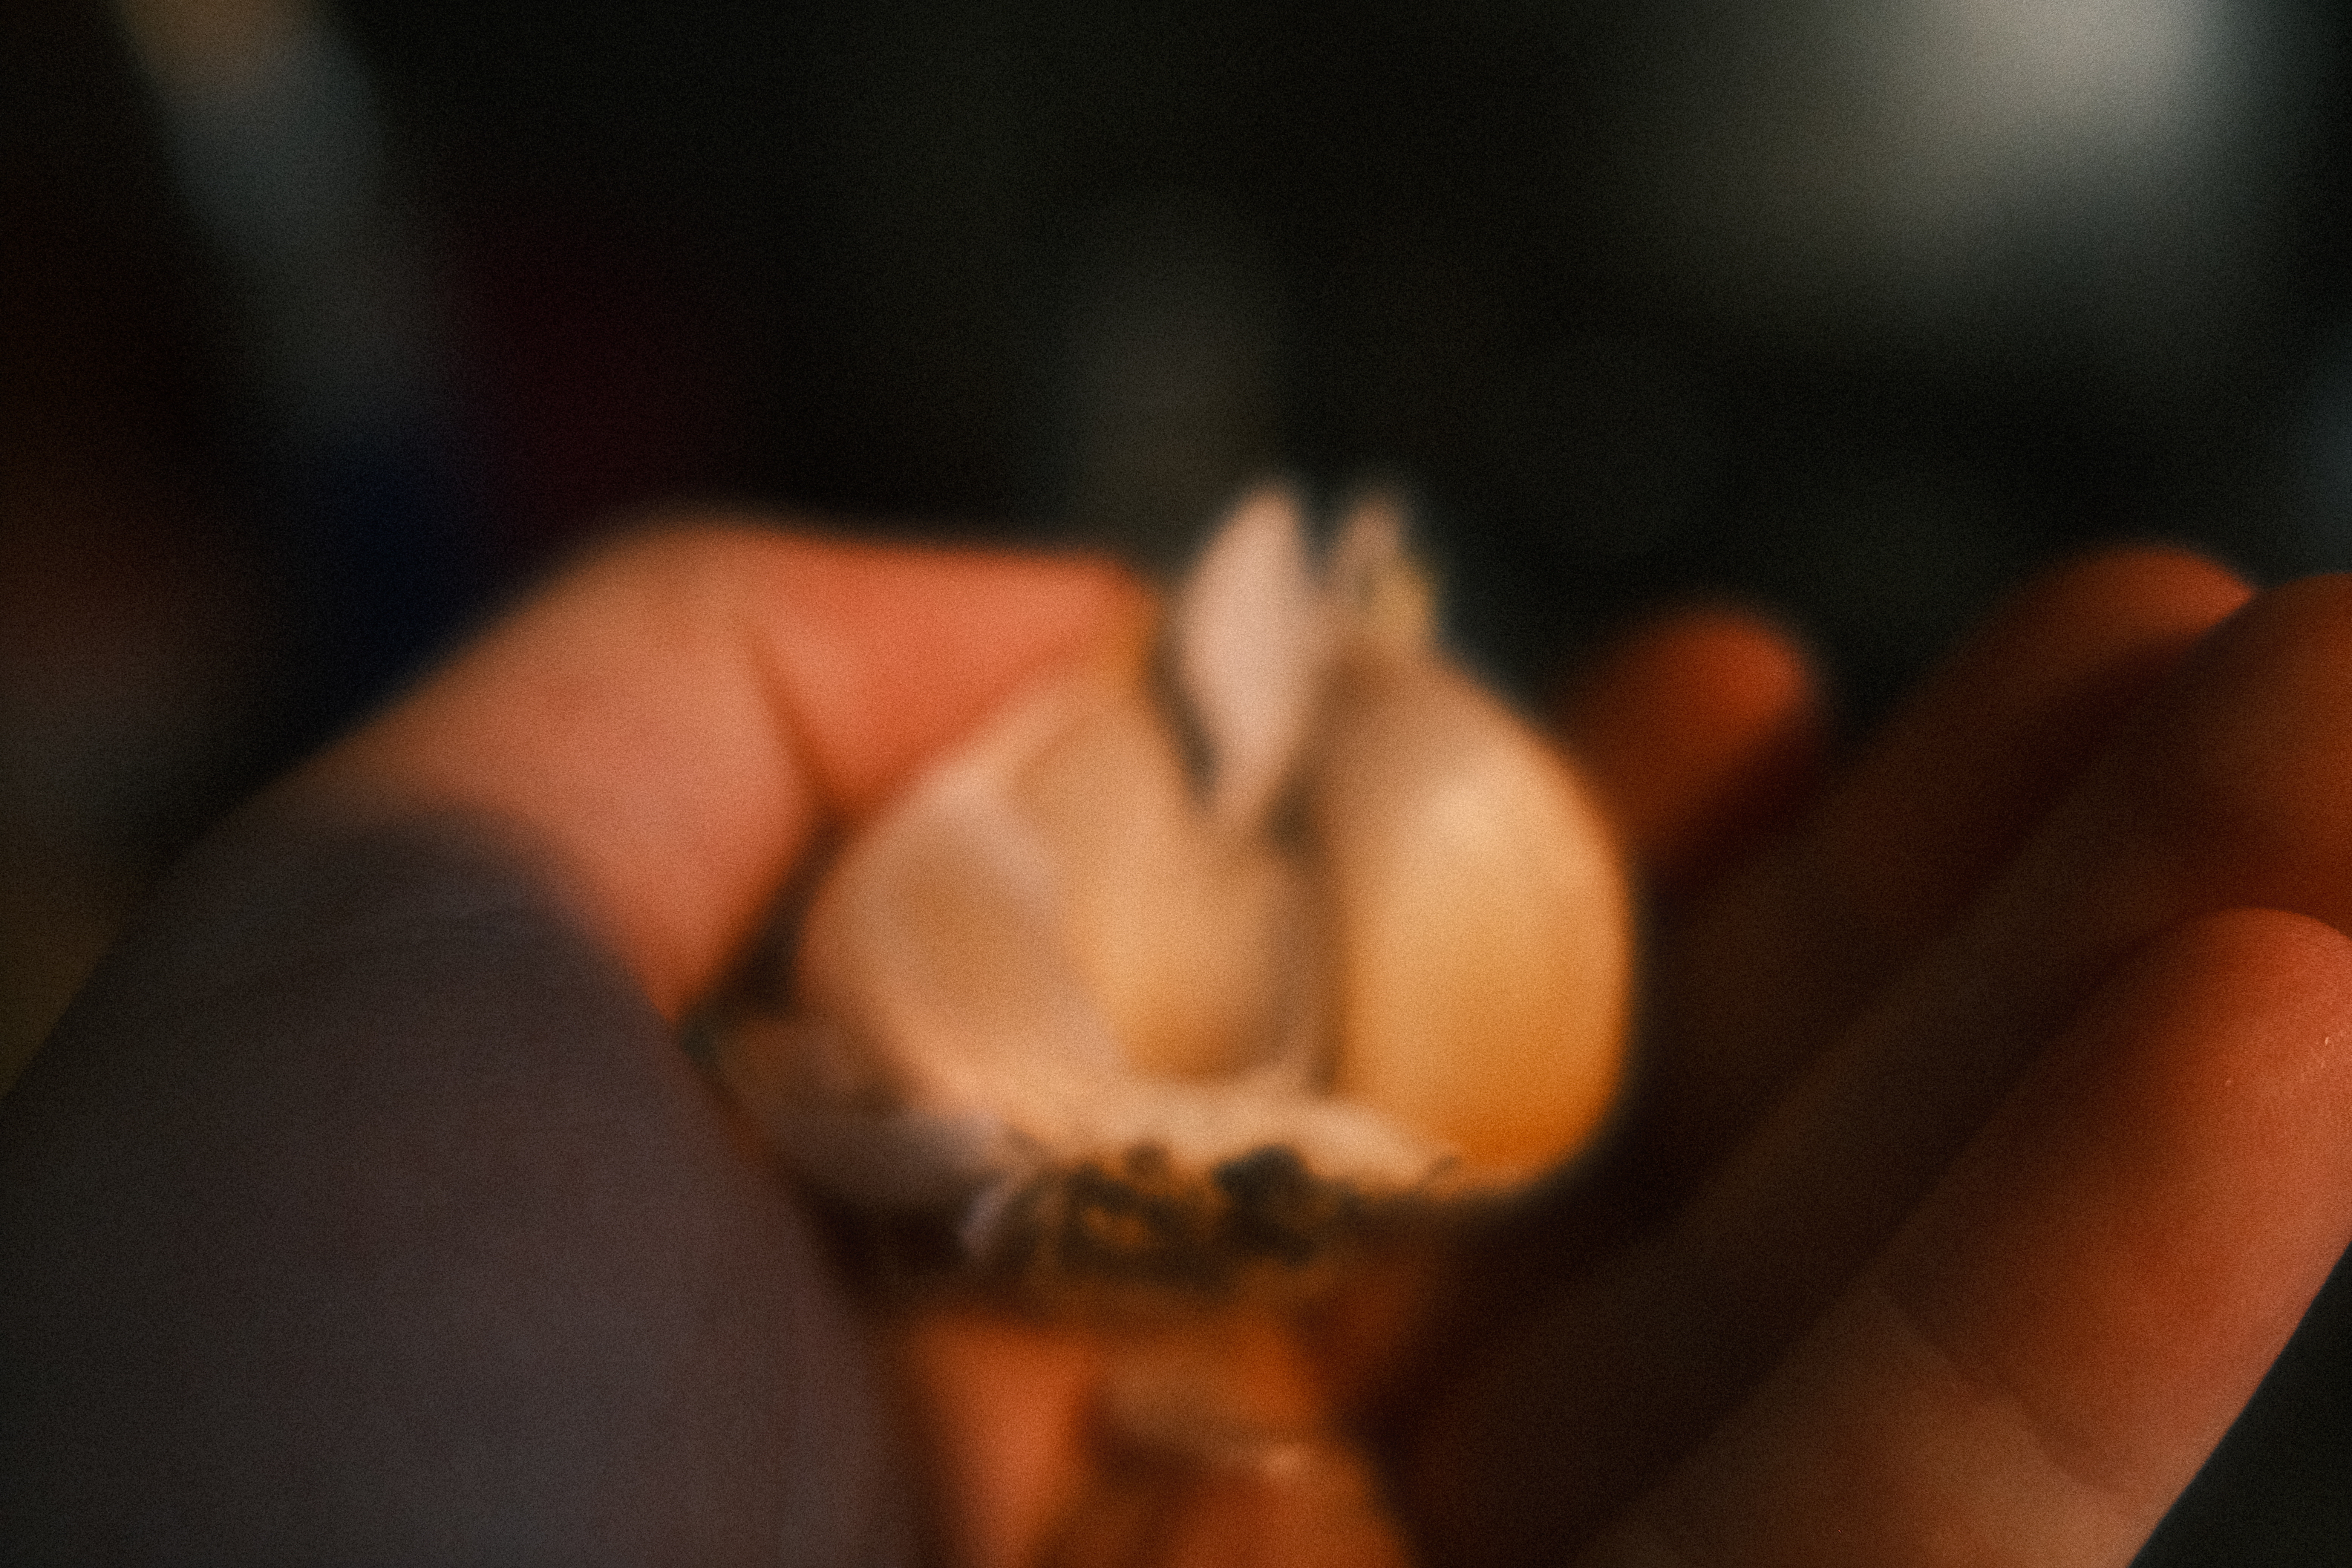
- (specialty items like dates?! not the ones you want to sleep with, would give a rather weird taste i assume)

- Add more water in the pan
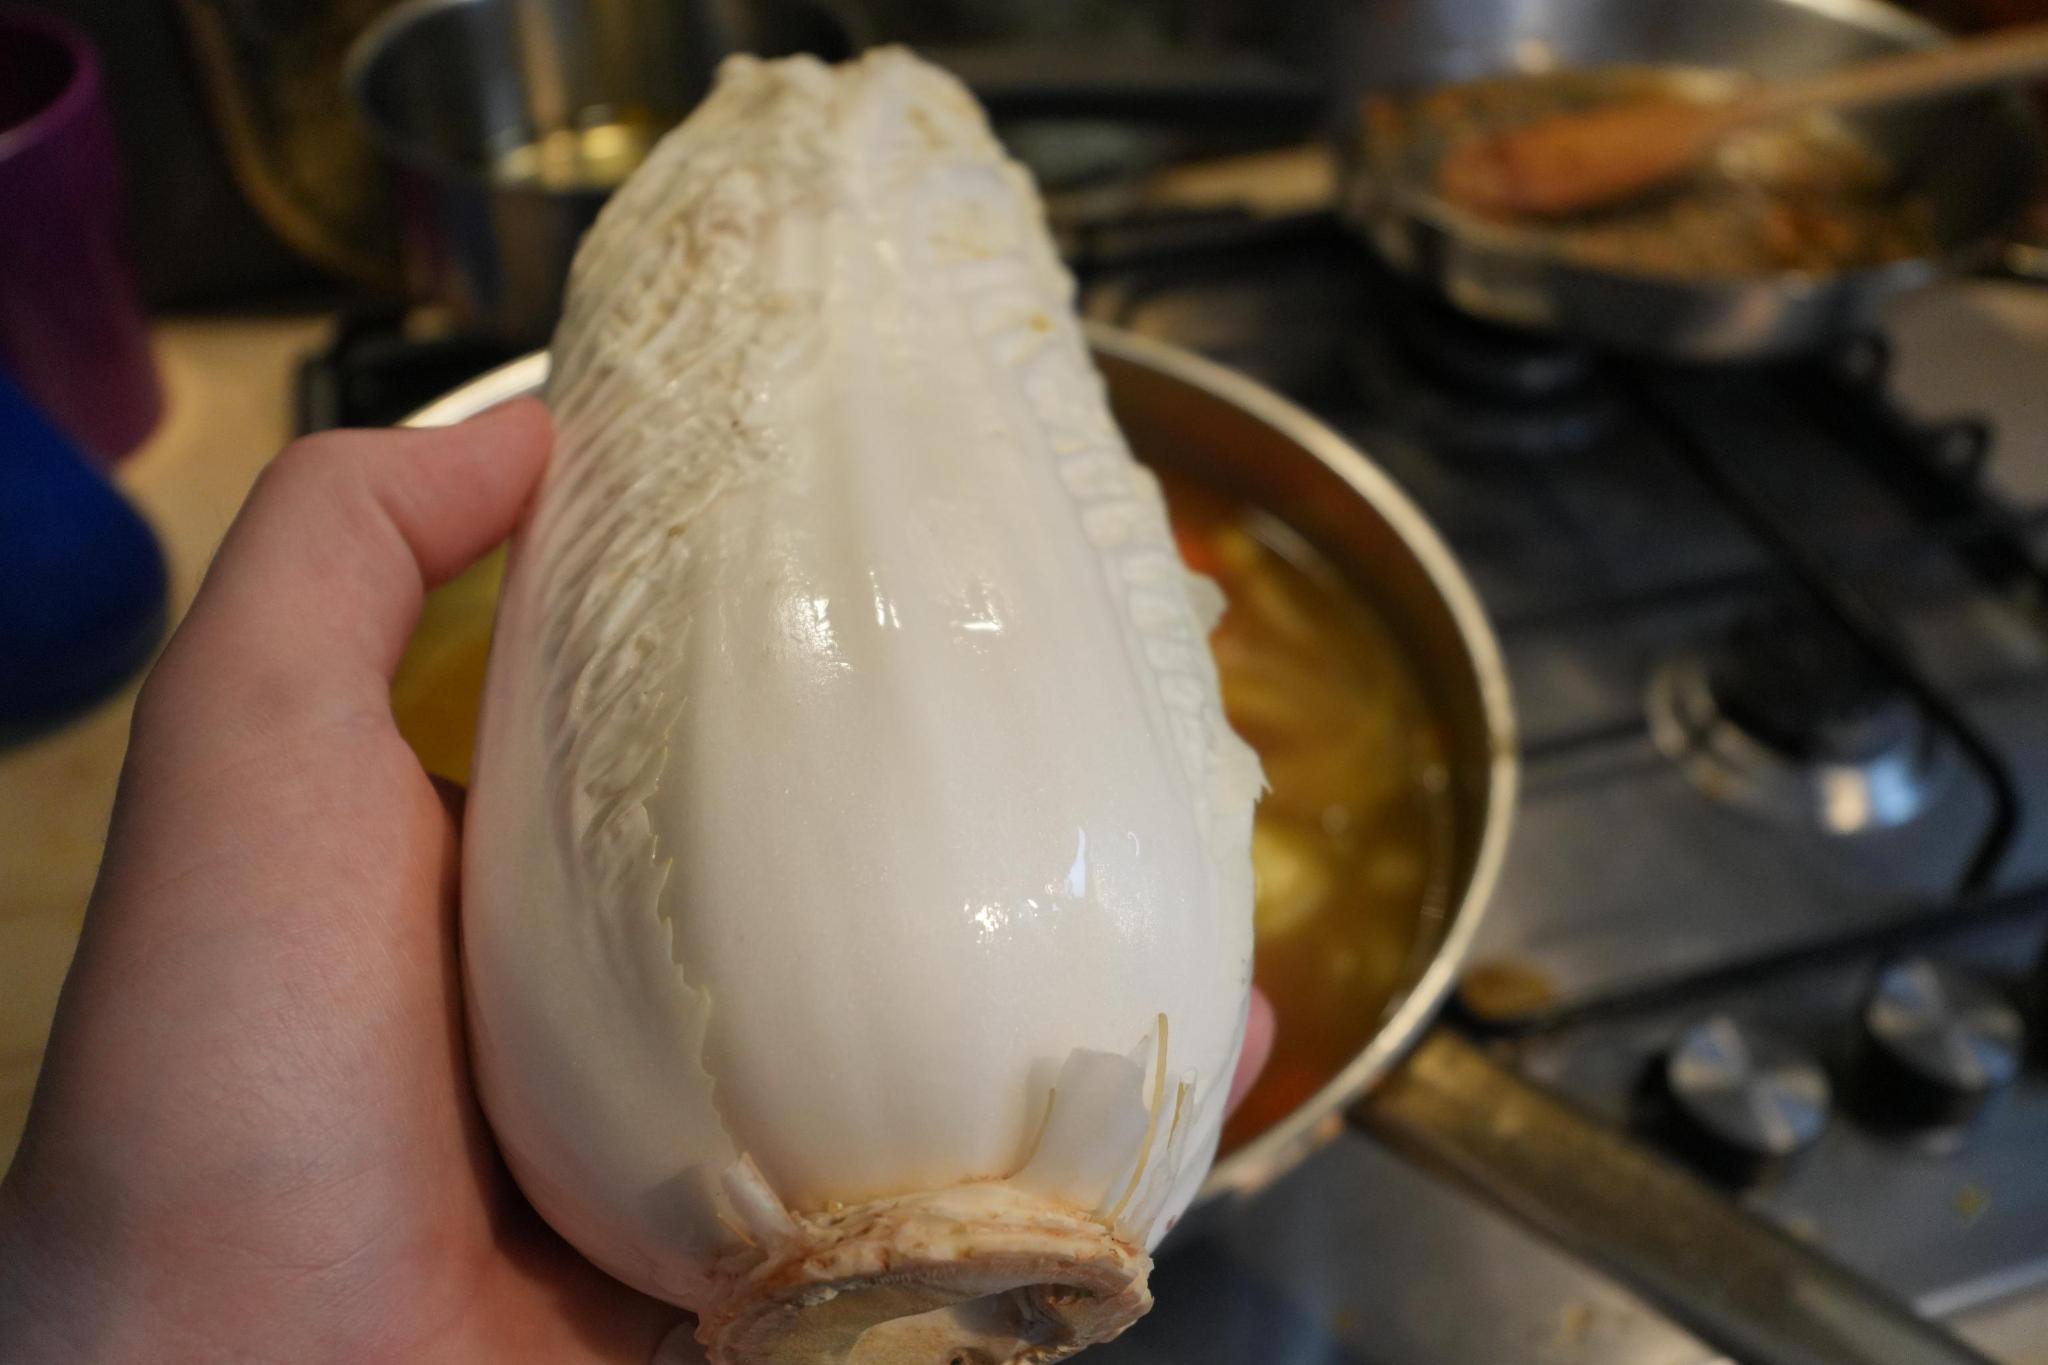
- Add chinese cabbage and other leafies
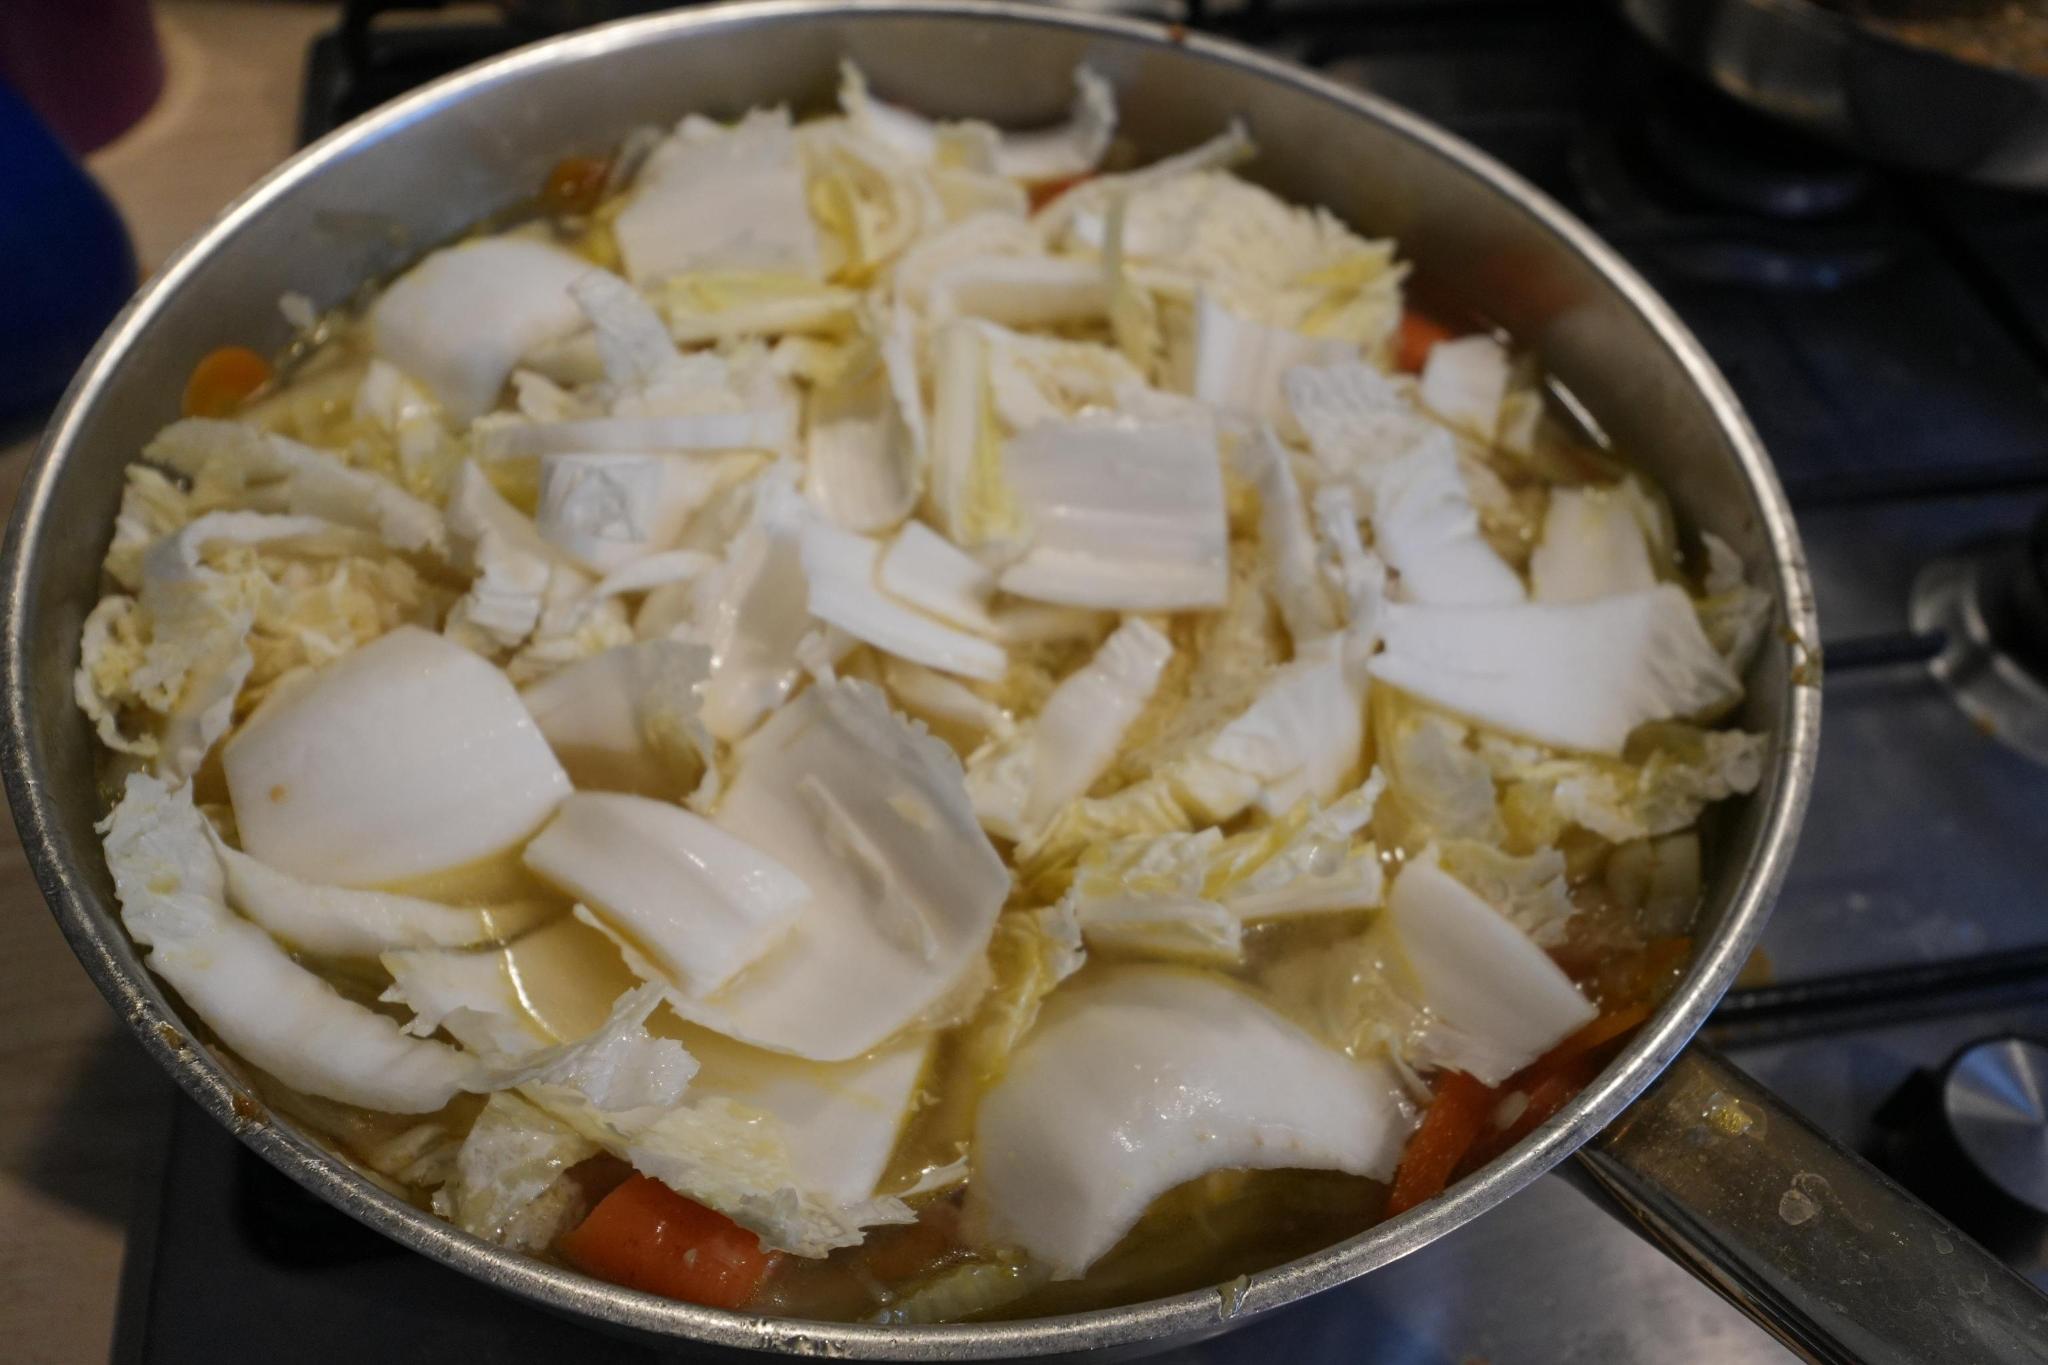
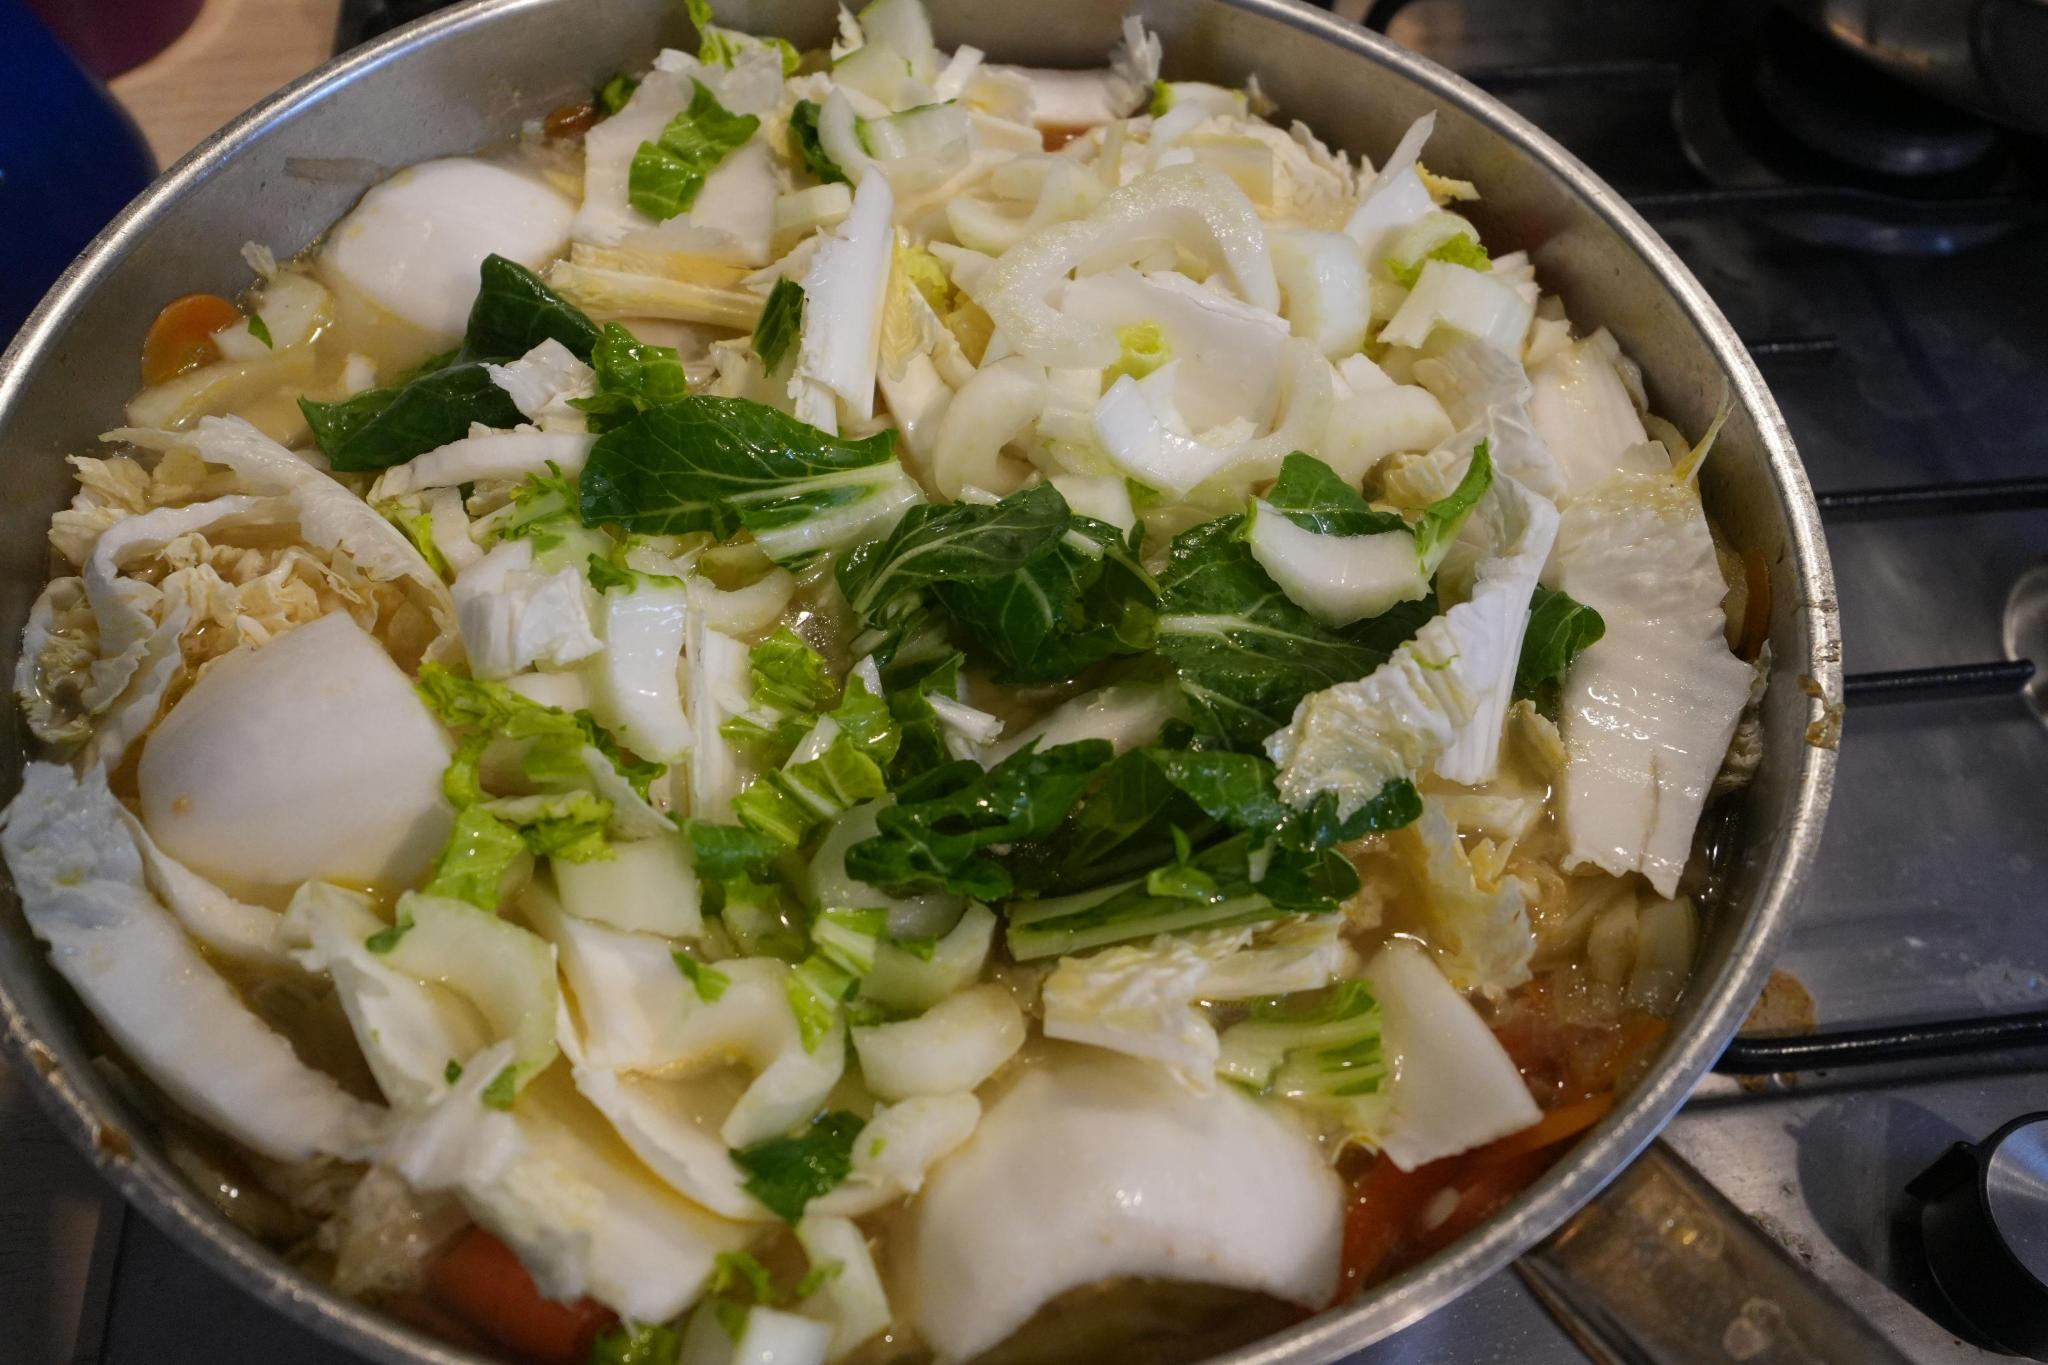
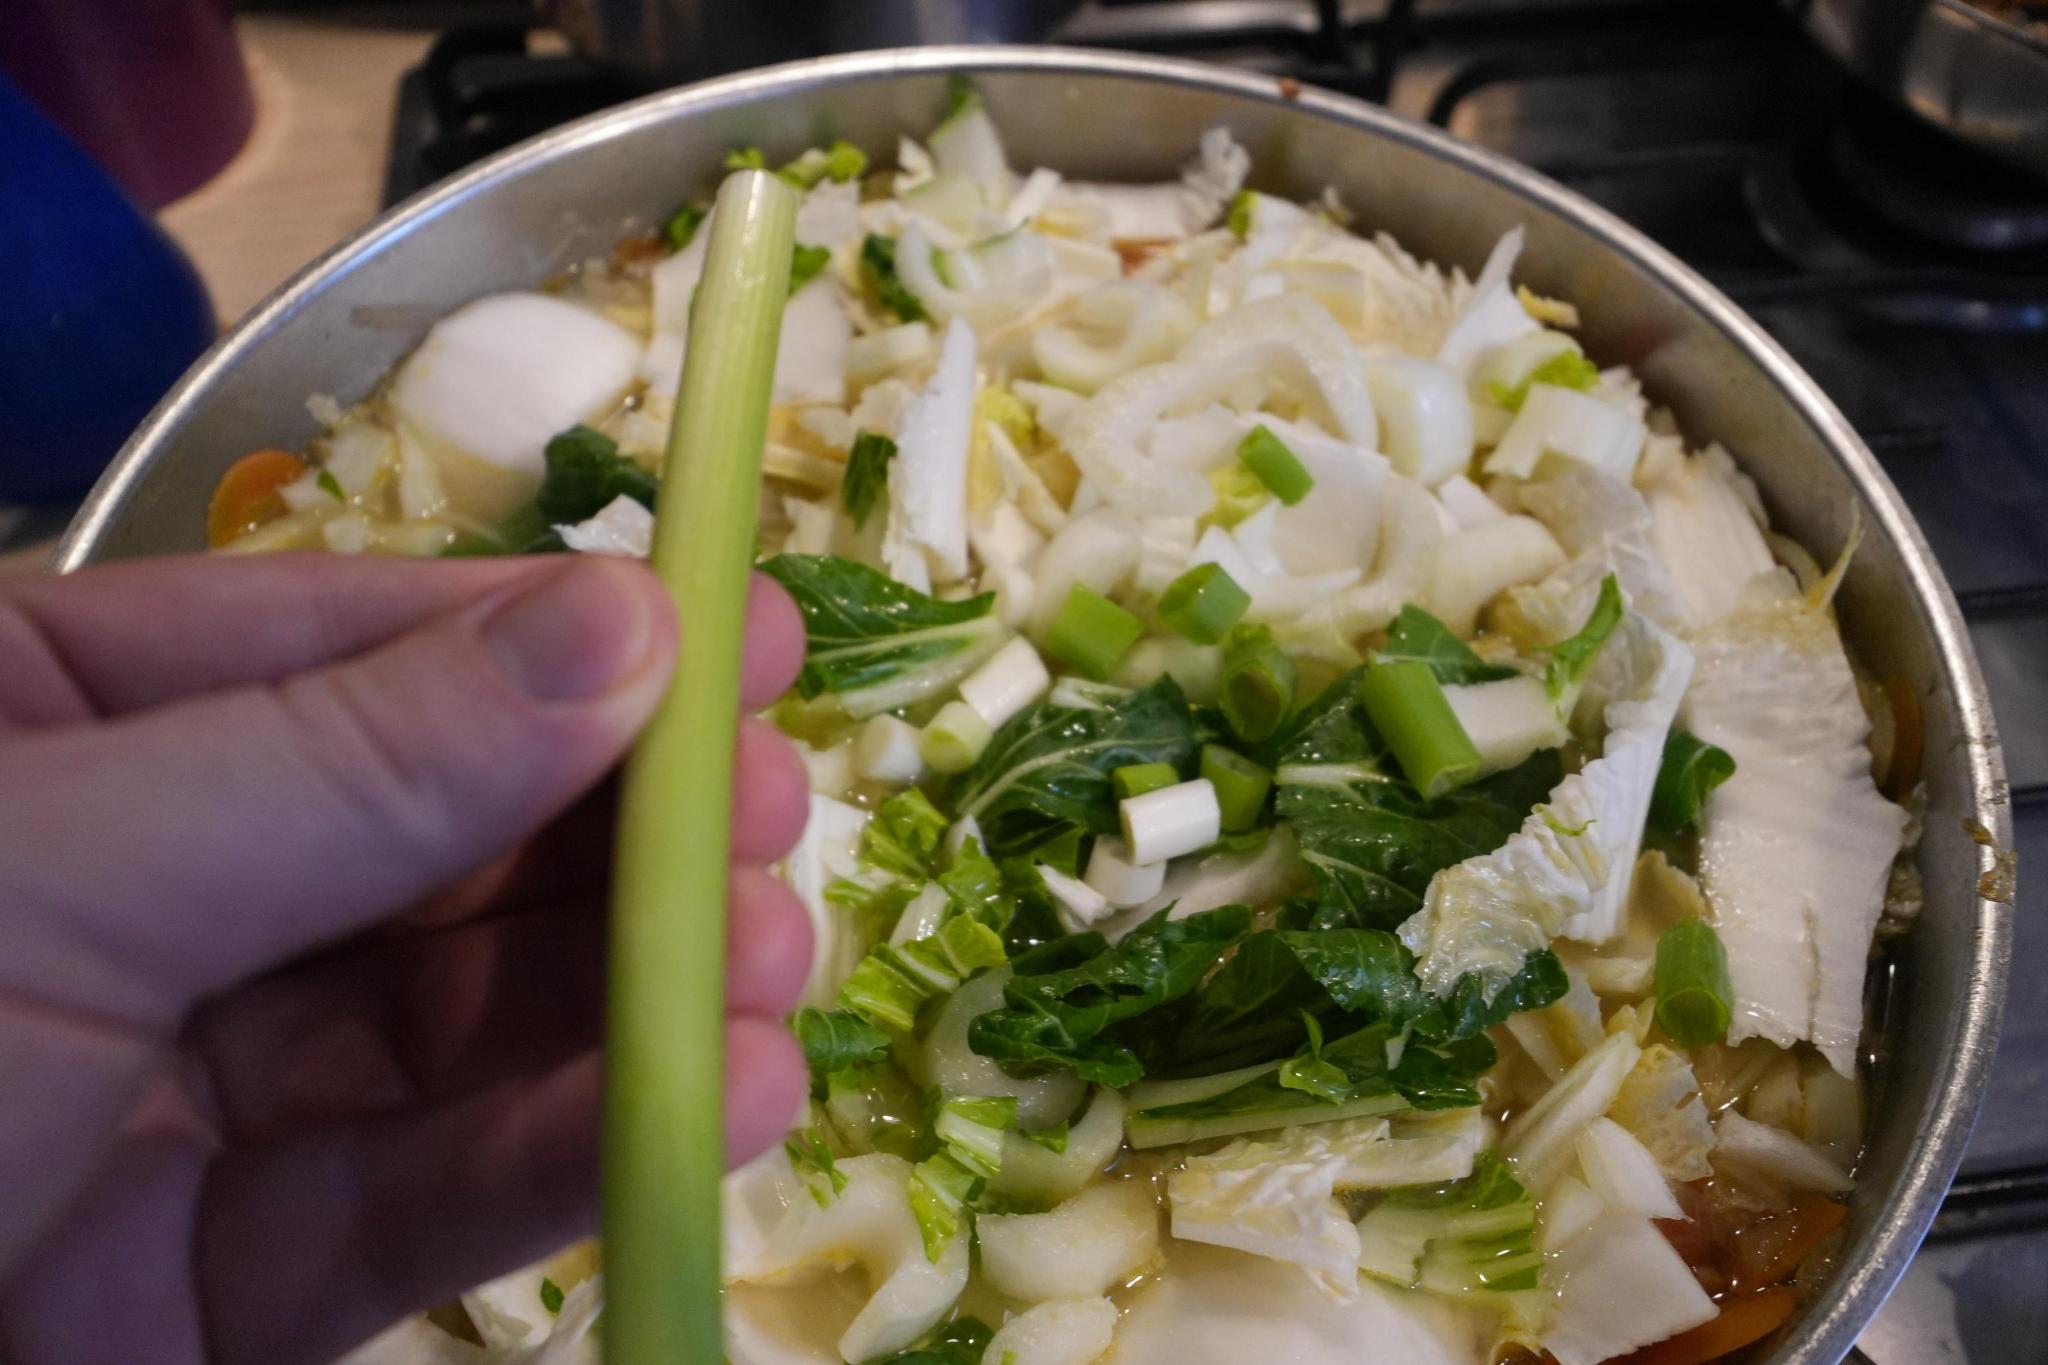
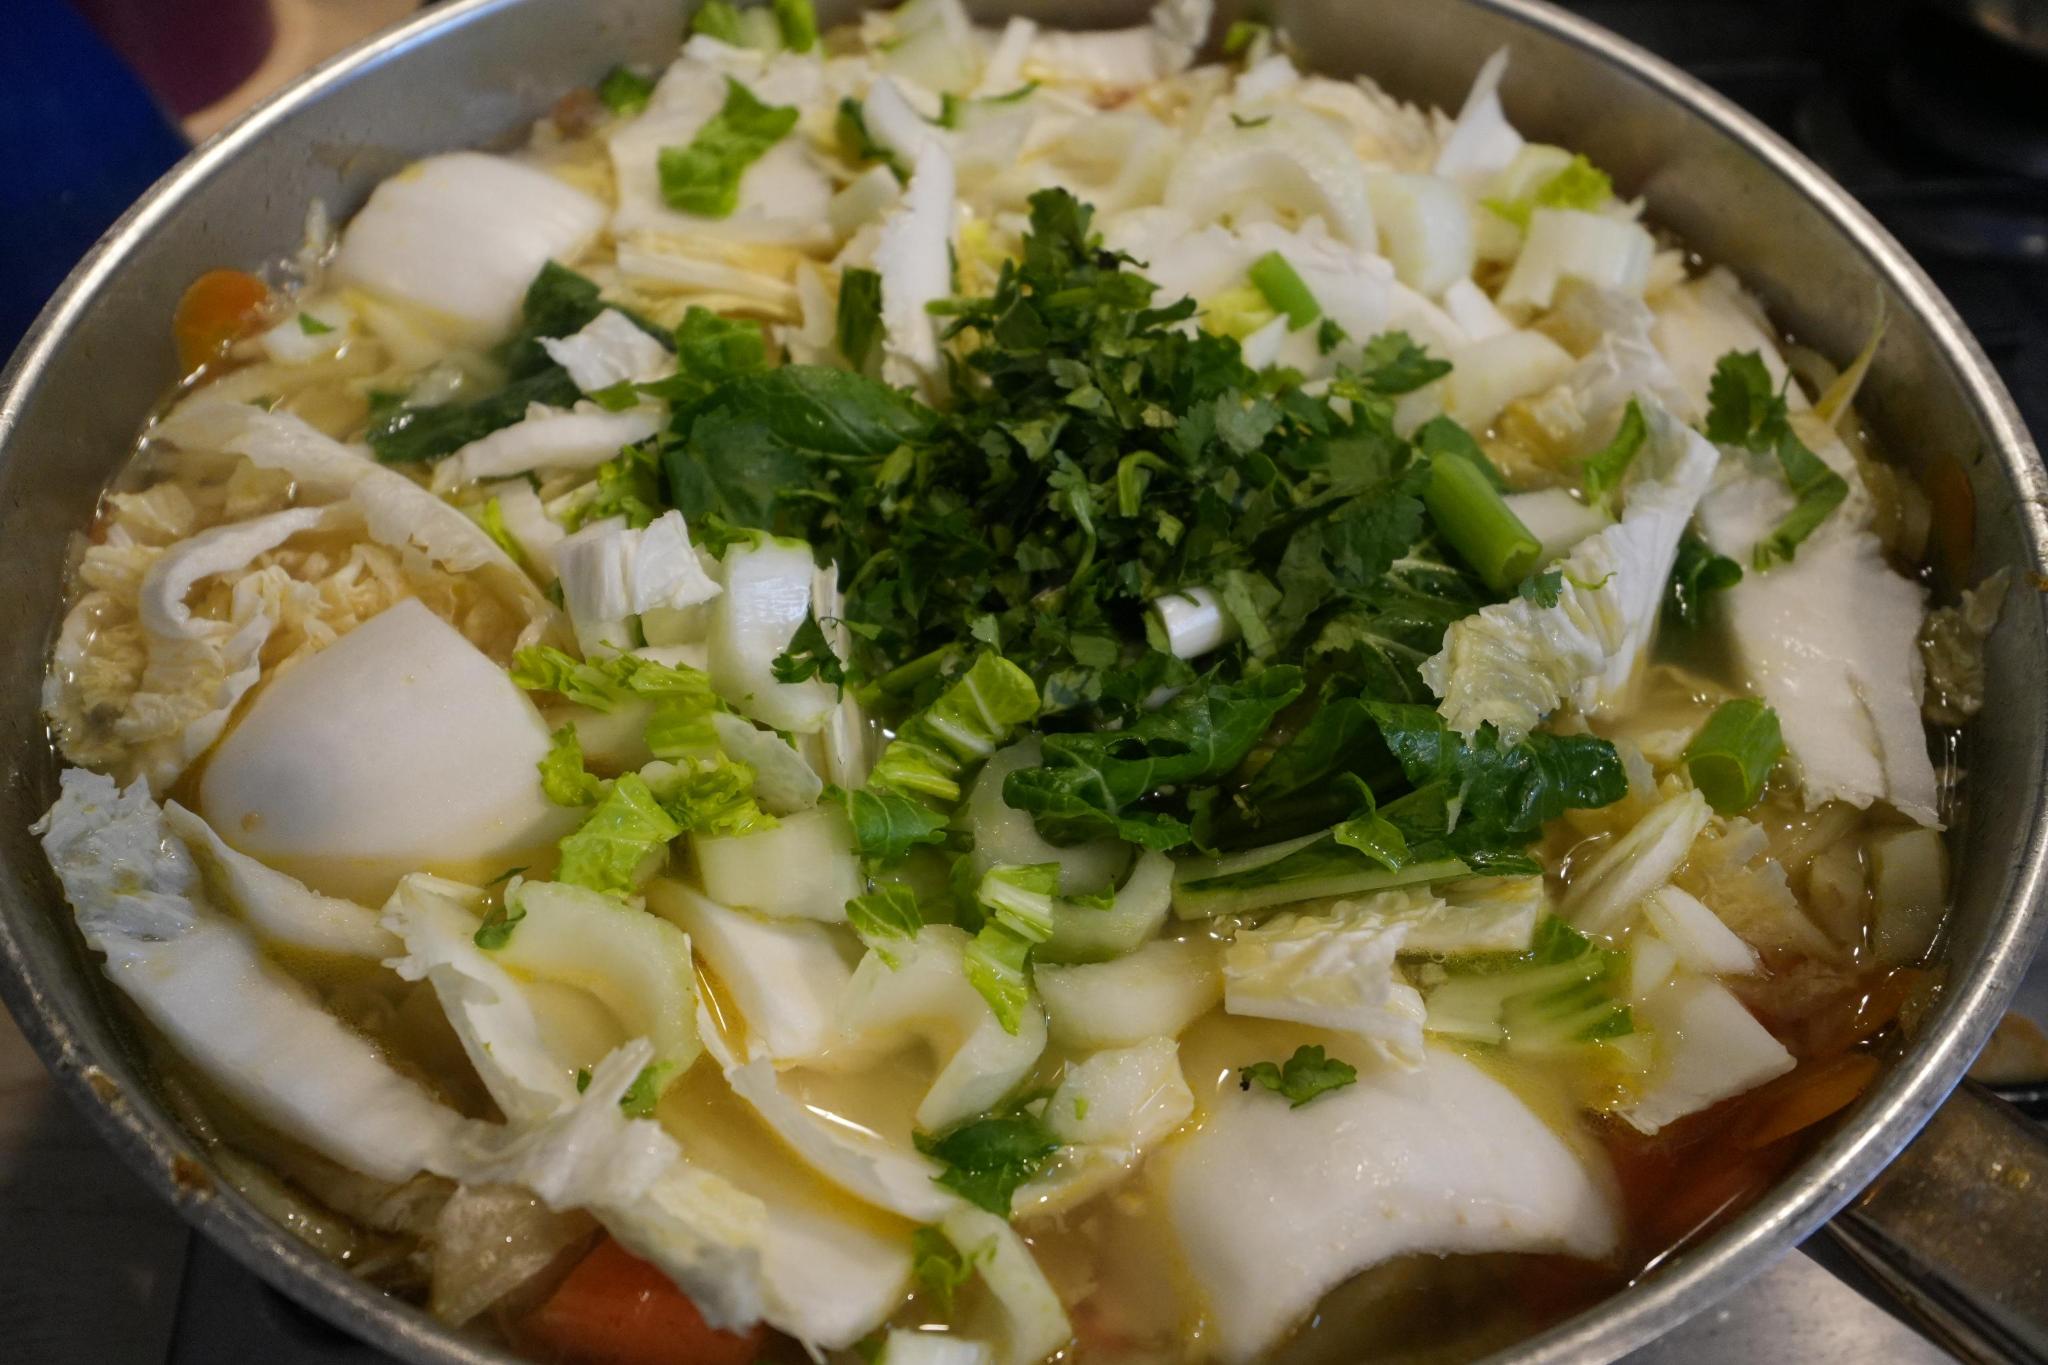
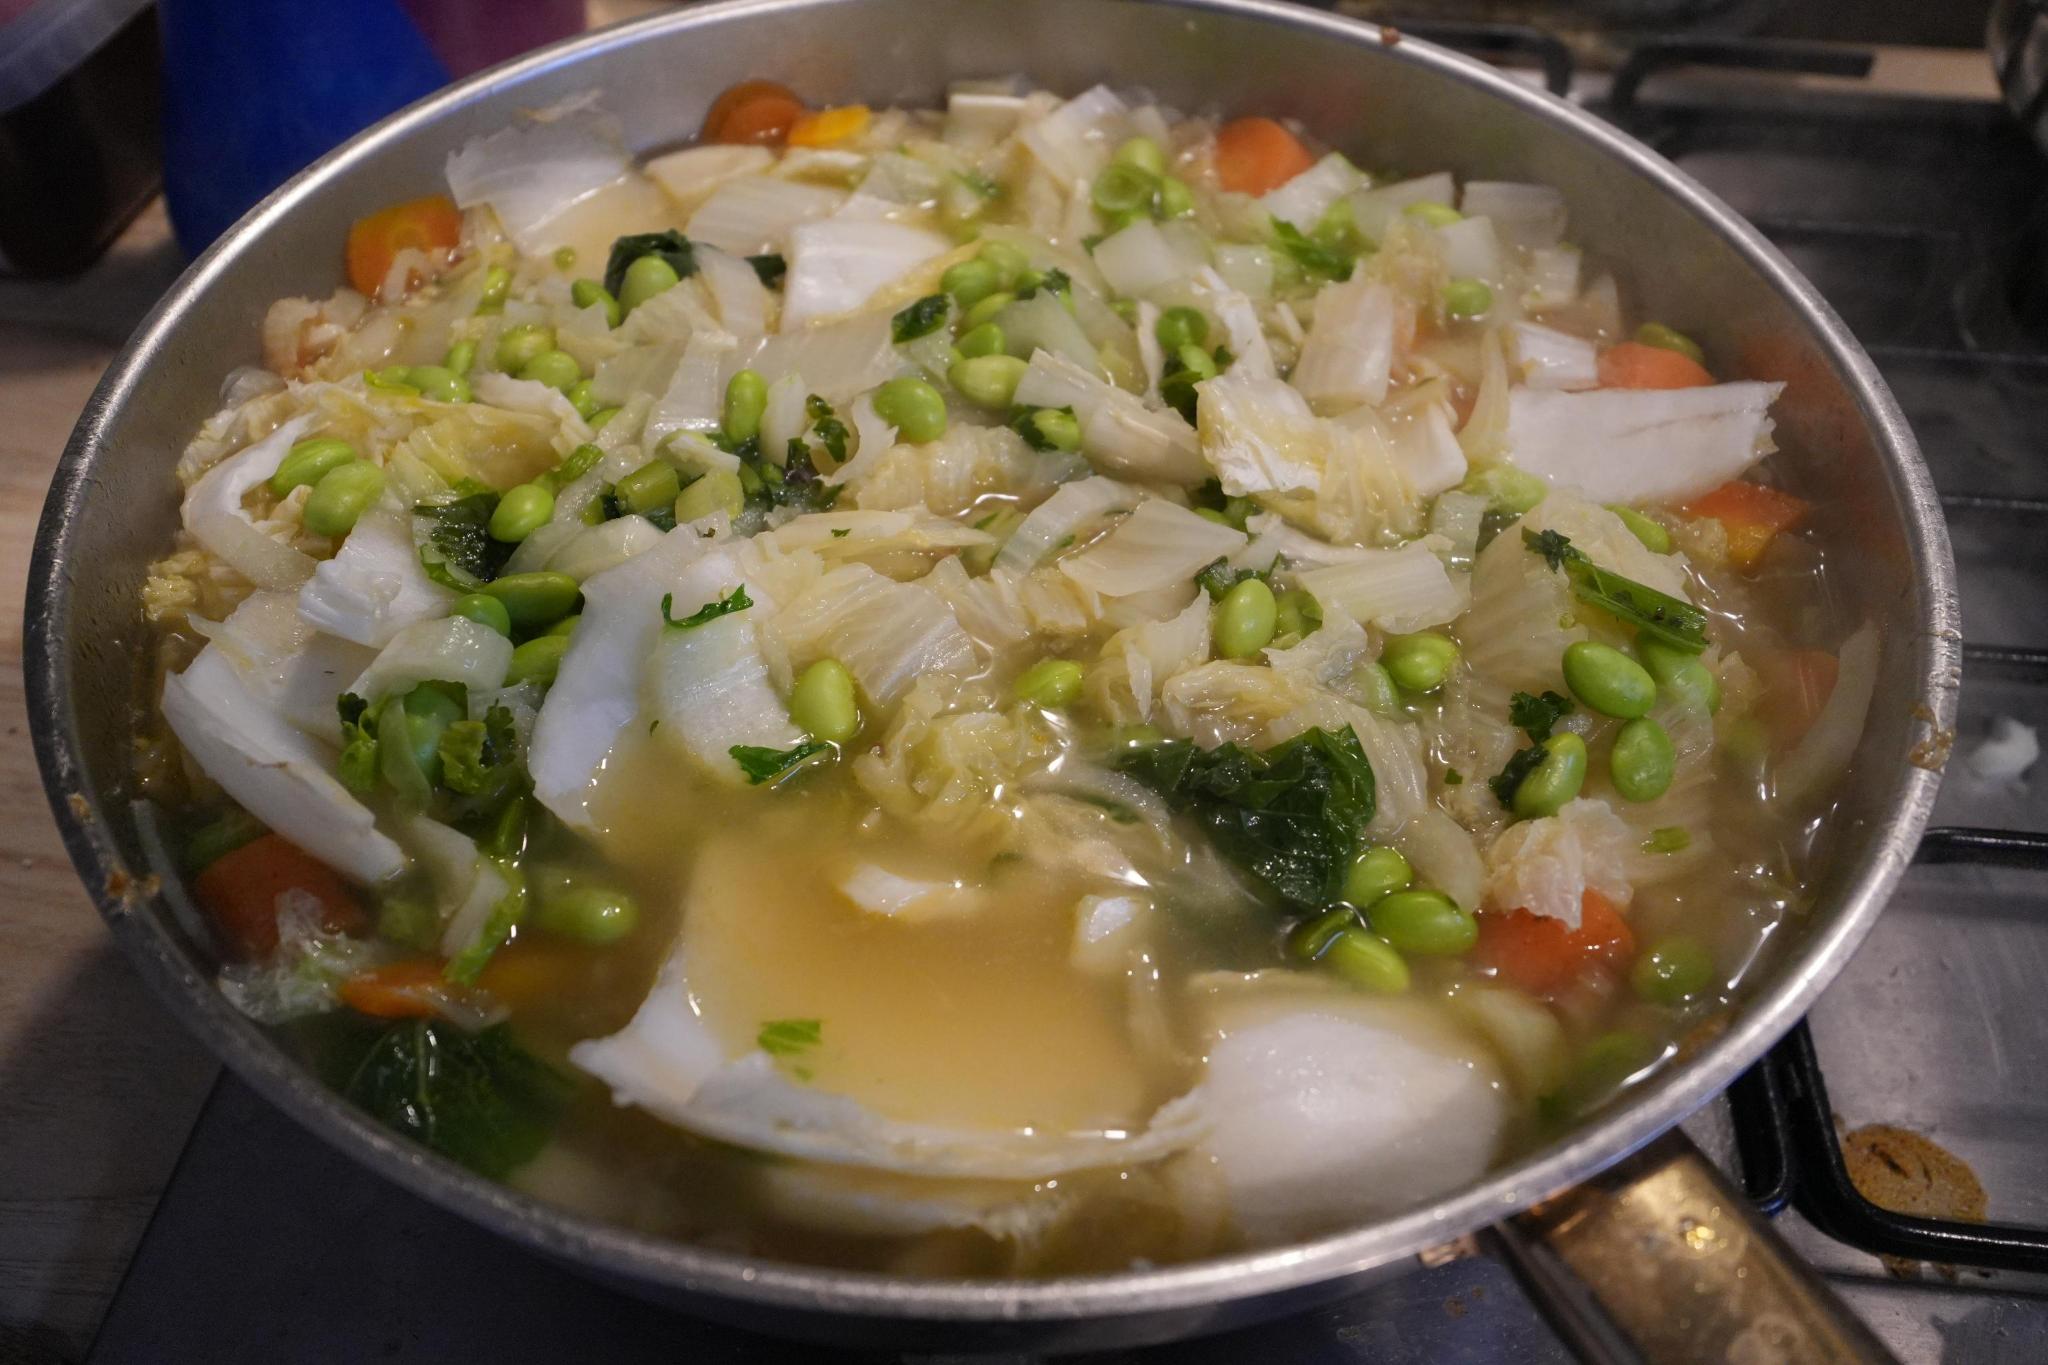

- Wait a while for things to settle
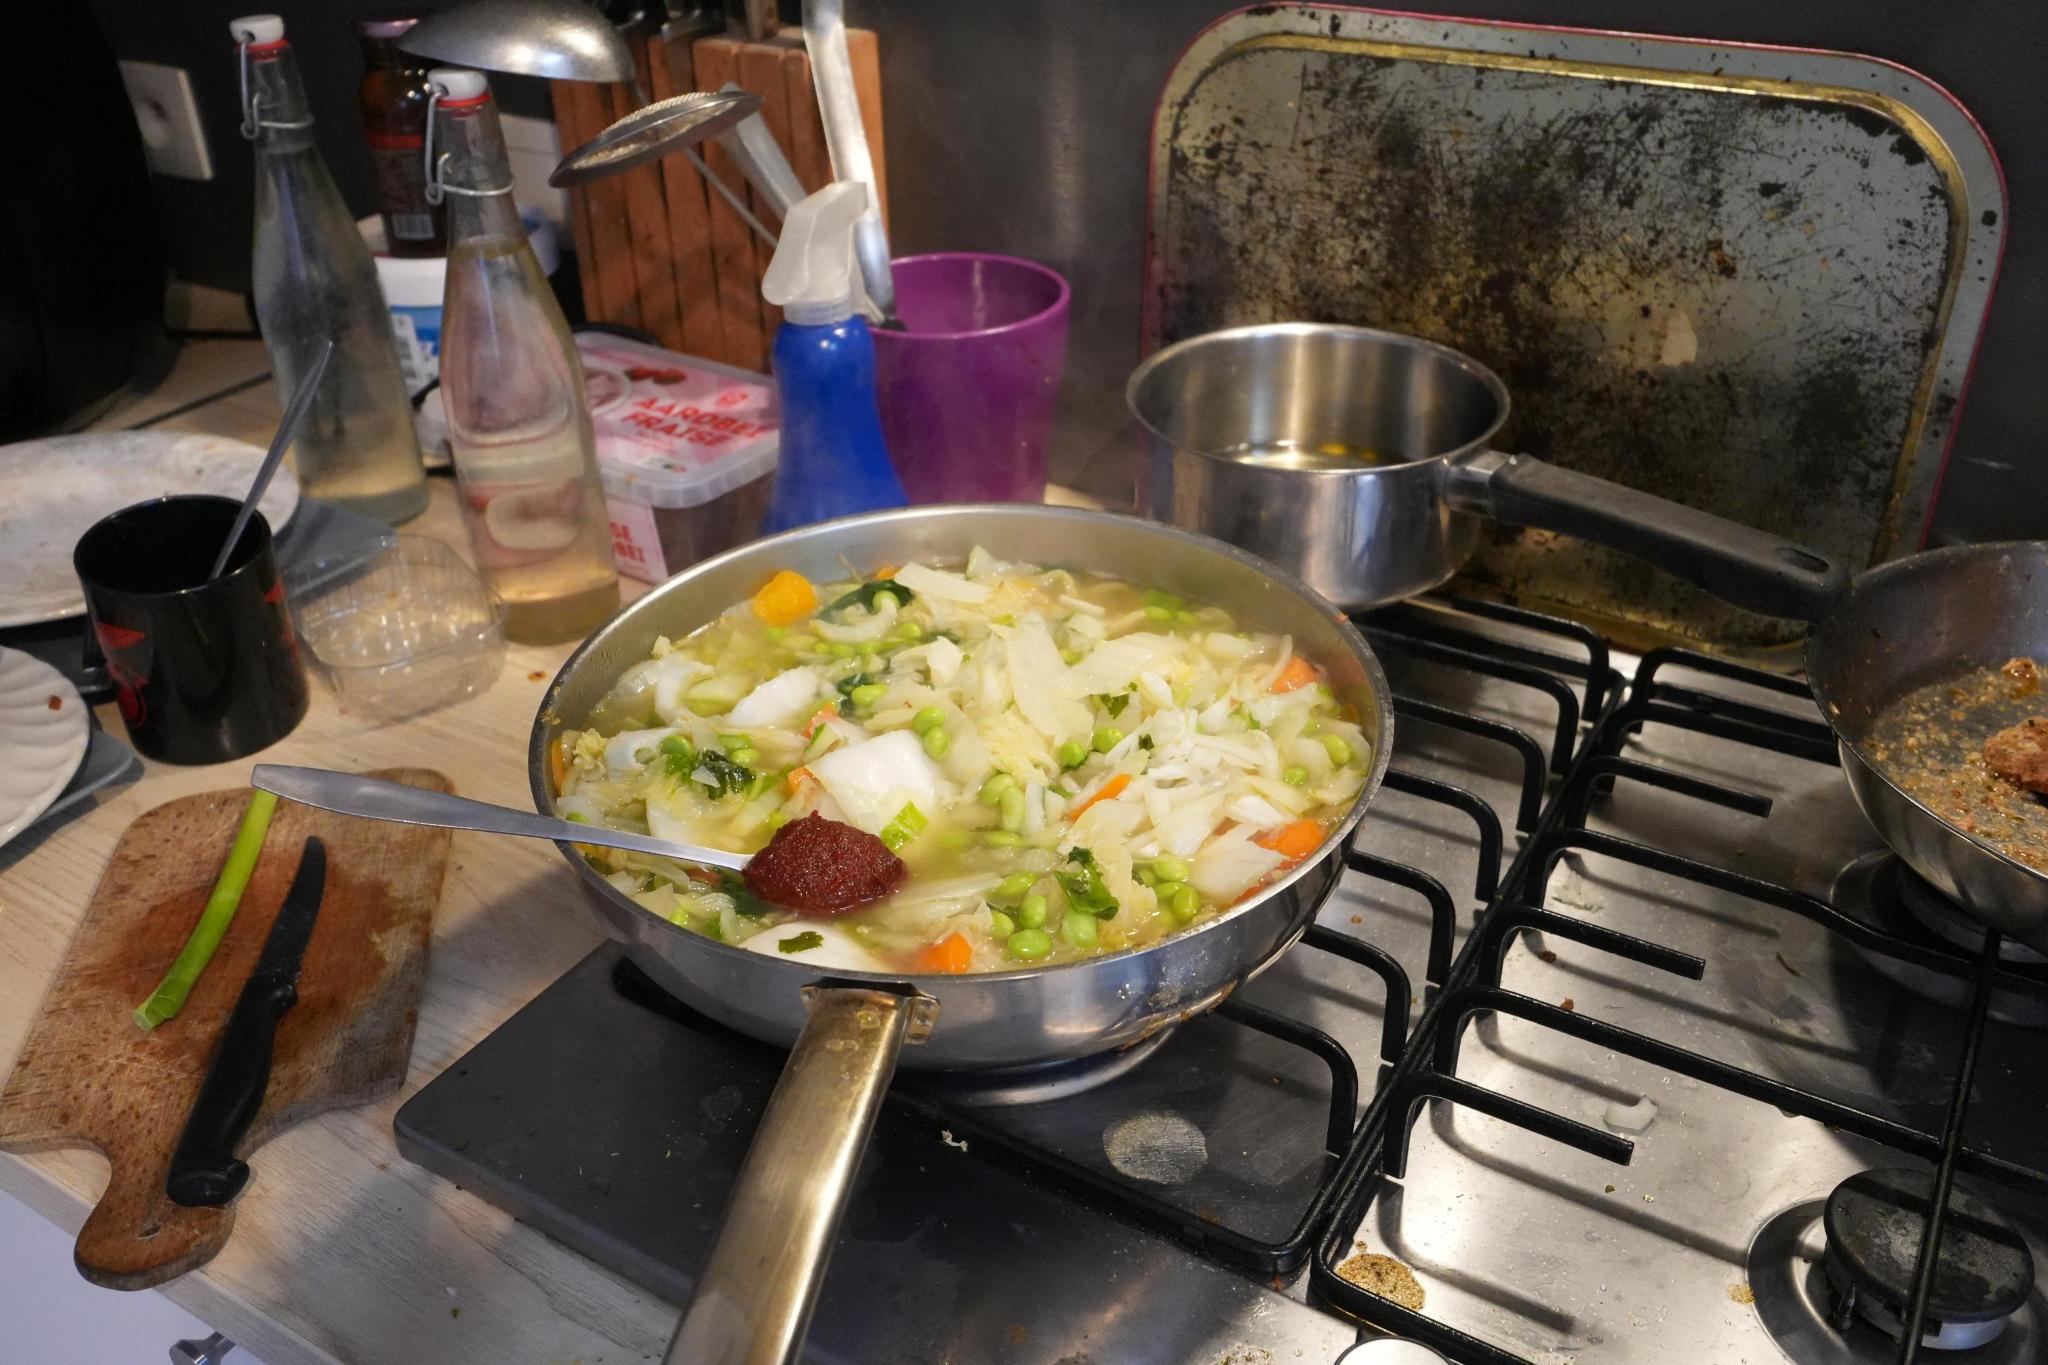
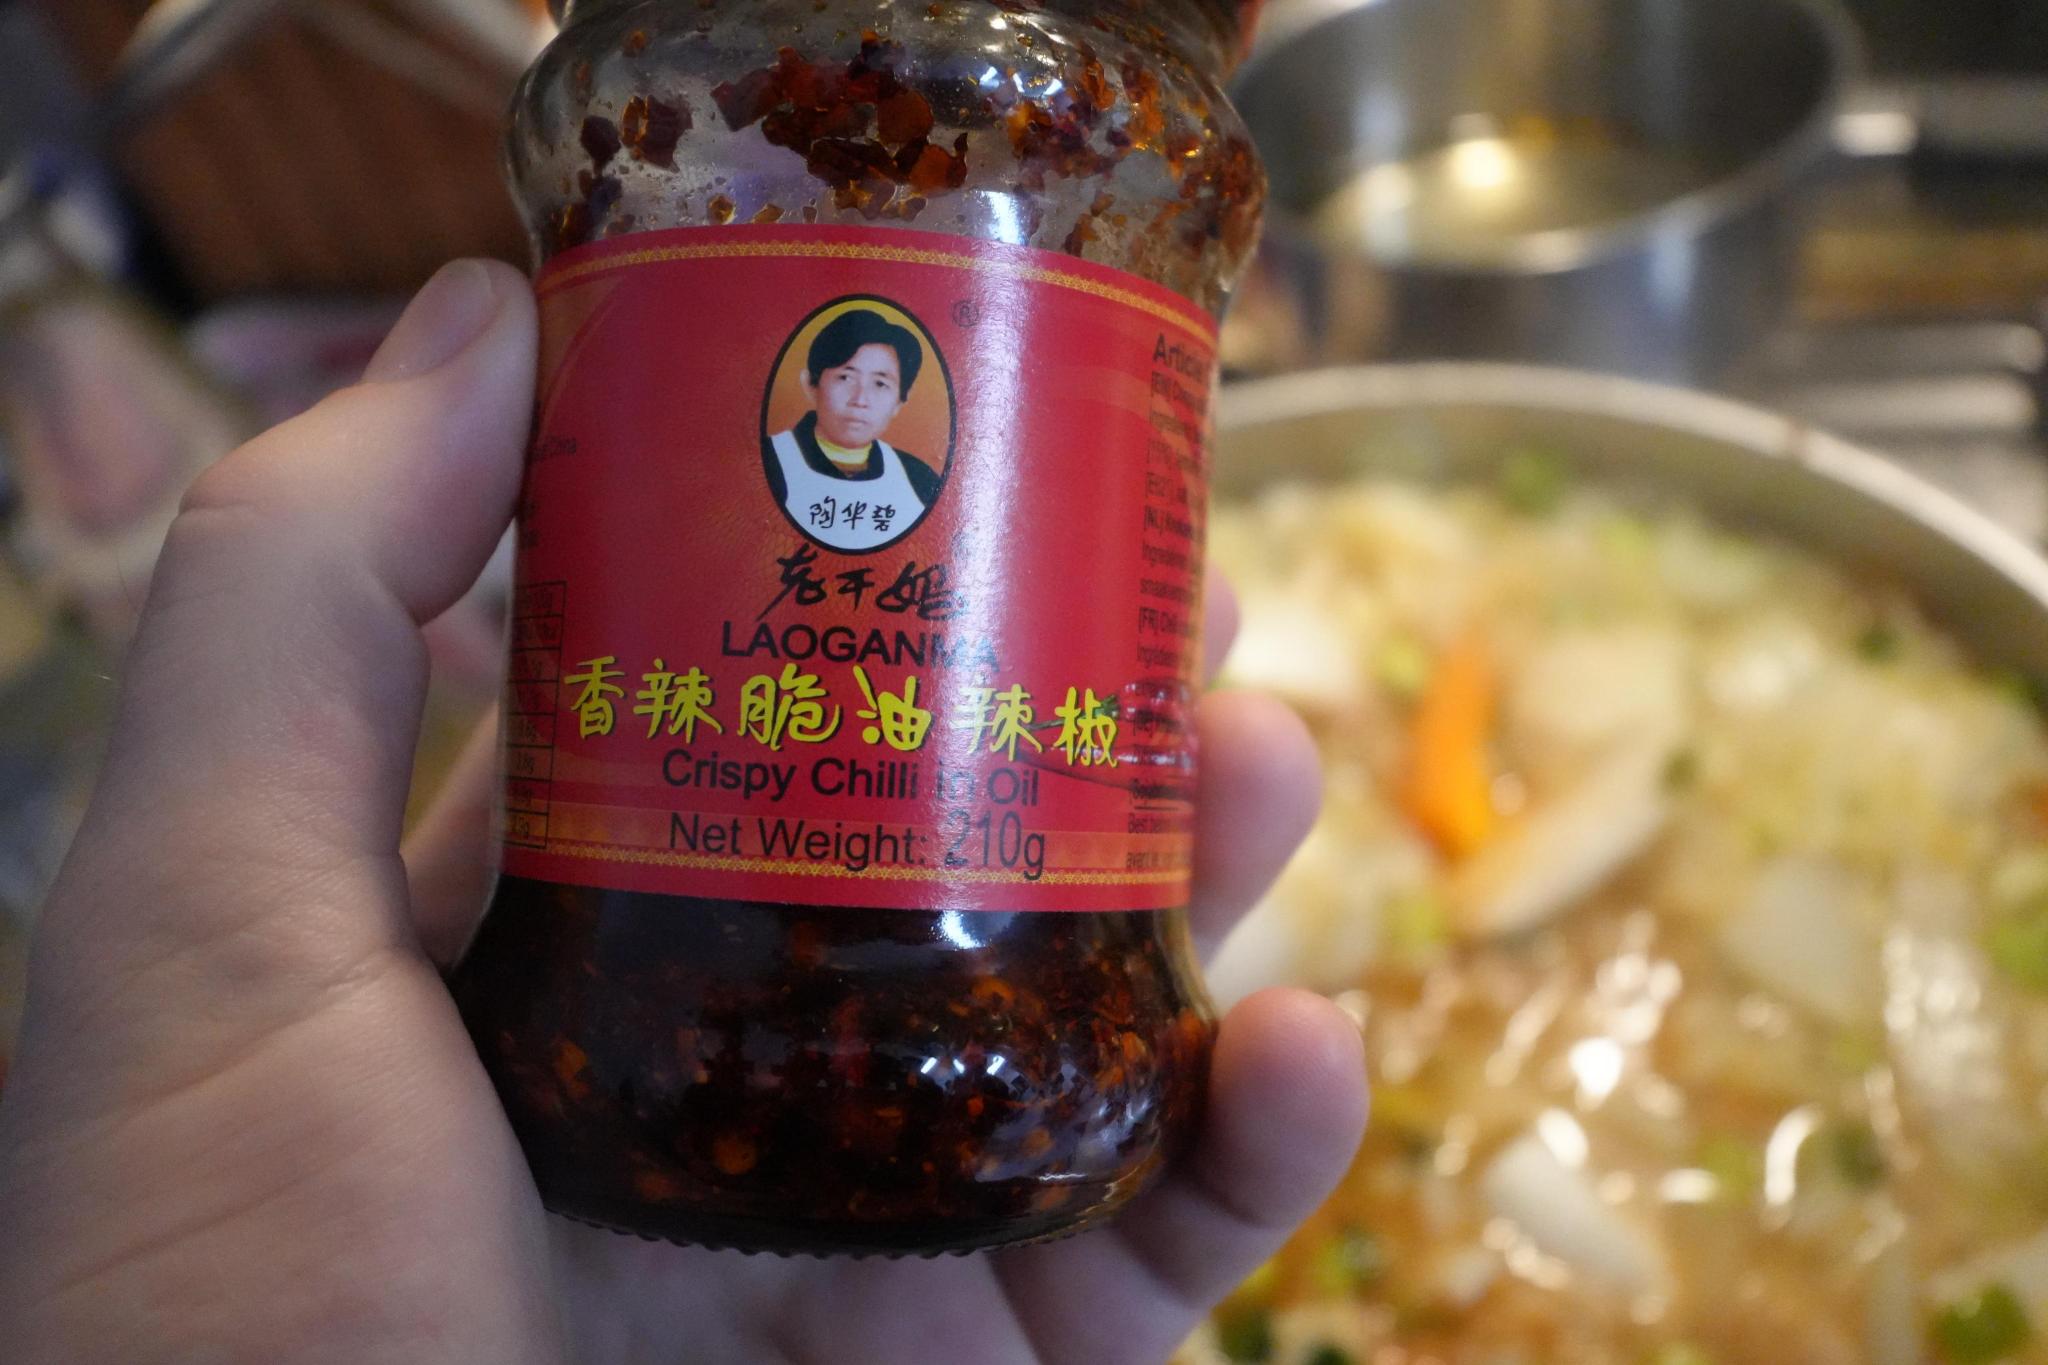
- (add other curries other than the japanese one, gochujang a.k.a. korean spicy chili paste in this case, and chinese spicy chili oil)

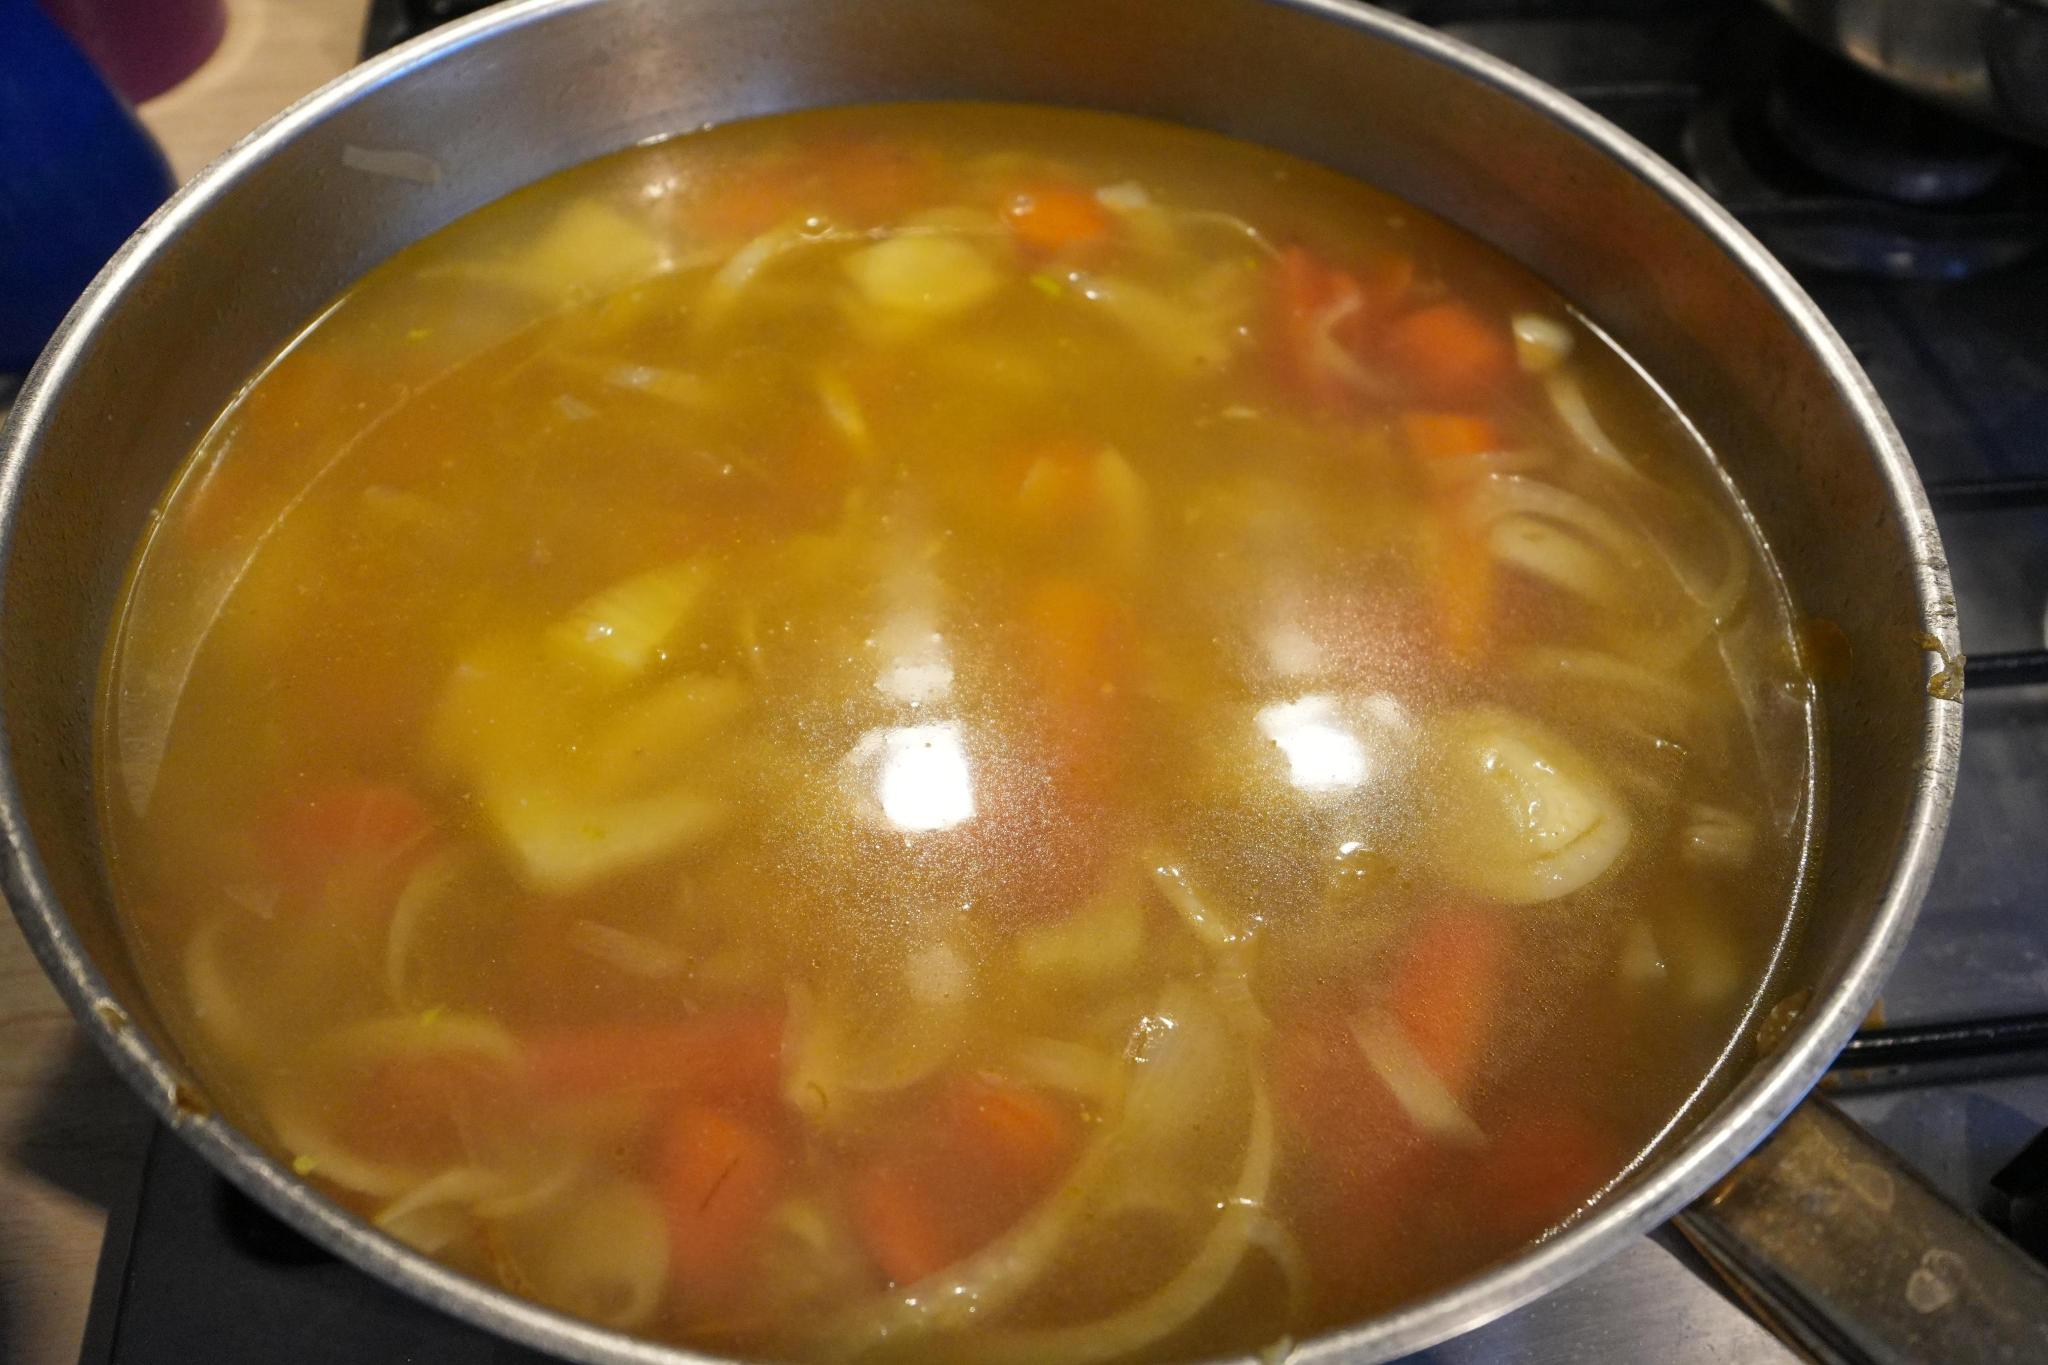
- wait a while for everything to boil and become more uniform, if water evaporates before it’s done, add more water

- crack open a bundaberg and enjoy while the peace lasts
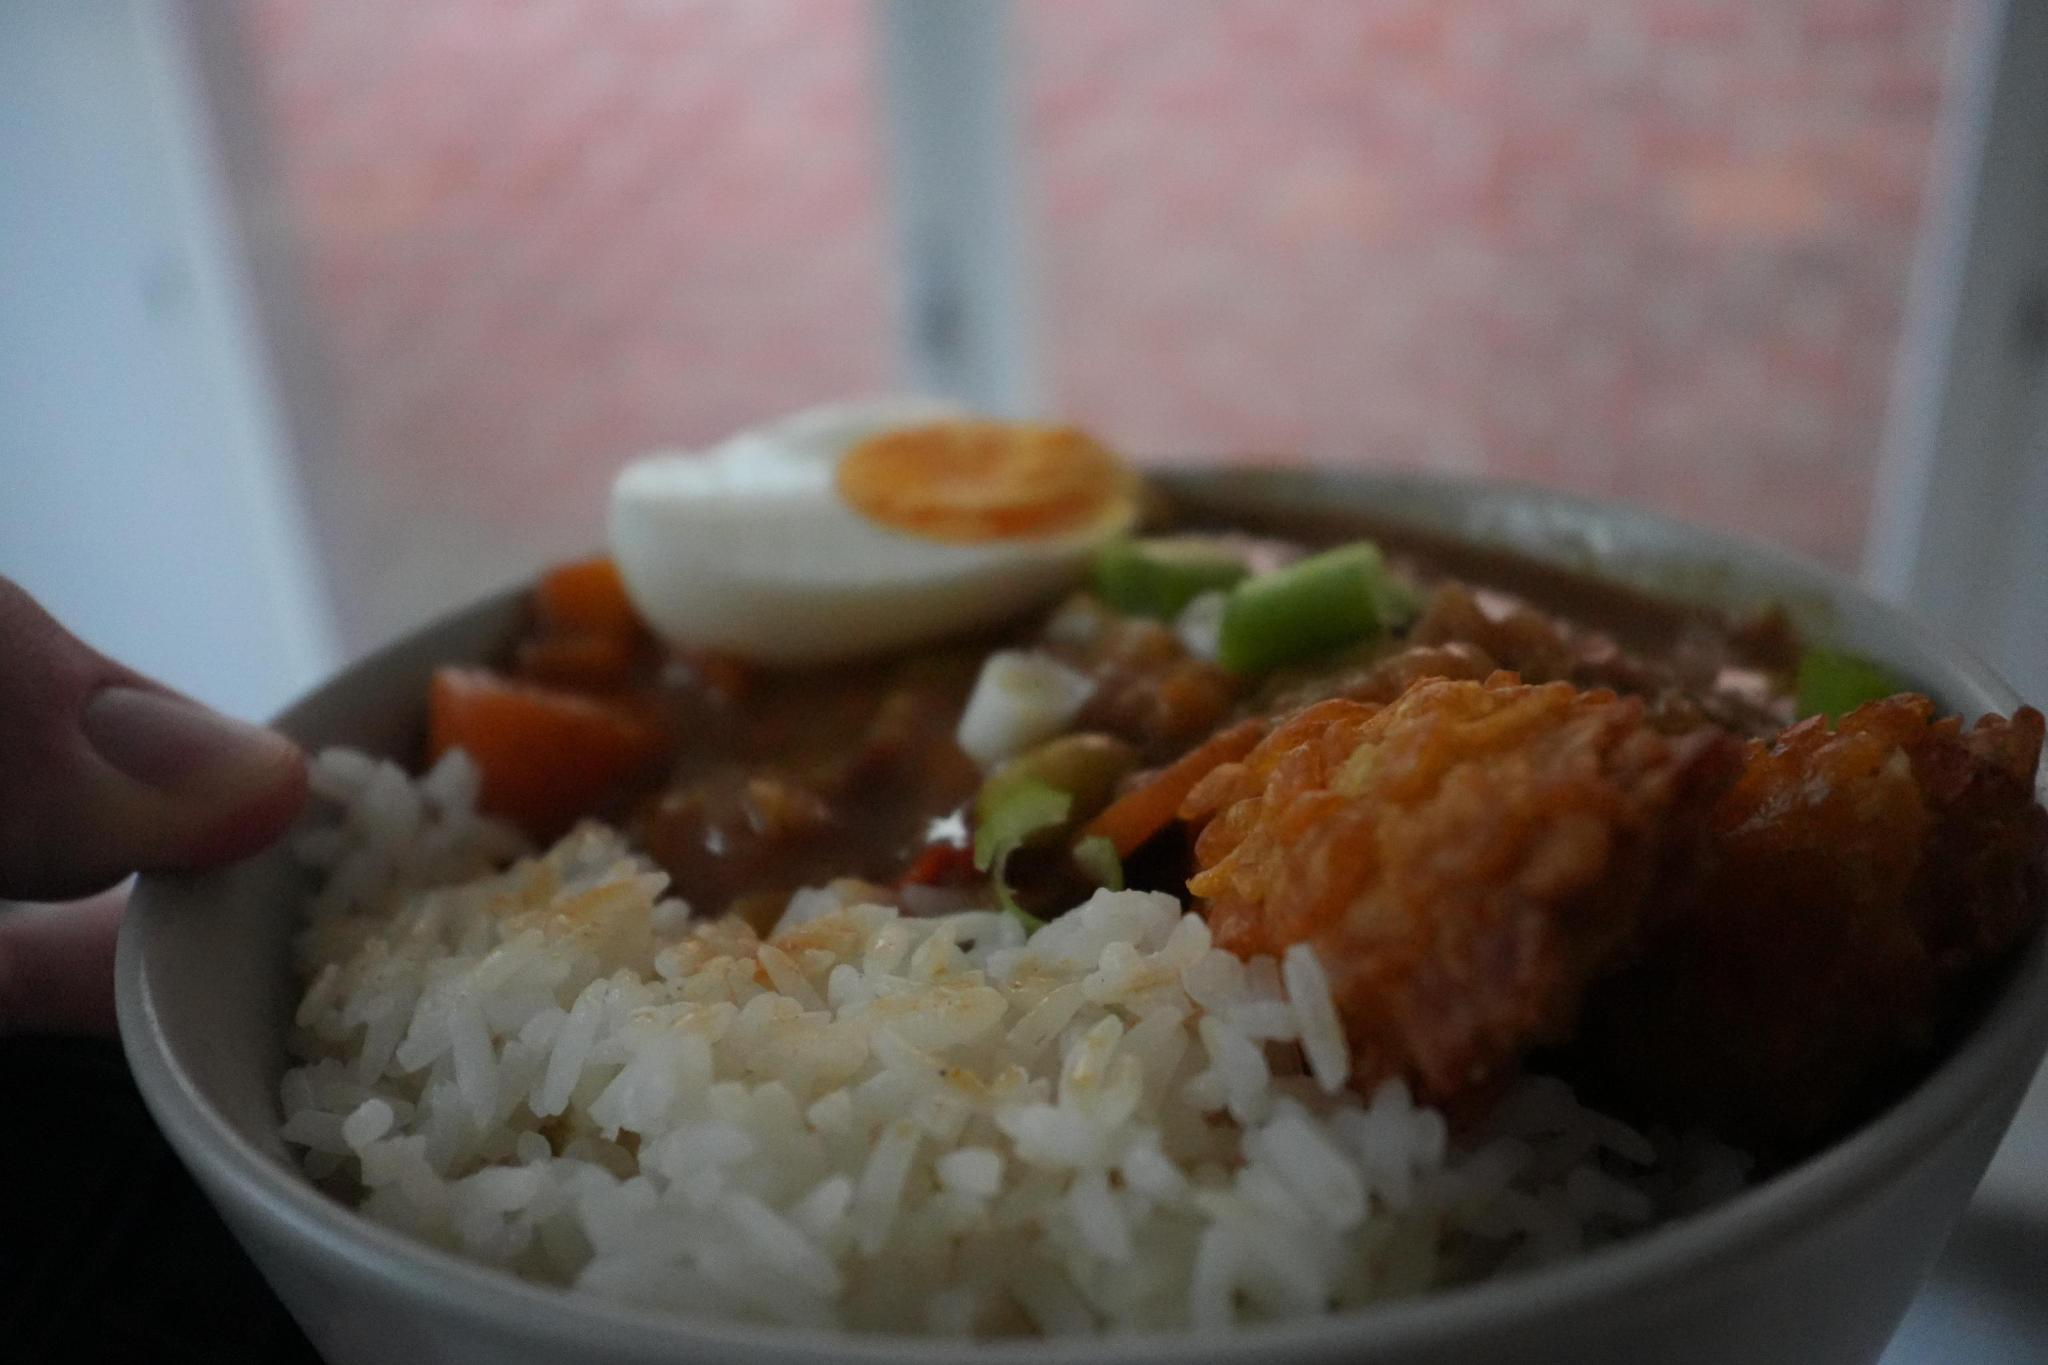
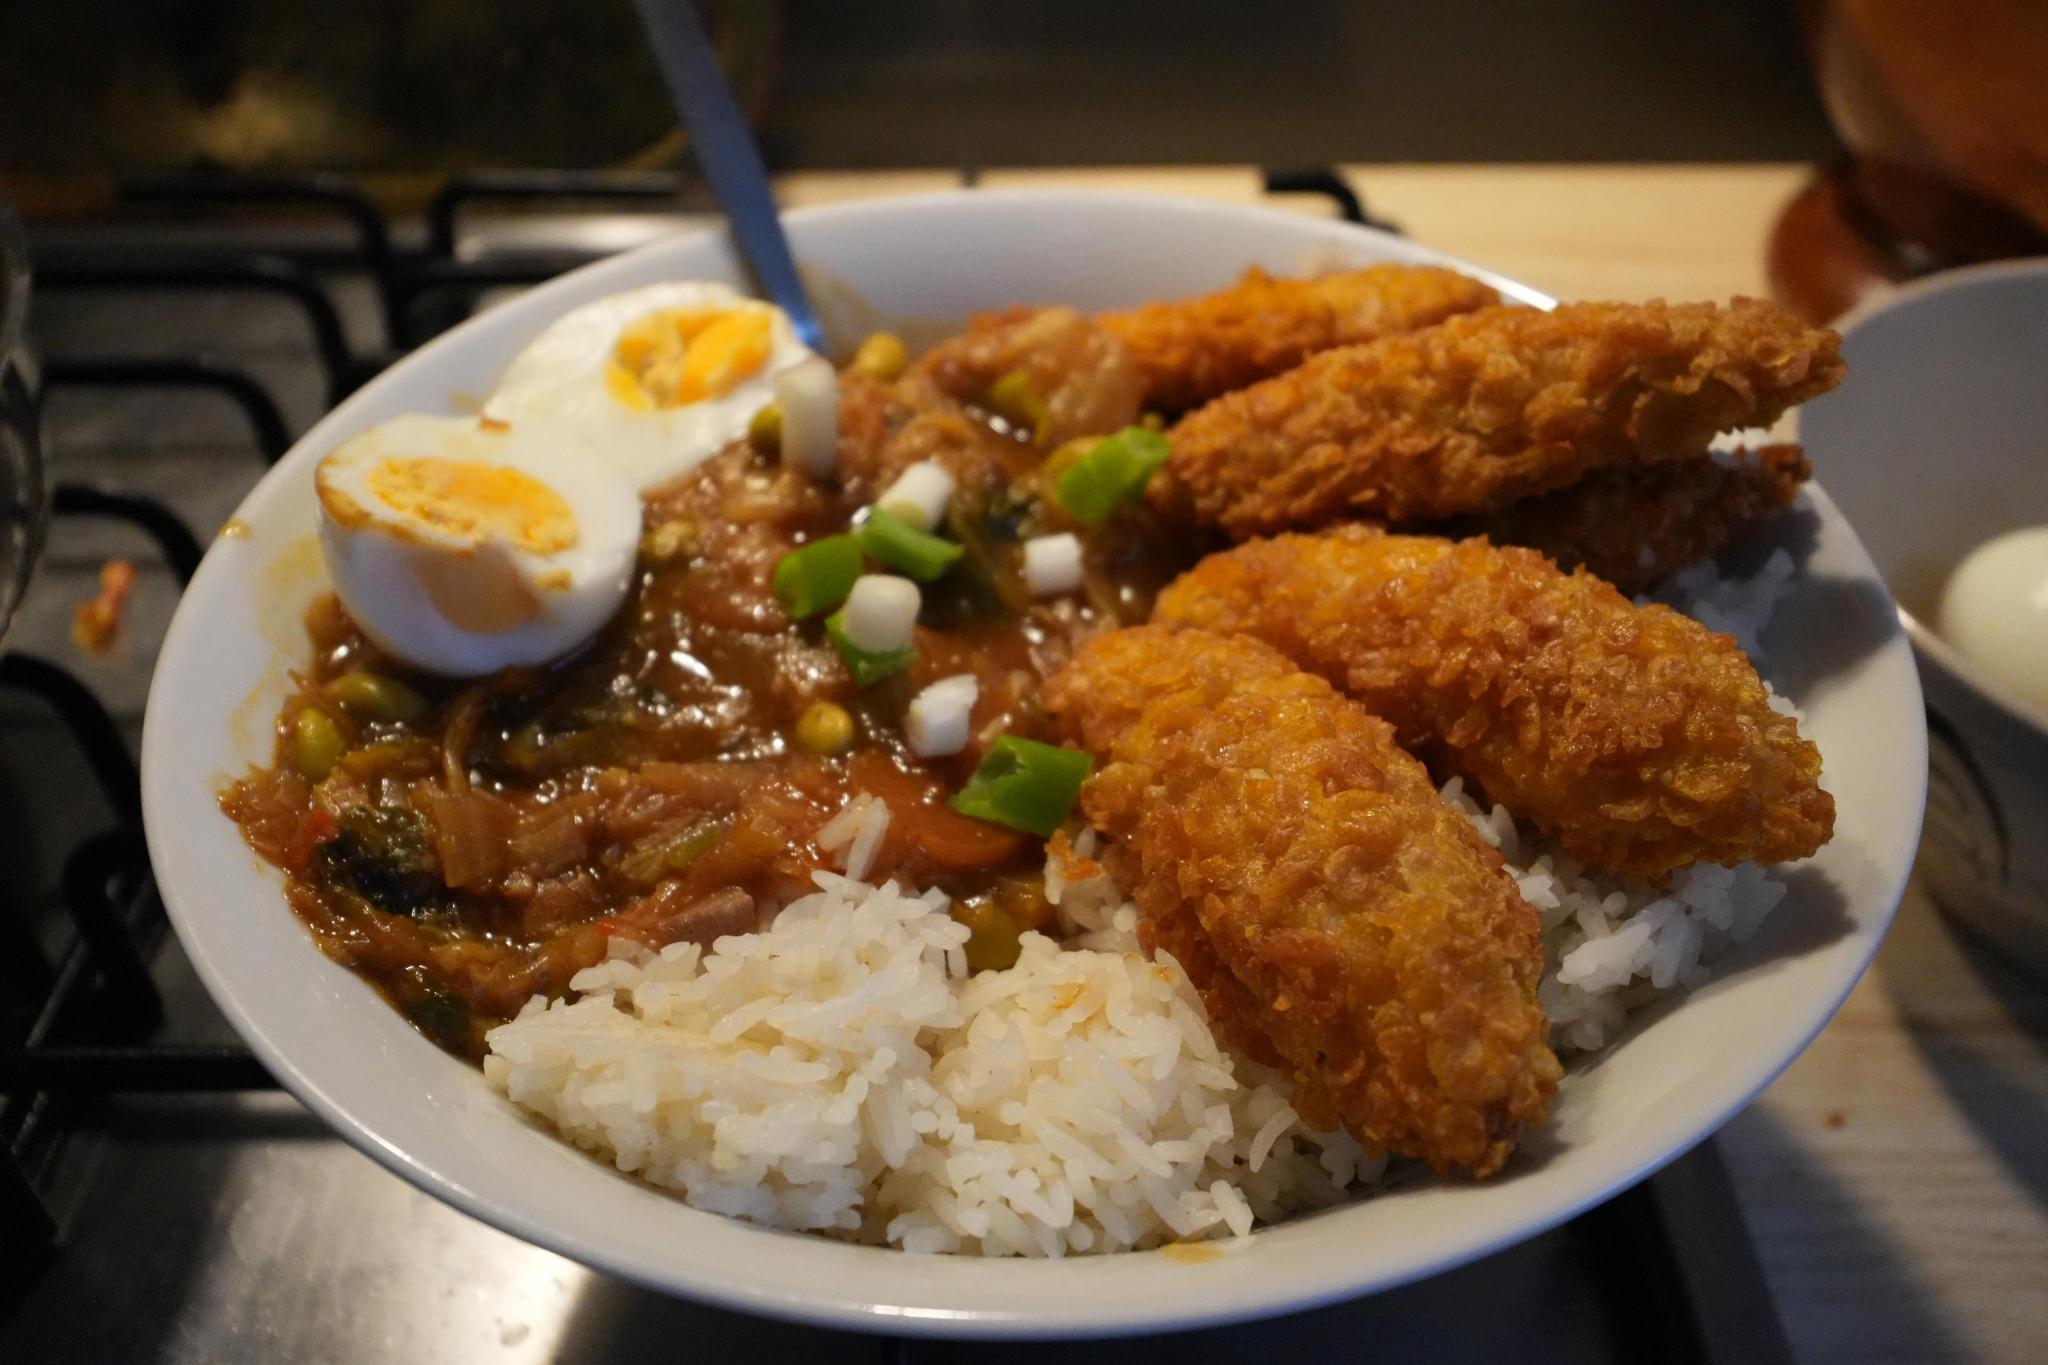
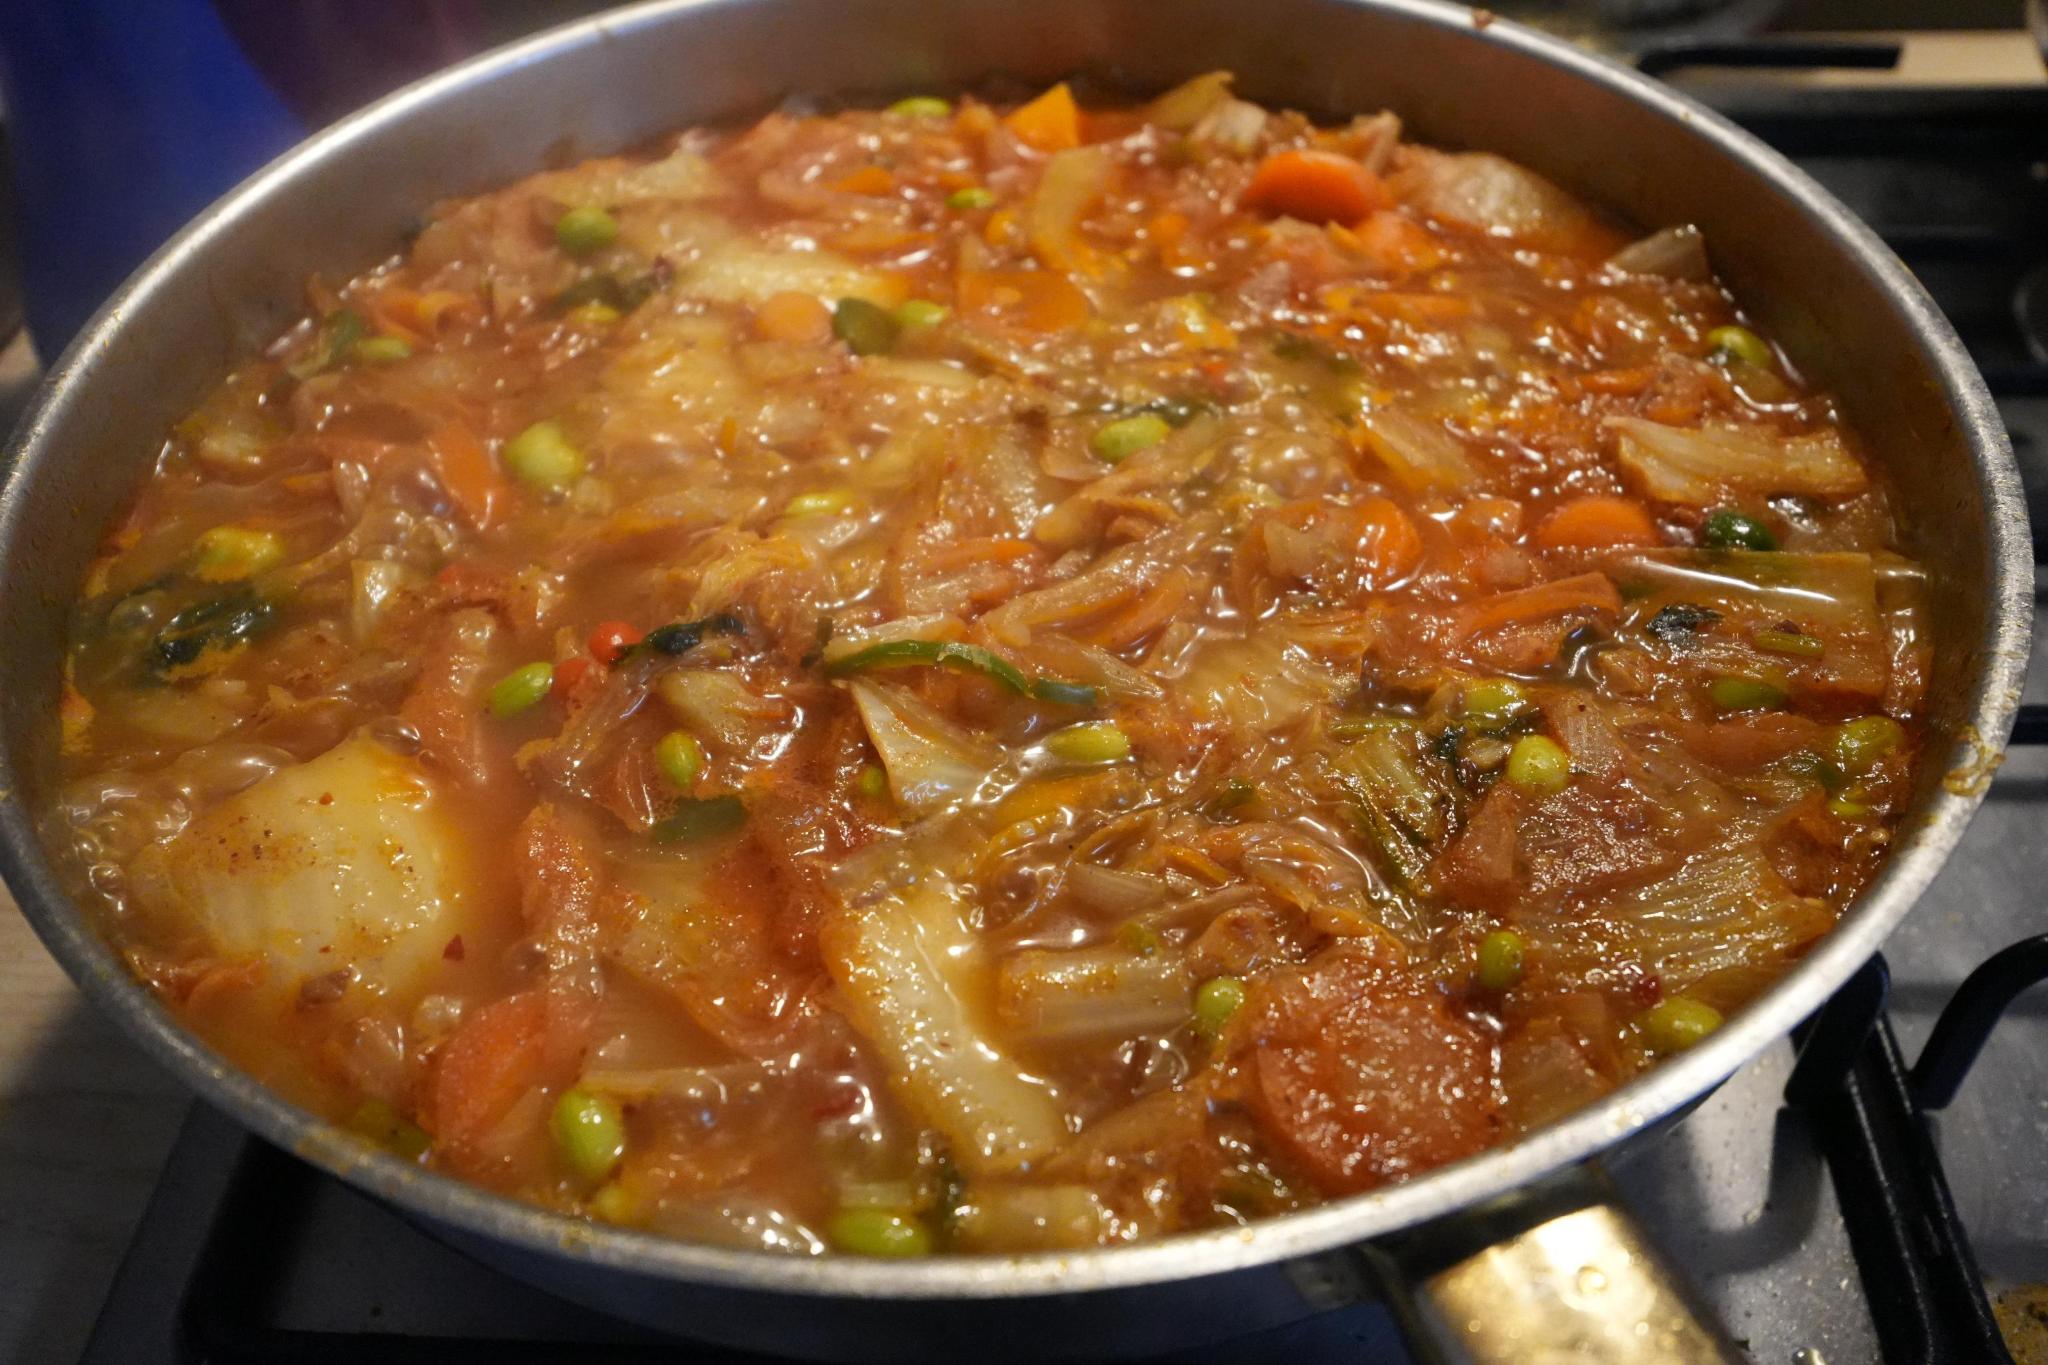
- when the potatoes are not potatoes anymore and started to dissolve, as well as other vegetables like carrots, that means it’s time to add the curry, if it’s the japanese curry bouillon thing, slice it fine and thin, since it doesn’t break apart easily, (hint: use the same knife you used before)
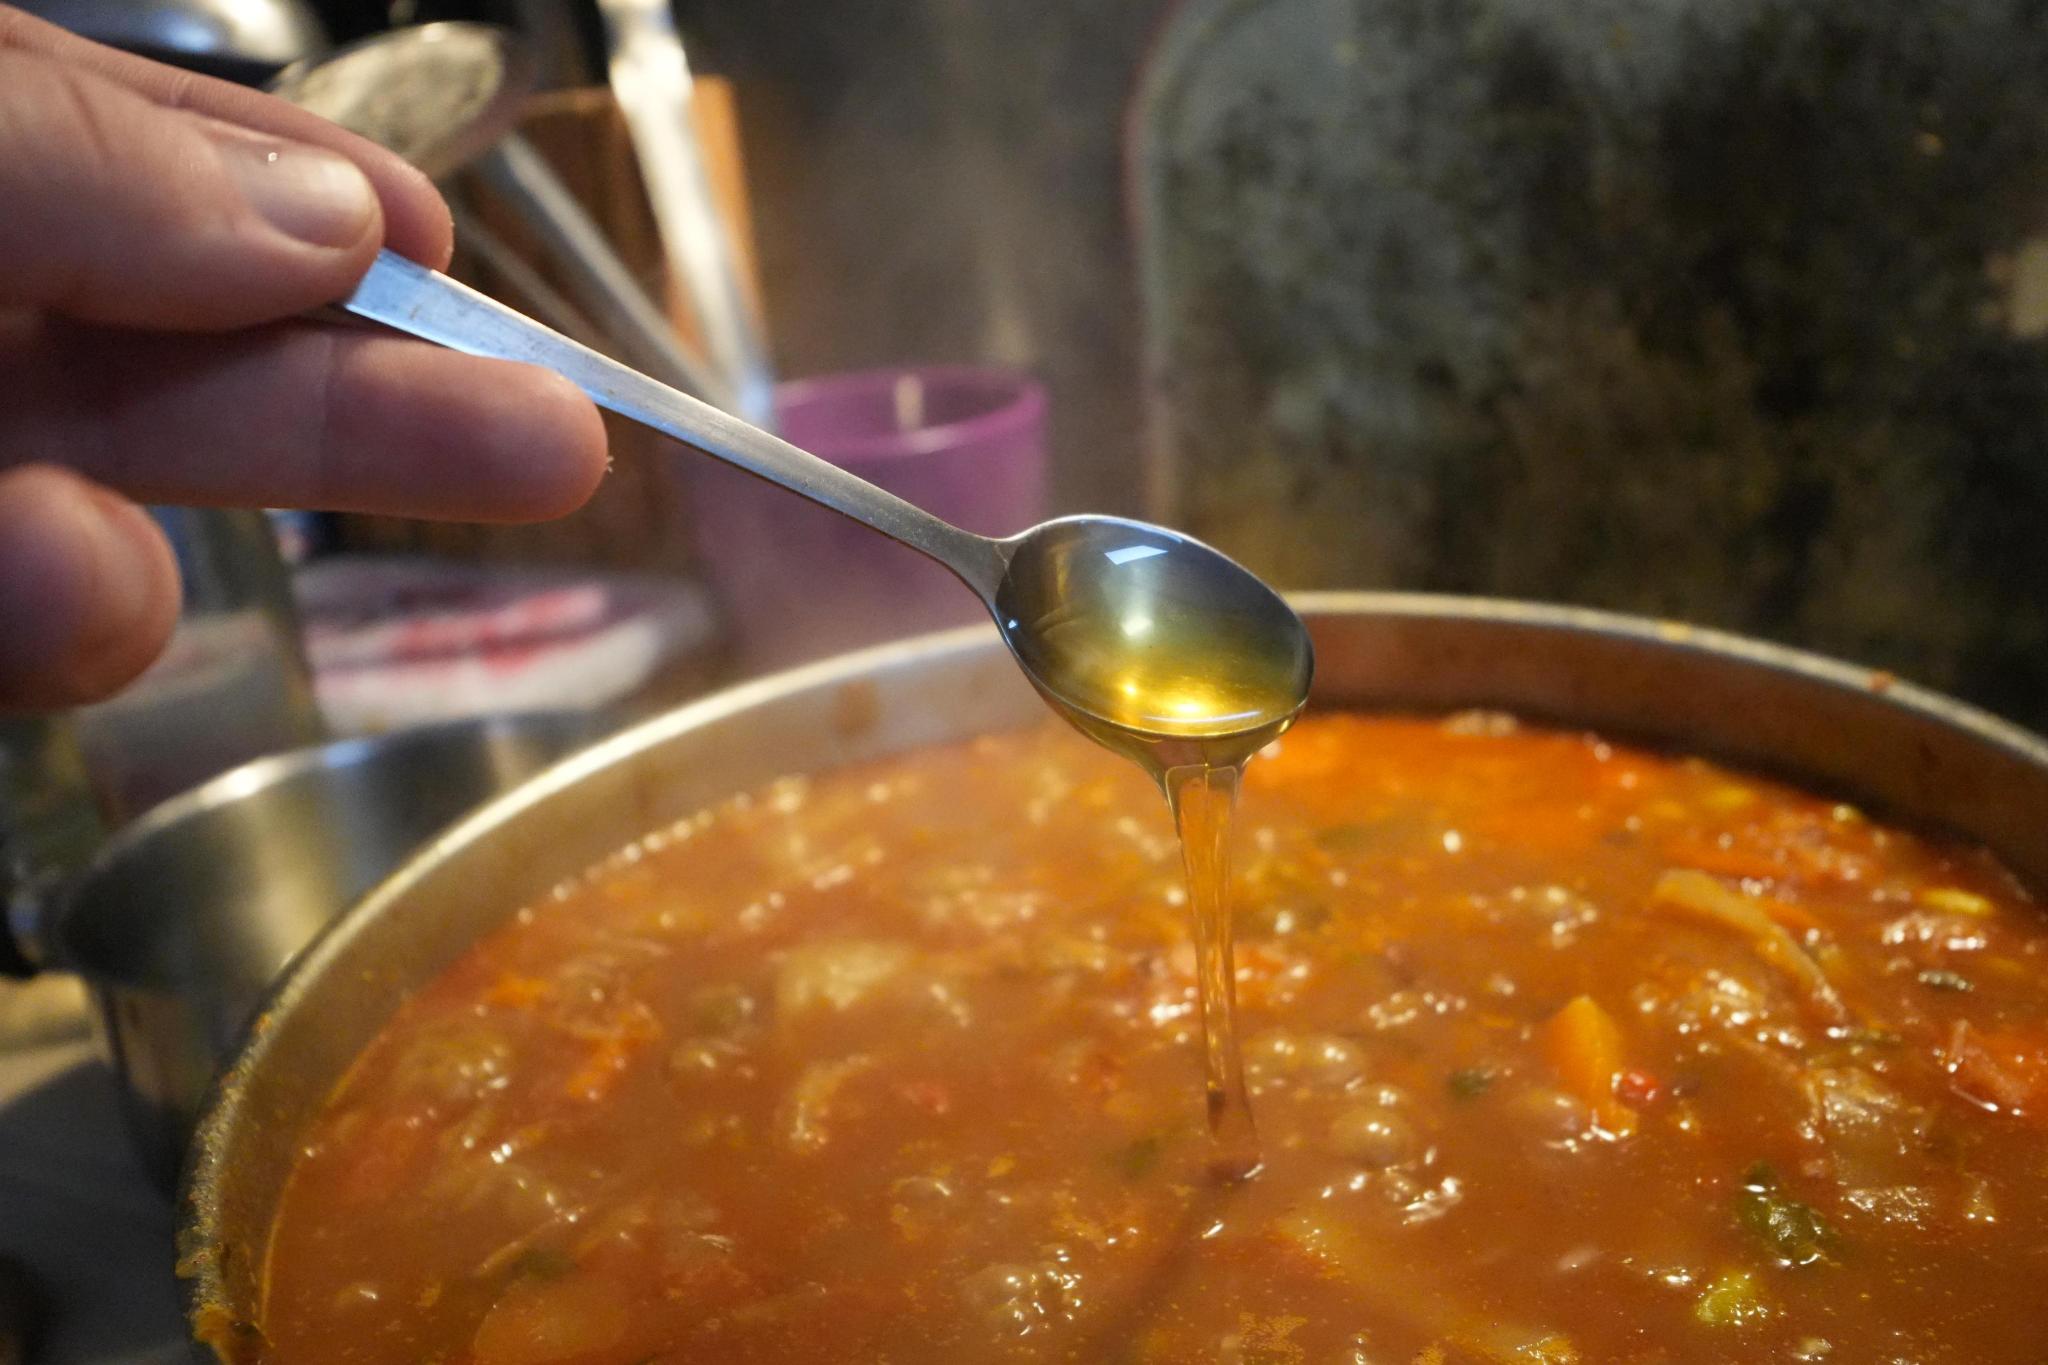
- (add some honey, honey, and after a minute or 2, should be almost good to eat)
- when thing start to become slightly goooey, but not too much that it’s annoying, it means you have reached a good texture (depending on the texture you like, add a bit of water / slightly more than you would want and wait for it to boil off)
- enjoy your meal
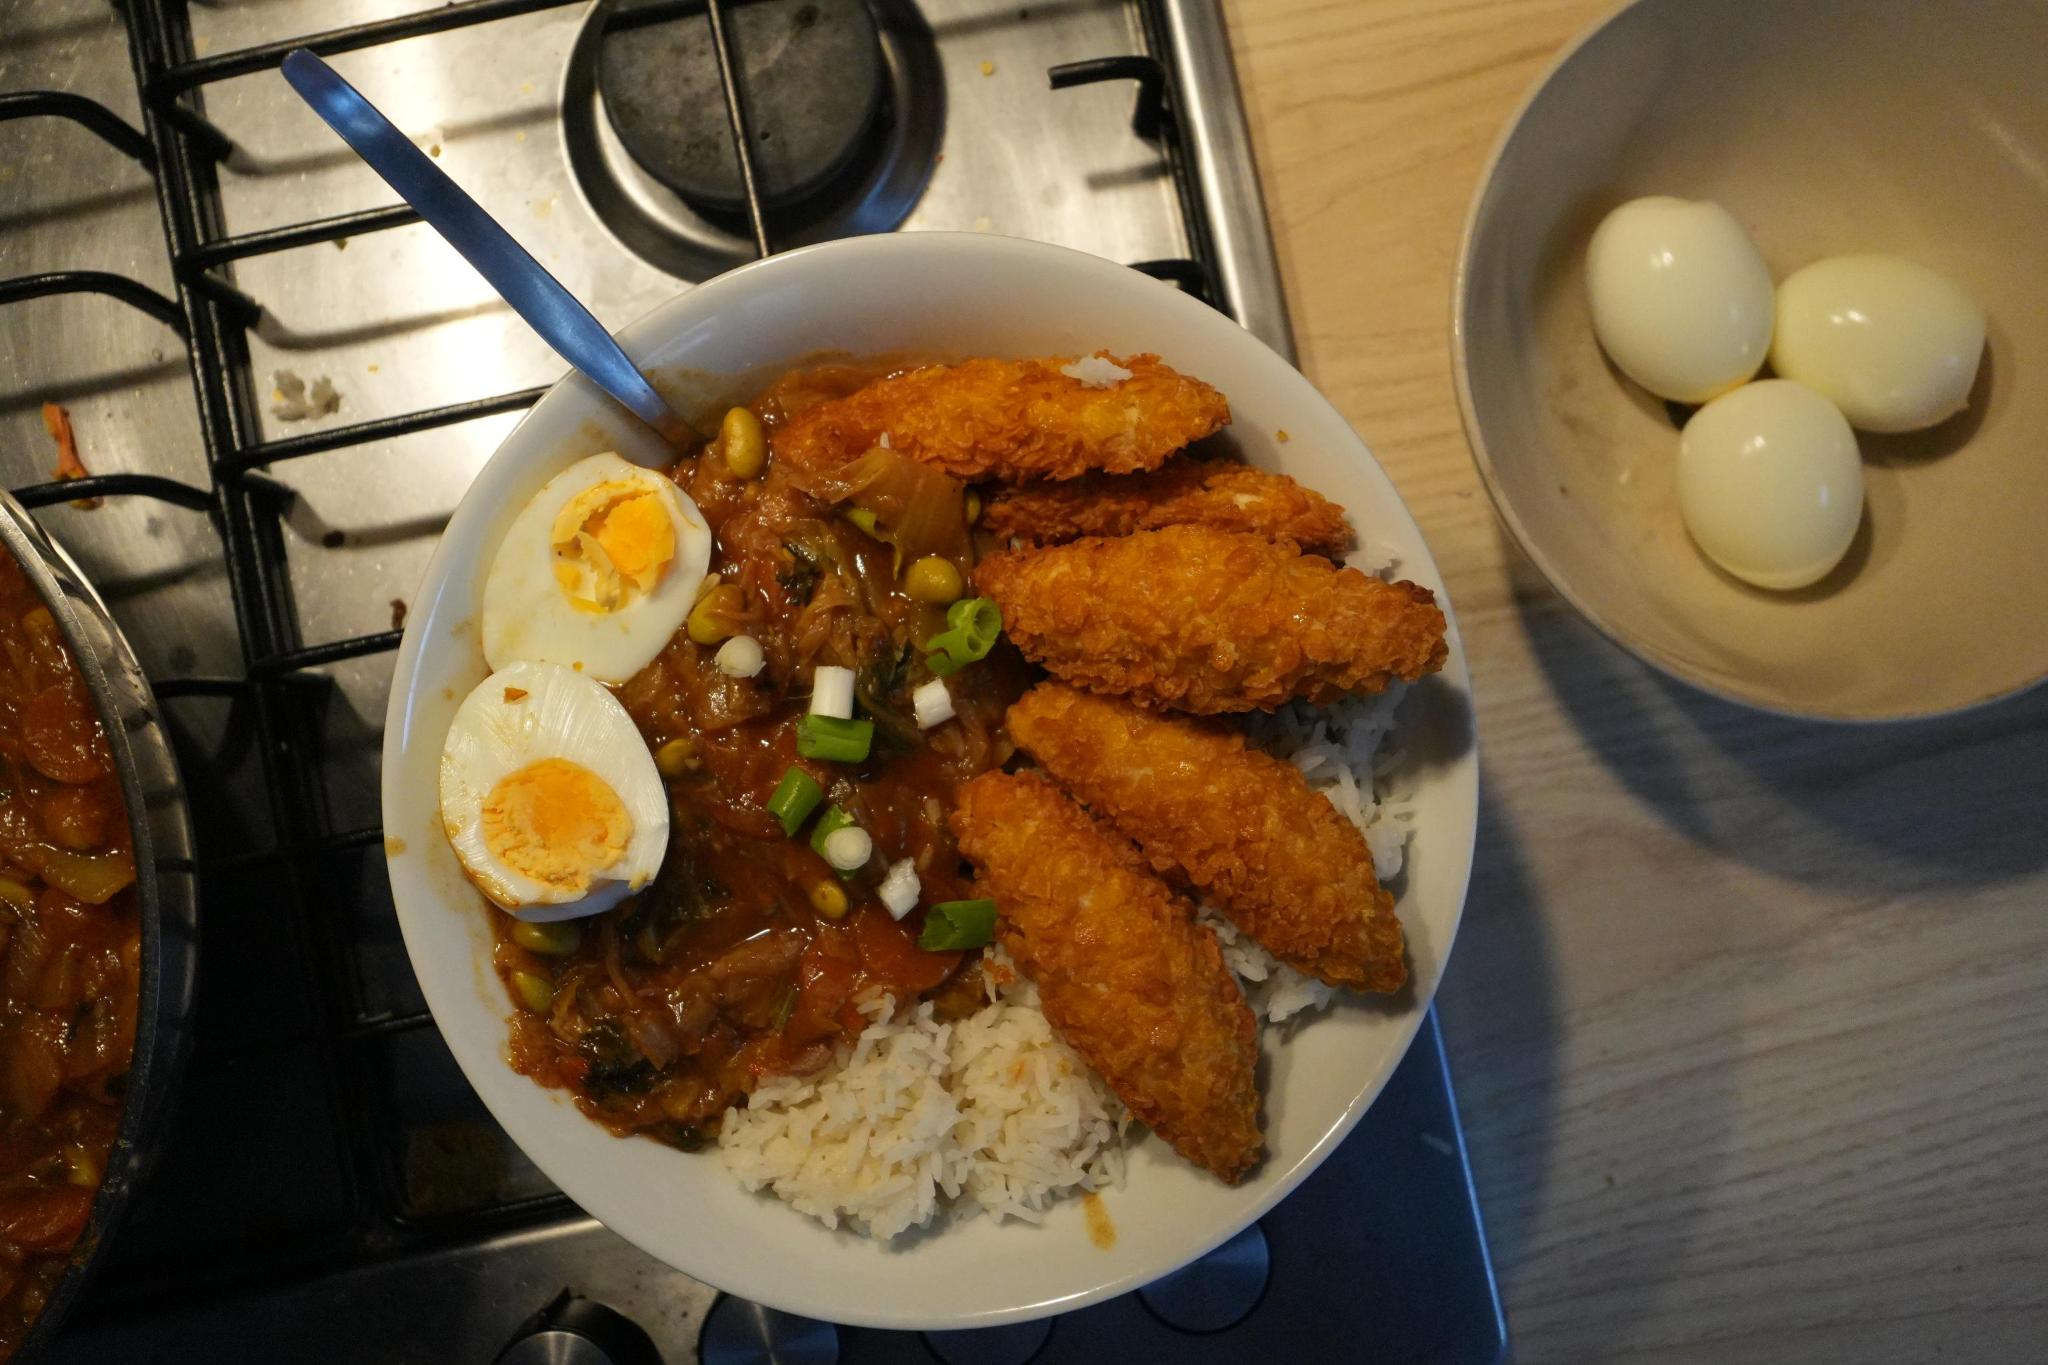

Hard boiled eggs

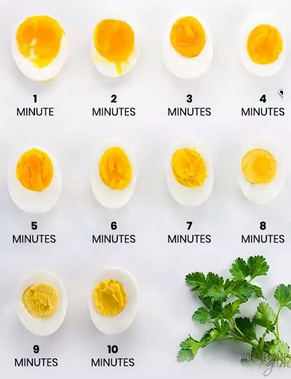
Boiling eggs is “a science”, not chance, depending on how long you let them boil, you get different outcomes.
There are only 2 things that are important to remember:
- you add them when the water is boiling already;
- you cool them off immediately after they’re done boiling, the colder the water the better (generally);
My personal favorite that looks creamy on the inside takes about 6-8 minutes.
Additional notes
- depending on what kind of meat / meat substitute you want to add (mainly for desired texture and how long it takes to prepare), it can be somewhere added to before adding the vegetables but after the water, after inserting the vegetables, before adding the japanese curry, any other time is too early or too late;
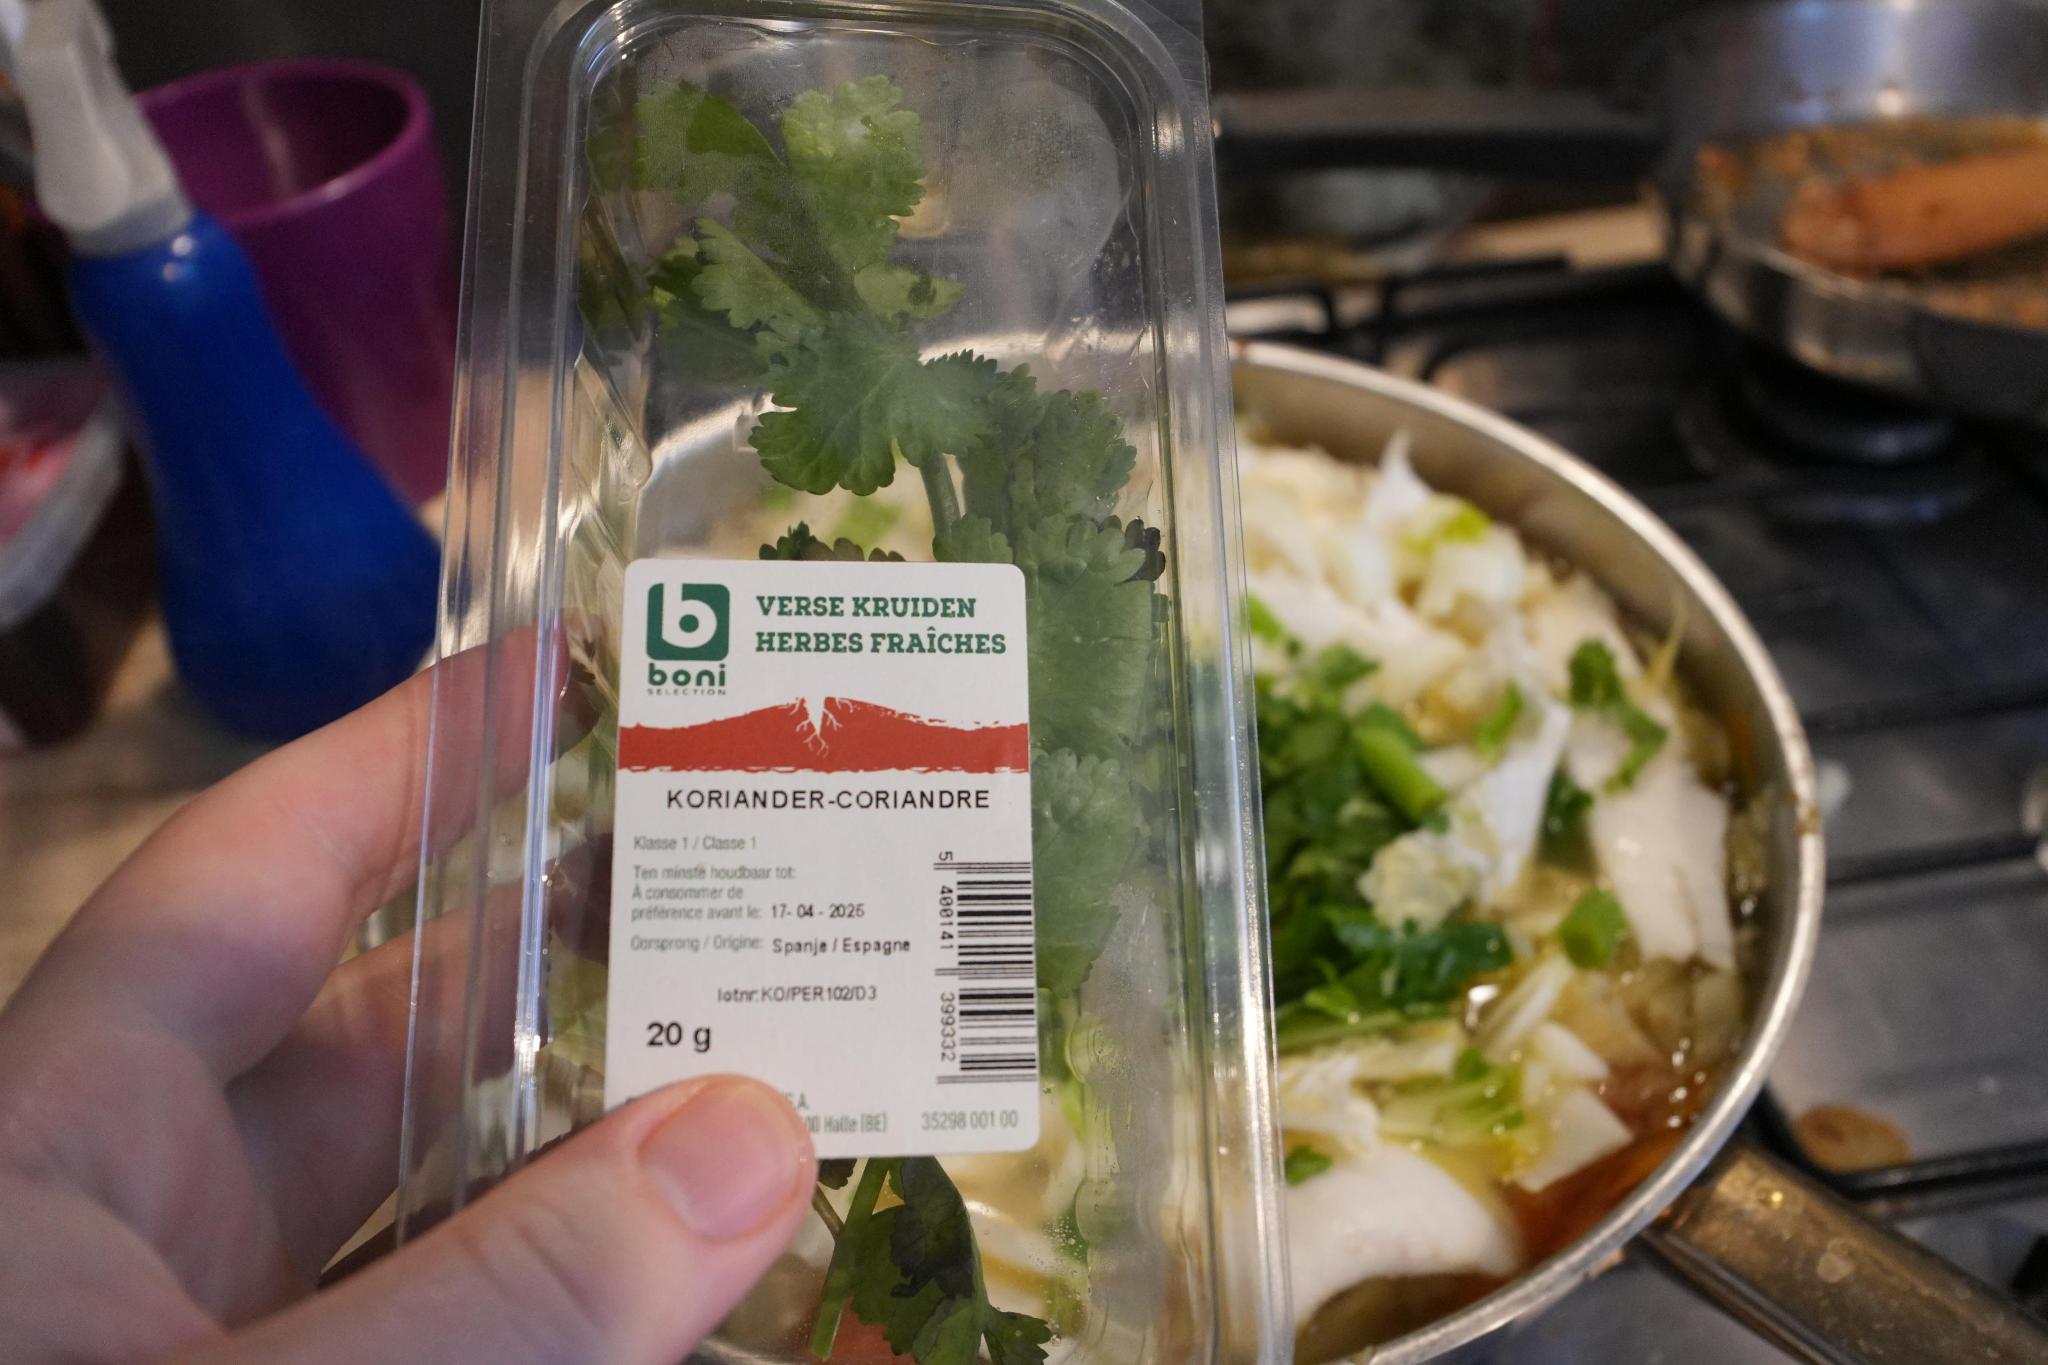
- depending on the herb, you add it at the end mostly, if it’s a fresh one however might be nice to add it before the curry, so the taste spreads a bit more, it is important to not overdo it, but a variety is always nice, maybe mix them in a bowl first and depending on the smell add more / less, but in general if you add a tad of A, B and C and you like D, you add 2 tads of D 😄;
- pepper doesn’t really matter when either, probably close to the end however;
Doubt anyone will ever try this out by just randomly coming across it, but by now a few people have asked me the recipe / how I roll, so I tried condensing it in this blog post.
Thanks for reading, have fun cooking and live life to it’s fullest, even when you feel half empty, it might make you feel half empty-less.